Oreo Mummy Pops
Don’t like overly spooky or gruesome Halloween treats and recipes? These cute Oreo Mummy Pops are just for you then!
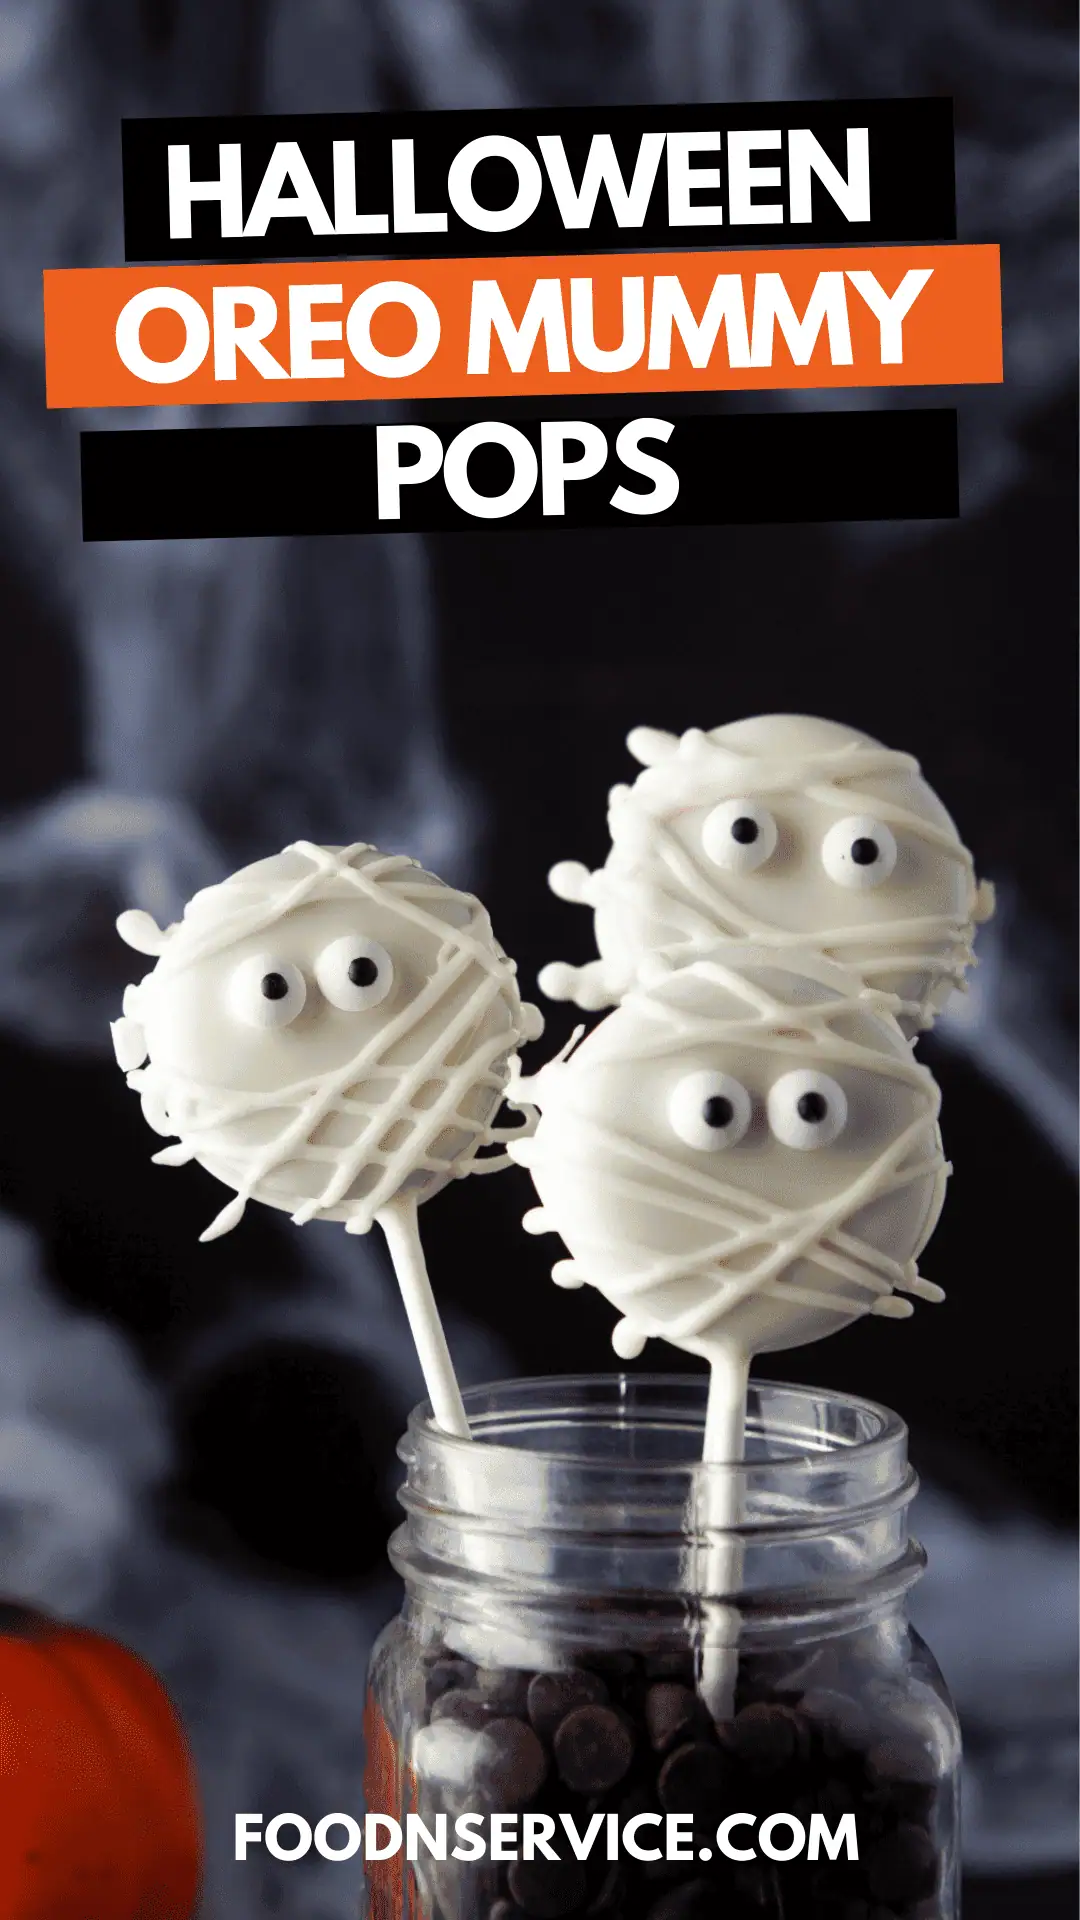
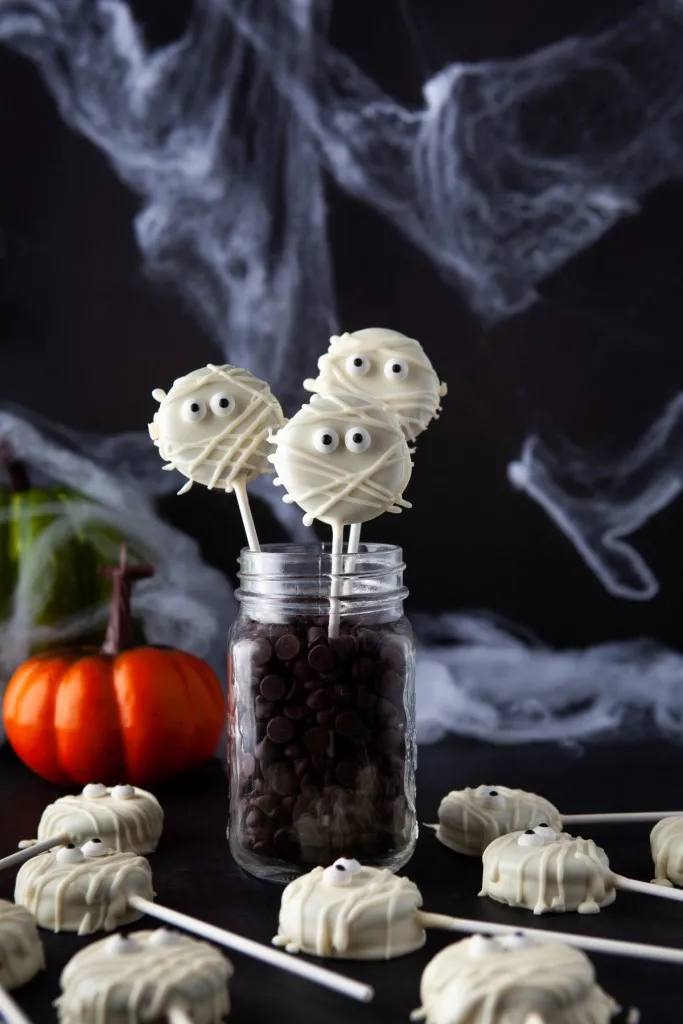
Using Oreo cookies, melted white chocolate, and candy eyes, you get to make these adorable mummy pops that both kids and adults will LOVE! These Oreo mummy pops can be served in a glass vase as a decorative display for any Halloween party. They’re also ideal hand-held treats, minimizing post-party cleanup which is always a win!
Double your batch of these chocolate covered pops if you plan on serving to a larger crowd or gift them to friends, family, and teachers by placing a clear cello bag over the Oreo mummies, tied with decorative ribbon and a little gift tag.
Being so simple to make means that you can get the kids involved when the time comes to prepare these Halloween Pops as a fun holiday food craft activity.
Oreo Mummy Pops Frequently Asked Questions
INGREDIENTS (MAKES 15 POPS)
1 1/2 cups of White chocolate chips plus 4 Tablespoons extra to seal the cookies
1 Tablespoon of Coconut oil
15 Oreo cookies
Candy eyes
Lollipop Sticks
Piping bag or a ziploc bag with a tiny whole in one of the edges
Parchment paper
WHAT CAN I USE INSTEAD OF POPSICLE STICKS POPS?
If you don’t have lollipop sticks then you can easily use popsicle sticks and still follow the recipe steps as is.
The benefit of using something like flat wooden popsicle sticks is that they tend to fit better between the two Oreo cookies which leads to less likelihood of the Oreos breaking.
CAN I MAKE THESE OREO MUMMY POPS AHEAD OF TIME?
Absolutely! These Oreo mummy pops are great to make about 2-3 weeks when stored in an airtight container at room temperature.
CAN I FREEZE THEM?
I don’t recommend freezing these oreo mummy pops since the chocolate coating and candy eyes are likely not going to do well through the freezing and defrosting process.
What you can do instead is prepare your oreo pops up until the point where you’ve inserted your lollipop sticks inside the cookies. Next, arrange the pops in a single layer in a plastic storage container or on a baking sheet wrapped with plastic wrap.
Store your pops in the freezer for up to 1 month. When ready to assemble, bring your oreo pops to room temperature and complete the rest of the decorating steps to serve.
WHY DO I NEED TO ADD OIL TO THE MELTED CHOCOLATE?
Melted chocolate chips can at times form lumps as a result of stabilizers in their ingredients to extend their shelf life.
Adding oil to the melted chocolate assists in eliminating any lumps and creates a smooth consistency that will coat the Oreos well. While I opted to use coconut oil, you can also use vegetable oil or canola oil as well.
TIPS FOR MAKING OREO MUMMY POPS
- If your Oreo mummy pops break, it may be beneficial to use the Oreo Double Stuff cookie instead.
- You can add your Oreo pops to the refrigerator or freezer for 5-10 minutes to speed up the setting of your completed mummy pops.
- Get your kids to help you assemble your Oreo mummy pops – they’re great as a kid-friendly activity for Halloween and the holiday season.
- You can use Golden Oreos instead of the original Oreos if you’d prefer a golden vanilla oreo mummy pop.
Instead of candy eyes, you can use a black candy icing pen or black frosting to draw the eyes on the pops.
More Halloween Dessert Recipes
- Easy Halloween Frankenstein Cupcakes
- Spider Web Cupcakes
- Halloween Bat Cookies
- Halloween Macarons That Will Make You Scream
- 20 DIY Halloween Cupcakes
- Broken Glass Cupcakes
- 20 Awesome Halloween Cookie Recipes
- Impressive Ideas for Halloween Cakes

Oreo Mummy Pops
Ingredients
- 1 1/2 cups of White chocolate chips plus 4 Tablespoons extra to seal the cookies
- 1 Tablespoon of Coconut oil
- 15 Oreo cookies
- Candy eyes
Instructions
- Place parchment paper on a baking tray and set aside.
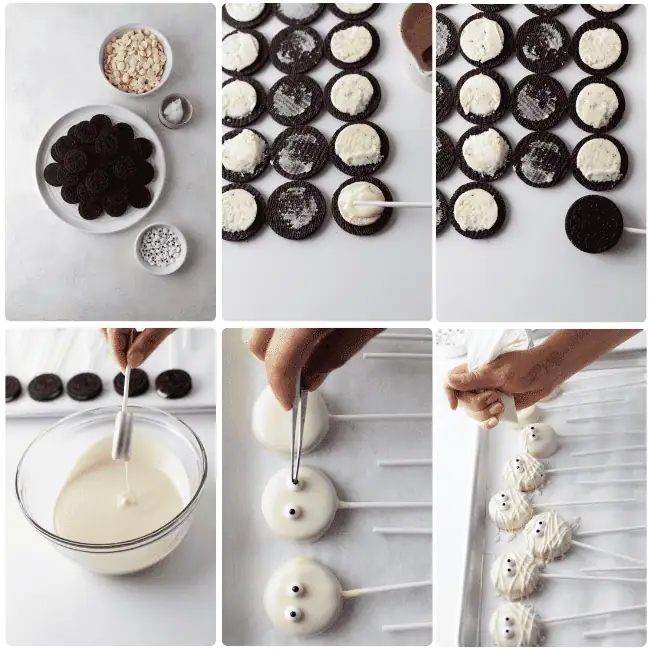
- In a small bowl melt the 4 tablespoons of white chocolate in the microwave for 20 second intervals.
- Open the Oreo in half and place a teaspoon of white chocolate on one of the half Oreos. Place the lollipop stick on that side and close the Oreo. Place in the refrigerator for 10 to 15 minutes, to seal completely.
- Once they are sealed, place the rest of the chocolate and coconut oil in another bowl, and melt in the microwave for 20 second intervals until melted. Make sure you do not burn the chocolate.
- Dip your Oreo in the white chocolate and set it on your baking tray to dry. Repeat for a second coating of white chocolate and place two eyes onto each Oreo. Let the chocolate set completely.
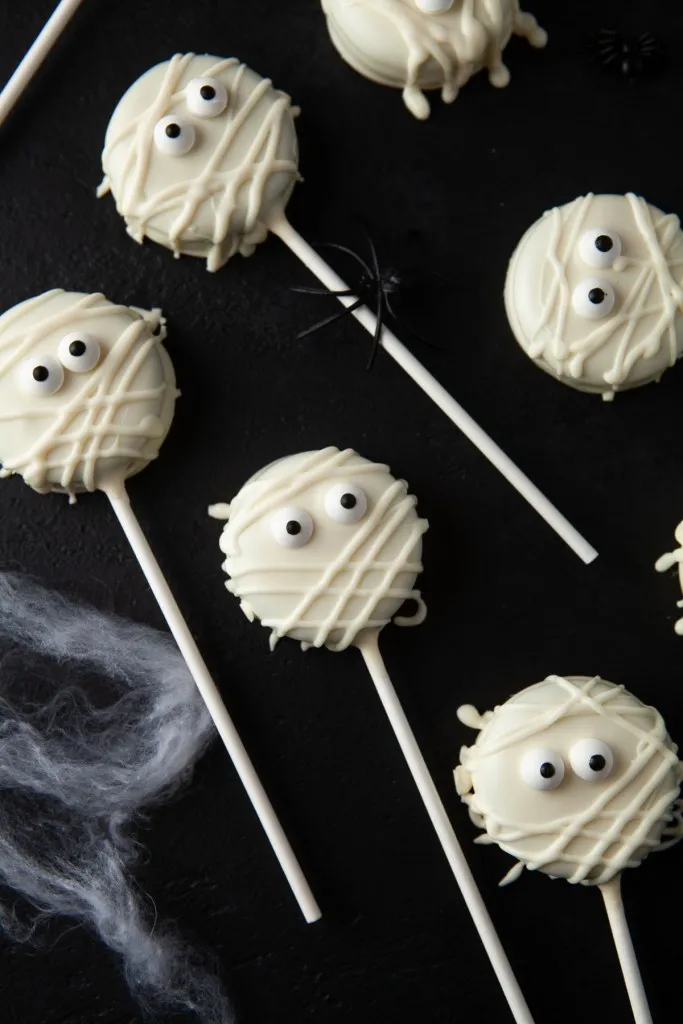
- Add the rest of the chocolate into a piping bag or ziploc bag, and drizzle each cookie with a bit of chocolate to make them look like the mummy wrapping.
- Enjoy