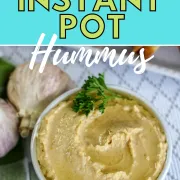
The Easiest Instant Pot Hummus to Make
Everyone is going to love this easy and delicious Instant Pot hummus recipe is to make for any occasion!
Instant Pot Hummus is incredibly easy to make and tastes much better than store bought pre packaged hummus. This Instant Pot recipe only requires basic ingredients that you most likely already have in your pantry. Most of the ingredients are easy to keep on hand at all times for you when you have the snack attack and just have to have some delicious hummus.

Making Instant Pot Hummus at home can save you some big bucks on your grocery budget, especially if you enjoy eating hummus a lot.
New to Pressure Cooking?
Start with the Instant Pot Playbook—basics, FAQs, and 40+ Recipes to get you started
What is Hummus
Hummus is a Middle Eastern delight that's made with a mash/purée of chick peas, tahini, lemon juice, and garlic.
Hummus is a dip or spread that is typically served as an appetizer. Traditionally, hummus is served with pita chips; however, I like to dip pretzels, and raw vegetables into the creamy bit of heaven. Believe it or not, I've actually been using it as a spread on my sandwiches to replace mayo. I love the zing and freshness it brings to them!
I know that buying hummus from the store is such an easy & convenient thing to do. The problem is that sometimes…I don't want to make a mad dash to grocery store to grab a container (or two, don't judge me).
The best thing about making Instant Pot Hummus is that it takes very little effort on my part, but still provides me that smooth garlic flavor that I am seeking from my hummus.
As much as I love traditional “plain” flavored hummus, i love jazzing it up once in a while. So, let's talk about that!
How Can I flavor my Instant Pot Hummus?
You pretty much have a blank slate for your hummus. You can add your favorite spices and seasonings to your hummus when you're in the process of pureeing it, or you can fold the seasonings into it towards the end.
Plus, you can add your favorite seasonings on top of your hummus! One of my favorite things to add is roasted red peppers and some red pepper flakes. I love spicy food, and this adds a lot of extra flavor. Here are some more flavor ideas to add to your hummus:
- Roasted Garlic (no just plain ol' minced garlic. Oven roast fresh garlic cloves and add on top).
- Sun dried tomatoes
- Roasted Red Peppers
- Everything but the Bagel seasoning
- Pepperoncini peppers
- Chopped spinach and artichokes minced together
- Chipotle peppers
- Caramelized onions
- Italian Dressing
- Cumin (another one of my faves!)
- Dry Ranch Dressing Packets (just take 1 packet and mix into your hummus, so good!)
How To Store and Serve Instant Pot Hummus
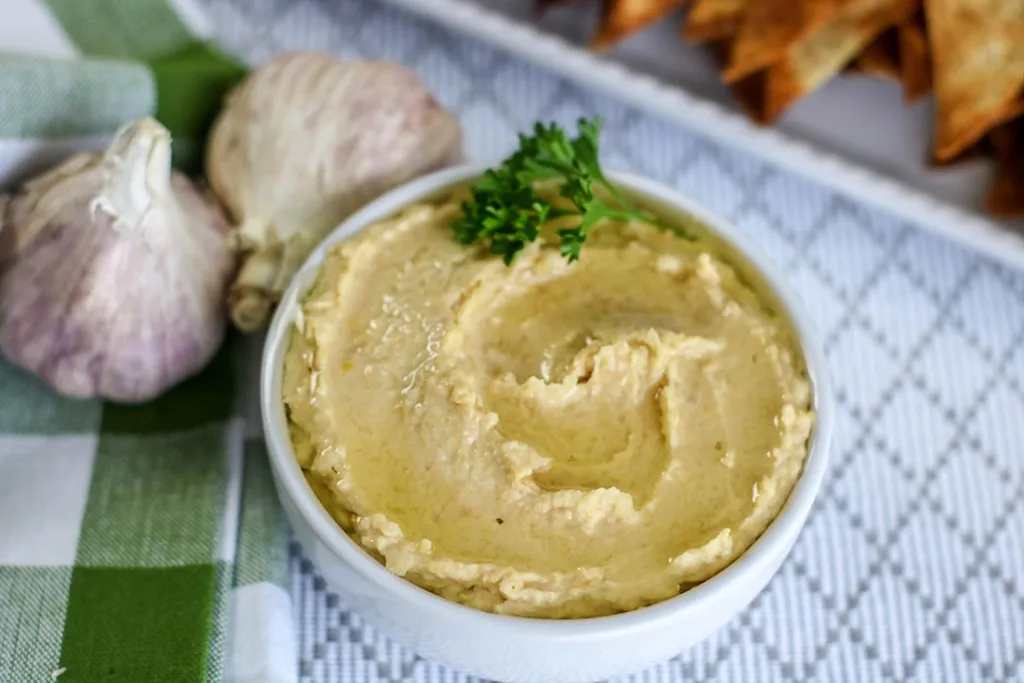
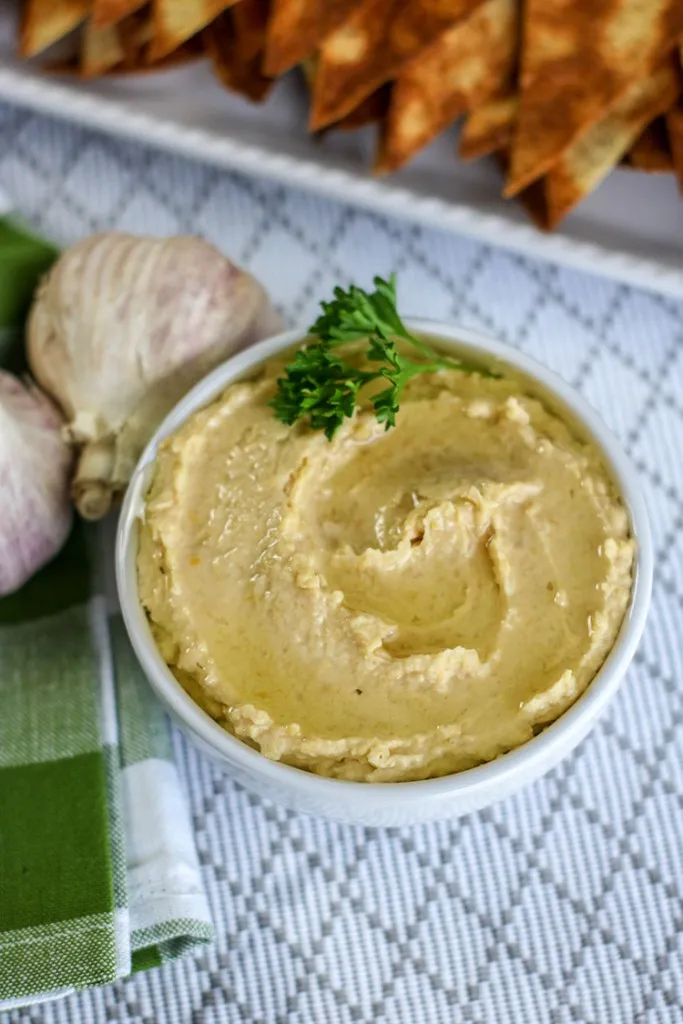
You can serve Instant Pot Hummus directly out of the food processor if you just can’t wait any longer to have the hummus hit your taste buds. I like to place my hummus inside a serving bowl and drizzle the top of the hummus lightly with olive oil. You can even get a little more creative and sprinkle some delicious seasonings on top of your hummus.
I like to sprinkle with cumin or everything but the bagel seasoning. In my opinion Instant Pot Hummus tastes better the second day before the flavors have had time to chill and marinate together more.
You can store your Instant Pot Hummus in your refrigerator for up to 7 days. Your hummus should also be stored in an airtight container to keep out moisture and protect the flavors of your hummus. If you would like to keep your hummus for longer than seven days, you will need to freeze your hummus.
Good news is that hummus freezes great, and you don’t notice a taste or texture difference. Freeze your hummus in an airtight container or freezer bag for up to 4 months. To defrost, simply place in the fridge overnight and then enjoy.
What Can I eat with my Instant Pot Hummus
- Naan or Pita Bread
- Tofu Chips
- Fresh Vegetables, like carrot or celery sticks
- Pretzels
- Everything Bagel 2 Ingredient Breadsticks
- Use a sandwich spread, in lieu of mayo (You'll thank me for this one!)
One of my favorite things to do with hummus is to use it as a “sauce” for pizza. I spread a thin layer of hummus on top of a pita flatbread and then top with red onions and a baby spring mix. Sometimes I even add some feta or goat cheese to make a Greek salad flatbread pizza. It’s delicious and makes for a quick and healthy lunch when I’m craving something different.
Ingredients Needed for Hummus
- 1 head garlic
- 2 (15.5 ounce) cans chickpeas, drained and rinsed
- 4 cups water
- 1/2 teaspoon baking soda
- 1/2 cup tahini
- 1 teaspoon sea salt or kosher salt
- 4 tablespoons olive oil, divided
- Juice of 1 1/2 lemons
Directions for Making Instant Pot Hummus
1. Preheat oven to 350 degrees.
2. Remove paper-like skin from outside of garlic bulb, leaving cloves attached.
3. Cut ¼ inch from the top (stem side) of each garlic bulb, exposing the top of the cloves.
4. Pour 2 tablespoons of olive oil over the top of the cloves.
5. Wrap each garlic head tightly in aluminum foil. Place on a baking sheet.
6. Bake for 55 minutes or until the cloves are tender.
7. Cool slightly before separating cloves. Squeeze to remove garlic into the bowl of a food processor.
8. In your Instant Pot liner, add chick peas, baking soda, and water. Close lid and lock in place, and close vent to sealing position. Press PRESSURE COOK button and adjust time for 7 minutes.
9. Once done, quick release pressure. Drain water from waters, but reserve 1/4 cup of liquid to the side.
10. In a large food processor, add chick peas, lemon juice, garlic, and tahini. Pulse until texture becomes smooth. Pour a little bit of the chick pea water into the tube and process until it's become smooth and the texture that you desire. Continue pouring reserved liquid until you've achieved your desired consistency. It should become almost a very whipped type of consistency.
11. Finish off your humus with the remaining olive oil when serving.
More Easy Instant Pot Recipes You'll Love to Make
If you love making easy Instant Pot recipes, then these will be right up your alley! These recipes are purely, “No fuss” recipes that you can make any day of the week.
- The Best Instant Pot Breakfast Burritos
- Instant Pot Thai Green Curry
- Instant Pot Chicken and Dumplings
- Instant Pot Ribs You’ll Love
- Instant Pot Teriyaki Chicken
- Instant Pot Thai Chicken Thighs
- Instant Pot Pinto Beans and Bacon (No Soak)
- Instant Pot Peach Iced Tea
- Chilled Gazpacho with Crispy chick peas (Smiley's Points)

Instant Pot Hummus
Ingredients
- 1 head garlic
- 2 15.5 ounce cans chickpeas, drained and rinsed
- 4 cups water
- 1/2 teaspoon baking soda
- 1/2 cup tahini
- 1 teaspoon sea salt or kosher salt
- 4 tablespoons olive oil divided
- Juice of 1 1/2 lemons
Instructions
- 1. Preheat oven to 350 degrees.
- 2. Remove paper-like skin from outside of garlic bulb, leaving cloves attached.
- 3. Cut ¼ inch from the top (stem side) of each garlic bulb, exposing the top of the cloves.
- 4. Pour 2 tablespoons of olive oil over the top of the cloves.
- 5. Wrap each garlic head tightly in aluminum foil. Place on a baking sheet.
- 6. Bake for 55 minutes or until the cloves are tender.
- 7. Cool slightly before separating cloves. Squeeze to remove garlic into the bowl of a food processor.
- 8. In your Instant Pot liner, add chick peas, baking soda, and water. Close lid and lock in place, and close vent to sealing position. Press PRESSURE COOK button and adjust time for 7 minutes.
- 9. Once done, quick release pressure. Drain water from chick peas, but reserve 1/4 cup of liquid to the side.
- 10. In a large food processor, add chick peas, lemon juice, garlic, and tahini. Pulse until texture becomes smooth. Pour a little bit of the chick pea water into the tube and process until it's become smooth and the texture that you desire. Continue pouring reserved liquid until you've achieved your desired consistency. It should become almost a very whipped type of consistency.
- 11. Finish off your humus with the remaining olive oil when serving.
Notes
- You can serve with toasted pine nuts, roasted red peppers, and so many other fabulous ingredients.
- Be sure to occasionally scrape down the sides with a rubber spatula and continue processing.
- If you don't want the roast garlic portion, that's okay! It'll save you a little bit of time, and you can use store bought roasted whore garlic or a spread.
Love this recipe. How much cumin do you add to a batch?
If you want cumin, I would add a good teaspoon to this batch. It’ll be delish!