Thin Mint Chocolate Cookies
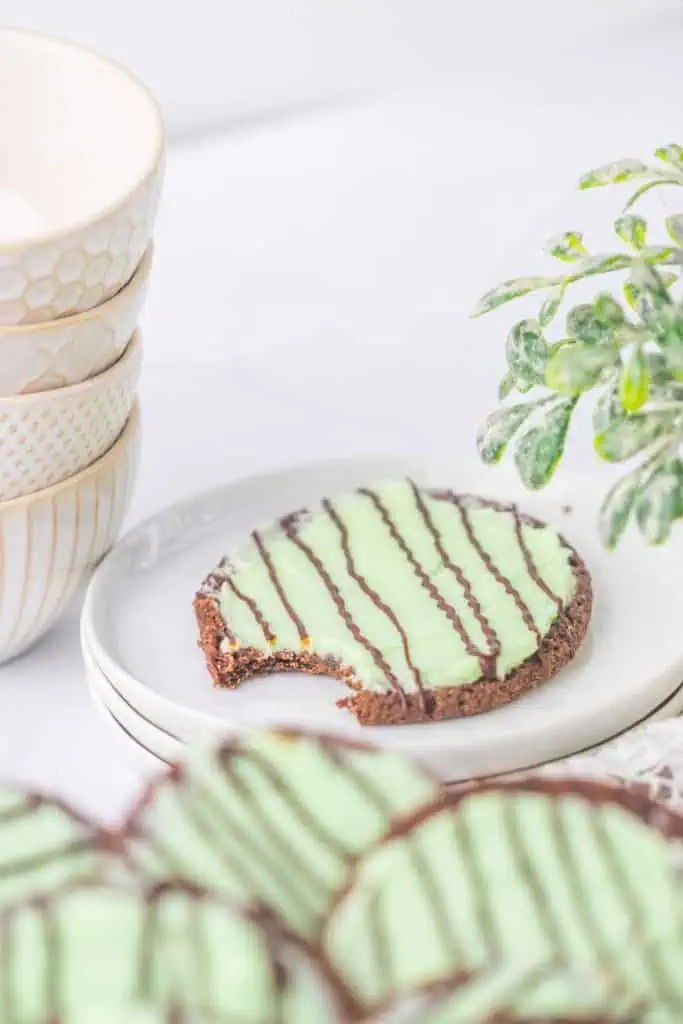
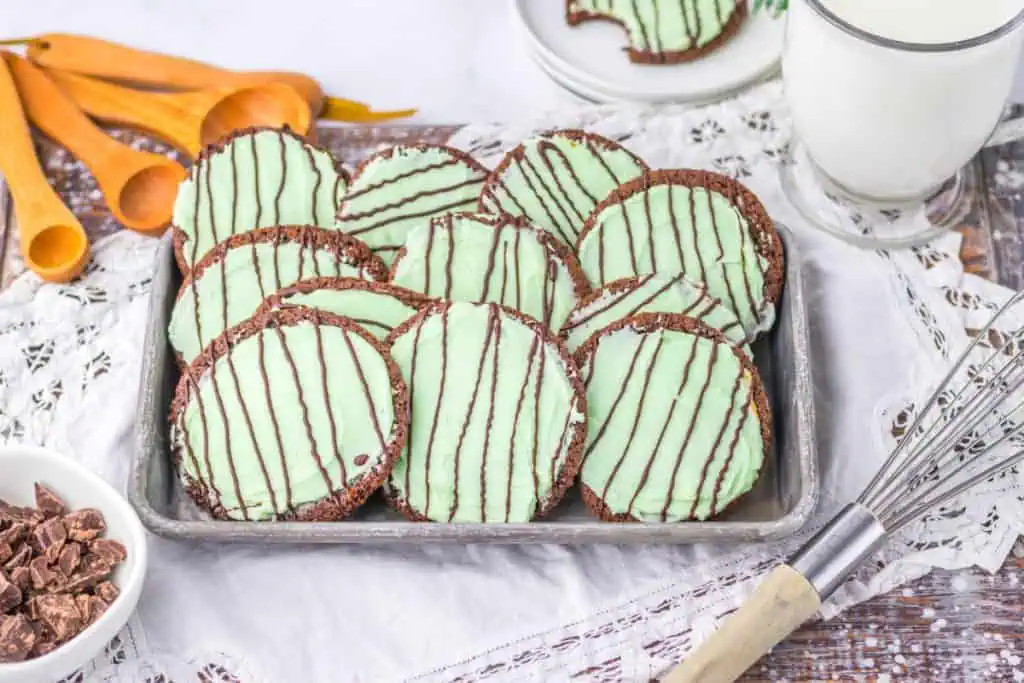
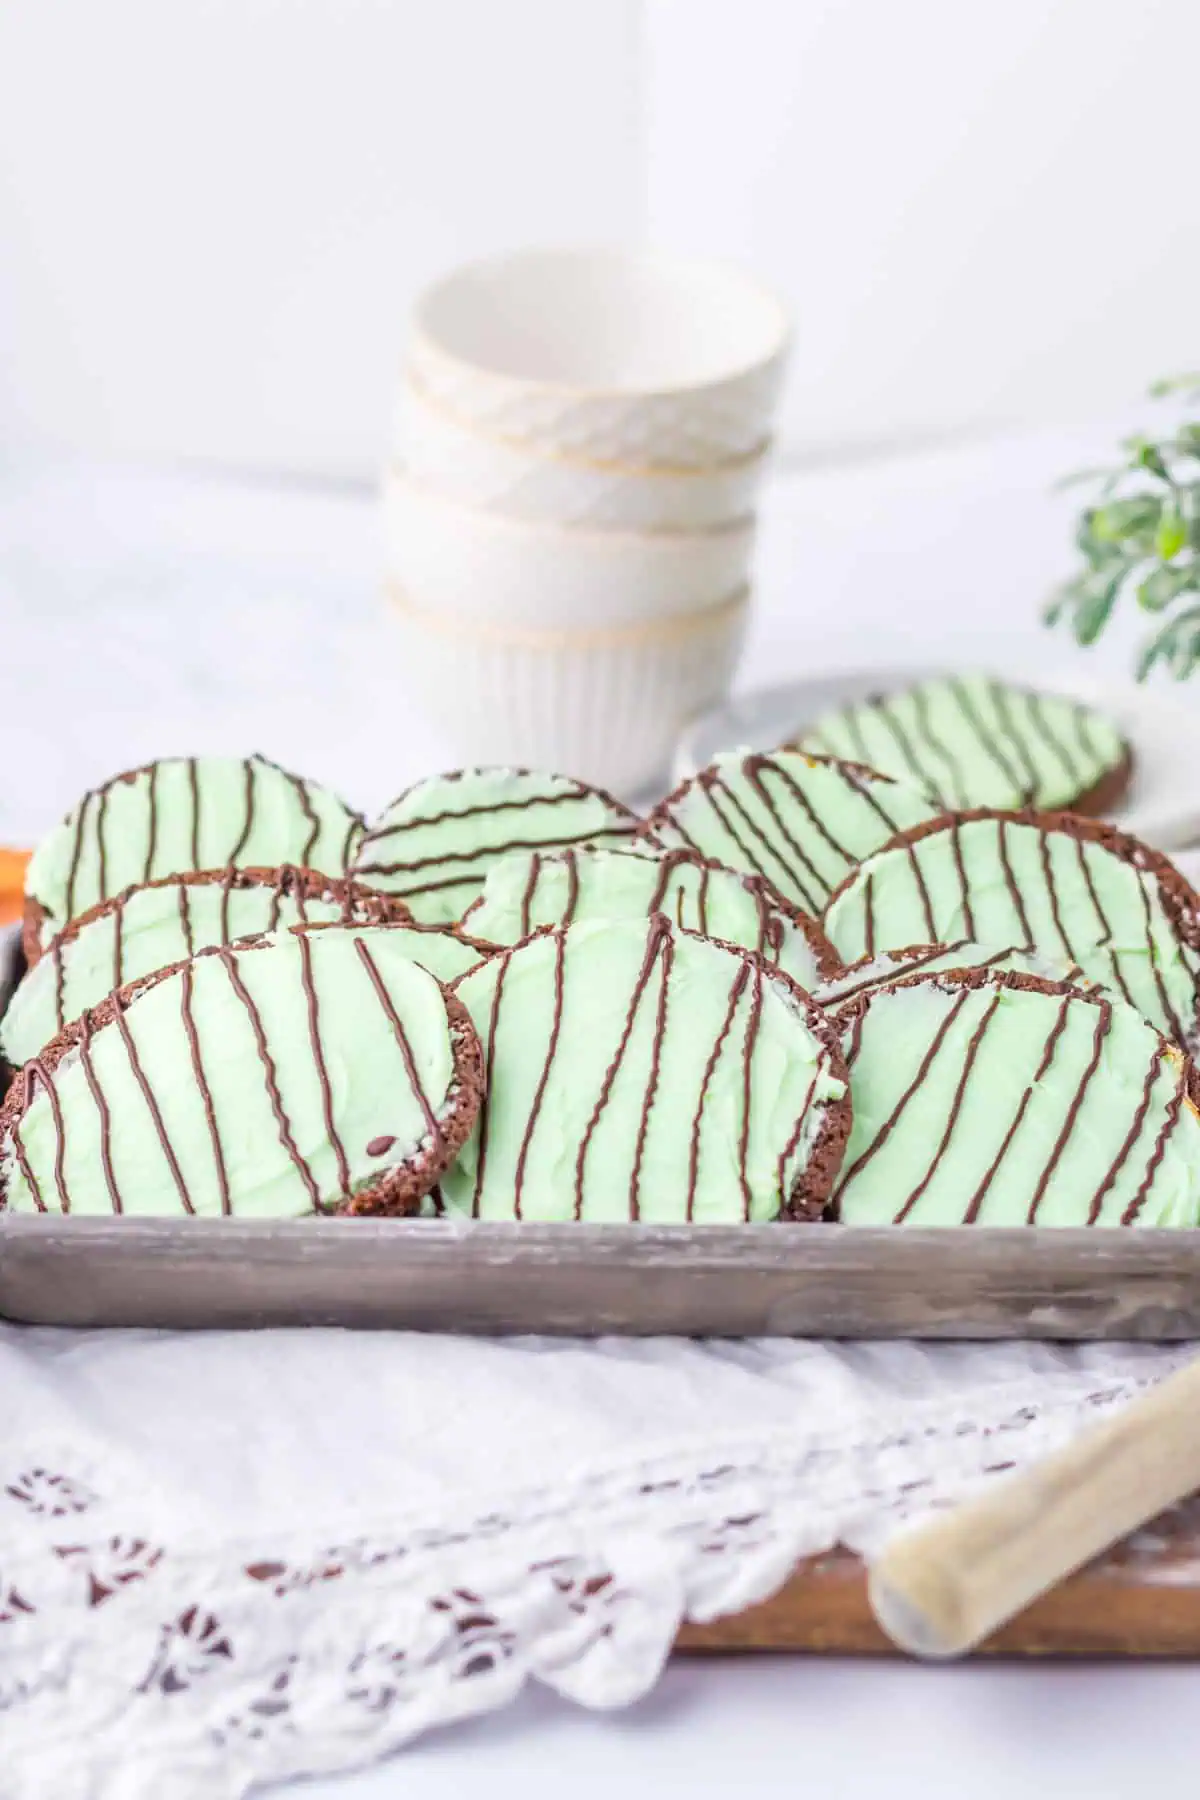
These Thin Mint Chocolate Cookies take everything you love about that classic chocolate and peppermint combination and turn it into a soft, bakery-style cookie. A rich chocolate cookie base gets topped with creamy peppermint frosting and finished with a chocolate drizzle for the perfect mint chocolate bite.
These cookies are inspired by the flavors of Girl Scout's Thin Mint cookies but with a completely different texture. Instead of a crunchy cookie, these are soft, chocolatey, and topped with a fluffy mint frosting that makes them feel extra special. If you love recreating nostalgic treats at home, my Homemade Samoas Cookies are another fun recipe inspired by a classic favorite.
About This Recipe
These thin mint chocolate cookies are soft baked chocolate cookies topped with creamy peppermint buttercream and a semisweet chocolate drizzle. The recipe makes 16 cookies with about 25 minutes of prep, a 10 minute bake, and roughly one hour total including a 20 minute freezer set. Both sticks of butter must be at room temperature before you start. Unlike the crispy boxed version, these stay soft and almost fudgy in the center.
Recipe Snapshot
- Comfort Food Fast: This Instant Pot cube steak turns an inexpensive cut of beef into fork-tender comfort food with rich onion gravy in about 35 minutes.
- Budget Friendly Dinner: Cube steak is one of those affordable beef dinners that feels hearty and homemade without requiring expensive ingredients or all-day cooking.
- Family Favorite: Serve it over mashed potatoes, egg noodles, or rice so every bite soaks up that savory onion gravy.
- Best For: Busy weeknights, budget-friendly family dinners, cozy comfort food cravings, and make-ahead meal prep.
David’s Tip: Don’t rush the natural pressure release. Giving the cube steak a few extra minutes before opening the valve helps relax the meat fibers so the steaks stay tender instead of tough.
SUMMARIZE AND SAVE THIS RECIPE CONTENT ON:
Why You'll Love This Recipe
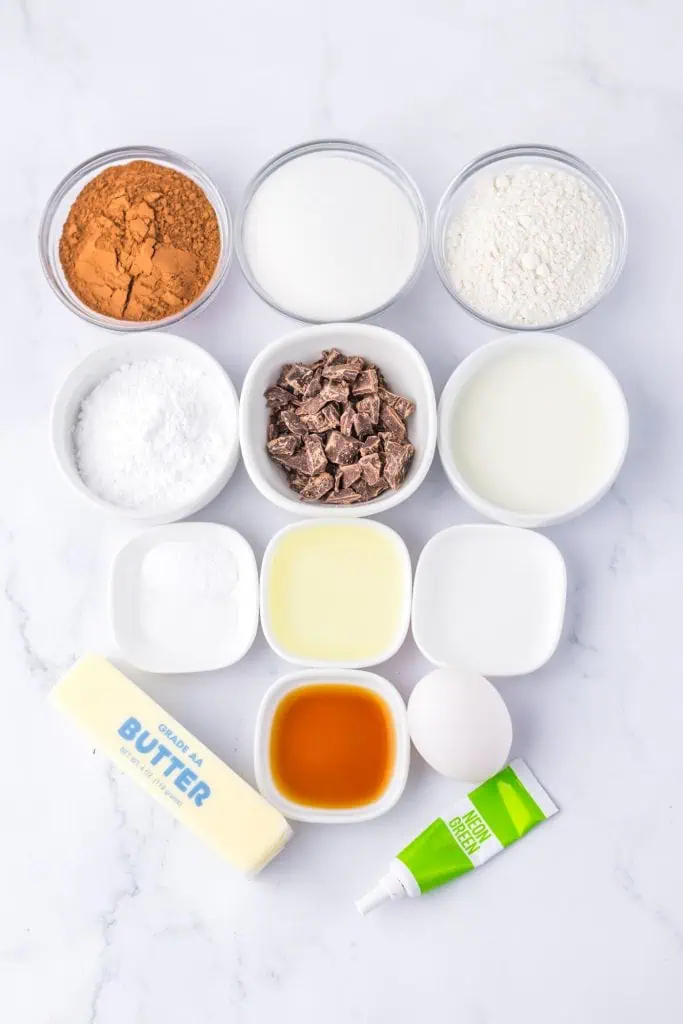
The Ingredient Breakdown
Top Tip for a “Fabulous” Finish
Test your butter before you start. Press a finger into it. It should leave a clear dent with slight resistance, like pressing into clay. If your finger sinks straight in, it's too warm and your frosting will be loose. Too firm and your cookie dough will be lumpy.
How to Make Thin Mint Chocolate Cookies (Step-by-Step)
Step 1: Cream the Butter and Sugar
Preheat the oven to 350°F and line a large baking sheet with parchment paper (or split the batch across two sheets). In a large bowl, beat the room temperature butter and granulated sugar with a hand mixer until the mixture turns lighter in color and fluffy (just about two minutes). Add the vanilla and egg and beat until everything is smooth and glossy.
Step 2: Mix the Chocolate Dough
Add the flour, cocoa powder, baking soda, and salt to the bowl and beat until a soft dough forms. Scrape down the sides and bottom of the bowl with a spoon to catch any hiding pockets of dry ingredients. The finished dough should look like a dark, thick brownie batter that holds together when you pinch it, with zero pale streaks of flour anywhere.
Step 3: Roll, Bake, and Cool
Roll the dough into 1 tablespoon sized balls and space them 1 to 2 inches apart on the baking sheet. Bake for 10 minutes. Here's what I learned after a few batches: the centers will look a touch underdone when the timer goes off, and that's exactly what you want. The edges should be set but the middles still soft, because they finish cooking right on the hot pan. Let them cool for a full 20 minutes before you even think about frosting.
Step 4: Whip Up the Peppermint Frosting
While the cookies cool, beat the butter, powdered sugar, milk, peppermint extract, and a few drops of green food coloring in a large bowl until smooth and creamy. The frosting should hold a soft peak when you lift the beaters and feel thick enough that it doesn't slide off a spoon. Add coloring drop by drop until you hit that pale minty green. If it looks thin or droopy, beat in more powdered sugar a tablespoon at a time.
Step 5: Frost and Freeze
Spread a generous layer of frosting over the top of each cooled cookie with a butter knife, working it almost to the edges. Slide the frosted cookies into the freezer for at least 20 minutes, or overnight if you're making ahead. You'll know they're ready when the frosting feels firm to a gentle fingertip touch instead of soft and tacky.
Step 6: Drizzle and Set
Right before the cookies come out of the freezer, combine the chocolate chips and vegetable oil in a small microwave-safe bowl. Microwave in 30 second bursts, stirring after each one, until the chocolate is completely smooth and pours off the spoon in a glossy ribbon. Transfer it to a small zip-top bag, snip a tiny corner off, and drizzle back and forth over the cold cookies. The chocolate hardens within a few minutes against the frozen frosting. Let them sit briefly, then serve cold or let them thaw slightly first.
David's Tip
Snip the bag corner smaller than you think you need. In restaurant kitchens we always started piping holes tiny because you can cut bigger but you can't cut smaller. A 1/8 inch opening gives you those delicate, professional-looking strands instead of thick ropes of chocolate.
Fun Variations
Candy Cane Crunch: Sprinkle crushed candy canes over the drizzle before it sets for a holiday cookie tray showstopper.
Andes Mint Upgrade: Chop Andes mints and press a few pieces into the frosting before freezing for double the mint chocolate hit.
Thin Mint Sandwiches: Skip the drizzle, flip half the cookies over, and sandwich the frosting between two cookies instead.
Dark Chocolate Drizzle: Swap the semisweet chips for dark chocolate if you like a more bittersweet finish against the sweet frosting.
Mini Bundt Energy: Love this flavor combo in cake form? My chocolate peppermint mini bundt cakes are the same chocolate-mint magic, dressed up for the holidays.
Storage & Make-Ahead Instructions
Make-Ahead Tip: Bake and frost the cookies a day ahead and leave them in the freezer overnight, then drizzle right before serving. The colder the frosting, the faster the chocolate sets.
Room Temperature: Store in an airtight container on the counter for 3 to 4 days. Layer parchment between cookies so the drizzle stays intact.
Refrigerator: Up to one week in an airtight container. The frosting firms up nicely in the fridge, which I honestly think makes them even better.
Freezer: Freeze in a single layer, then transfer to a freezer bag for up to 2 months. Eat them straight from the freezer for the authentic cold thin mint experience, or thaw 10 minutes on the counter.
More Nostalgic Desserts You'll Love
- Homemade Oatmeal Cream Pies
- Cranberry Bliss Bars Starbucks Copycat Recipe
- Blue Raspberry Macarons
- Cherry Fluff Salad
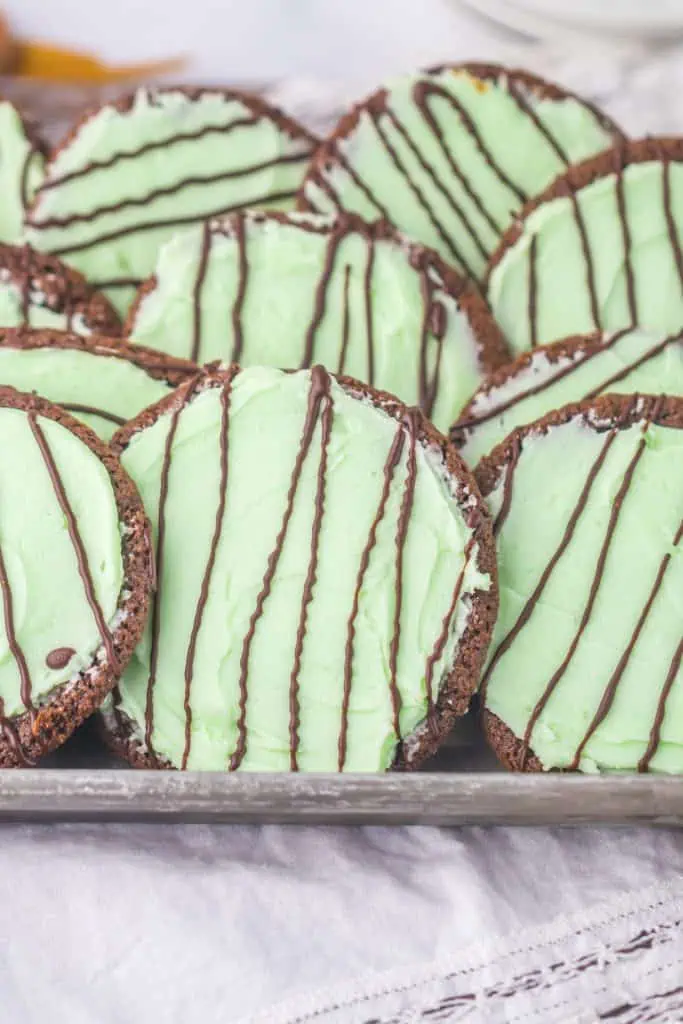
One Batch and You're Hooked
Soft chocolate cookies, cool peppermint frosting, and a chocolate drizzle that snaps. This is everything I love about thin mints without waiting for cookie season or rationing a sleeve from the freezer. That's my favorite kind of recipe: simple ingredients, one hand mixer, and a result that looks like it came from a bakery case.
If you make these thin mint chocolate cookies, I want to hear about it! Leave a comment below, tell me how minty you went, and snap a photo before they disappear. And if you put your own spin on them, candy canes, Andes mints, whatever, share it so the rest of us can steal your idea.
Thin Mint Chocolate Cookies
Ingredients
- 1 stick of unsalted butter room temp (1/2 cup)
- 1 cup of sugar
- 1 tsp vanilla extract
- 1 egg
- 1 1/4 cups of flour
- 1/3 cup of unsweetened cocoa powder
- 1/2 tsp baking soda
- 1/4 salt
- 1/2 cup of butter room temp
- 3 cups of powdered sugar
- 1 tbsp milk
- Green food coloring
- 1 tsp peppermint extract
- 1 cup of semisweet chocolate chips
- 1 tbsp vegetable oil
Instructions
- Preheat the oven to 350° and line a large baking sheet with parchment paper. (or two baking sheets) in a large bowl add the butter and sugar and beat using a hand mixer until the mixture becomes smooth and creamy. Add the vanilla and egg and beat until combined.
- Add in the flour, cocoa powder, baking soda and salt to the bowl and beat again until everything becomes mixed together and a dough forms. Make sure to scrape down the walls with a spoon to get all the dry ingredients mixed together.
- Roll into 1 tbsp sized balls and place them on the baking sheet. About 1-2 inches apart. Bake for 10 minutes. Let cool for 20 minutes after removing them from the oven. While they are cooking make the frosting.
Nutrition
Notes
Pro Tips for Perfect Thin Mint Cookies
- Use a Cookie Scoop: A 1 tablespoon scoop keeps every cookie the same size, which means they all bake in exactly 10 minutes. Uneven balls give you some overdone and some raw.
- Don't Overbake: Slightly underdone centers at the 10 minute mark are the secret to soft cookies. If they look fully done in the oven, they'll be dry by the time they cool.
- Cool Completely Before Frosting: Even slightly warm cookies will melt the buttercream into a glaze. Twenty minutes minimum, and don't rush it.
- Go Easy on the Peppermint: One teaspoon gives you bold thin mint flavor. If you're mint-cautious, start with 1/2 teaspoon, taste the frosting, and add more from there. You can always add but you can't take away.
- Gel Coloring Wins: Gel food coloring gives you vibrant green without thinning the frosting. Liquid coloring works too, just account for the extra moisture with a bit more powdered sugar.
- Mise en Place the Drizzle: Have your bag, scissors, and bowl ready before the cookies leave the freezer. The colder the frosting when the chocolate hits it, the cleaner the set.
Tried this recipe?
Let us know how it was!AQs: Thin Mint Real Talk
Do these taste like real Girl Scout Thin Mints?
The flavor is right there: deep chocolate, cool peppermint, and a chocolate shell. The texture is different on purpose. These are soft and frosted instead of thin and crispy, which I'd argue is an upgrade. Eat one cold from the freezer and you'll get scary close to the original experience.
Can I use mint extract instead of peppermint extract?
I wouldn't. Mint extract usually blends spearmint in, and in a buttercream it reads as toothpaste fast. Peppermint extract gives you that clean, cool flavor the boxed cookies are famous for. It's a small label difference that makes a huge flavor difference.
Why is my frosting runny?
Nine times out of ten your butter was too soft or partially melted. Beat in more powdered sugar a tablespoon at a time until the frosting holds a soft peak. If your kitchen is warm, pop the bowl in the fridge for 10 minutes and beat it again.
Why did my chocolate drizzle melt the frosting?
Either the cookies weren't cold enough or the chocolate was too hot. The frosting needs a full 20 minutes in the freezer until it's firm to the touch, and the chocolate should be melted just until smooth, not steaming. Cold frosting plus warm (not hot) chocolate equals a clean, fast set.
Do I have to use green food coloring?
Not at all. The frosting tastes identical without it. The green is purely for that classic thin mint look, so skip it or swap in a natural food dye if you prefer. White frosting with dark drizzle honestly looks pretty elegant too.
Can I make these ahead of time?
Yes, and they're actually better for it. Bake and frost a day ahead, freeze overnight, then drizzle before serving. Fully finished cookies also freeze beautifully for up to 2 months.
Why did my cookies come out dry and crumbly?
Usually it's too much flour or too long in the oven. Spoon and level your flour instead of scooping, and pull the cookies at 10 minutes even if the centers look slightly soft. They finish setting on the hot pan as they cool.