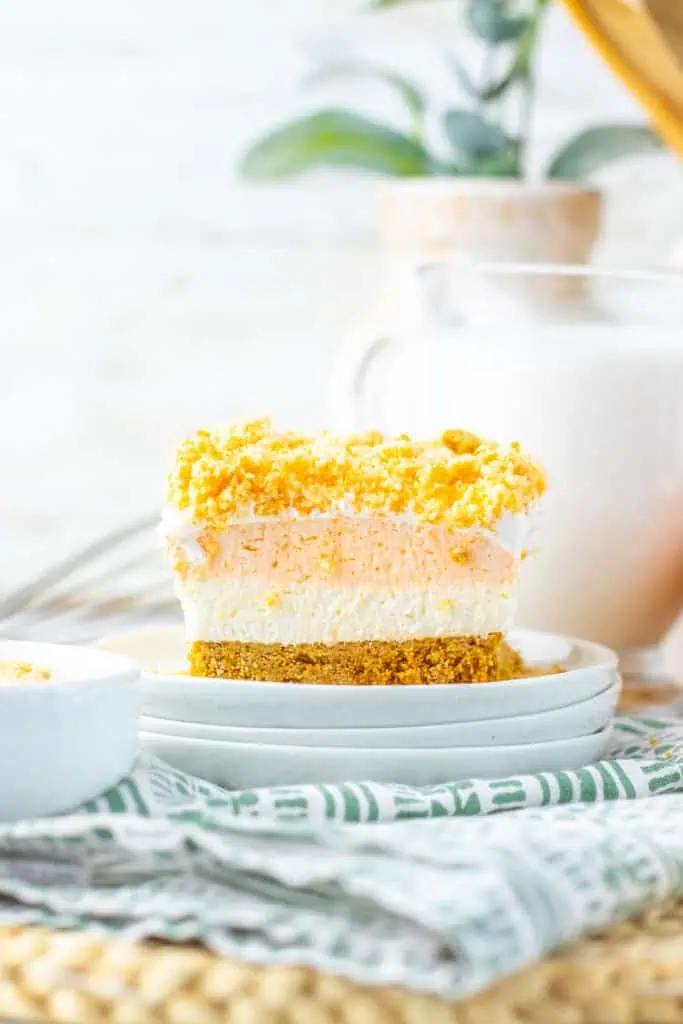
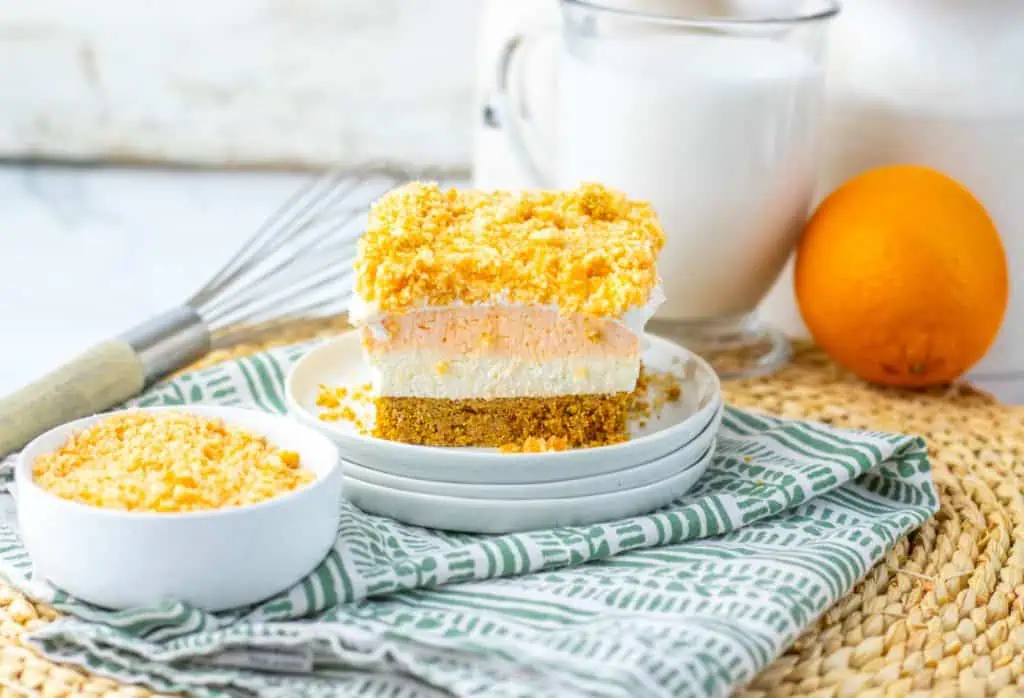
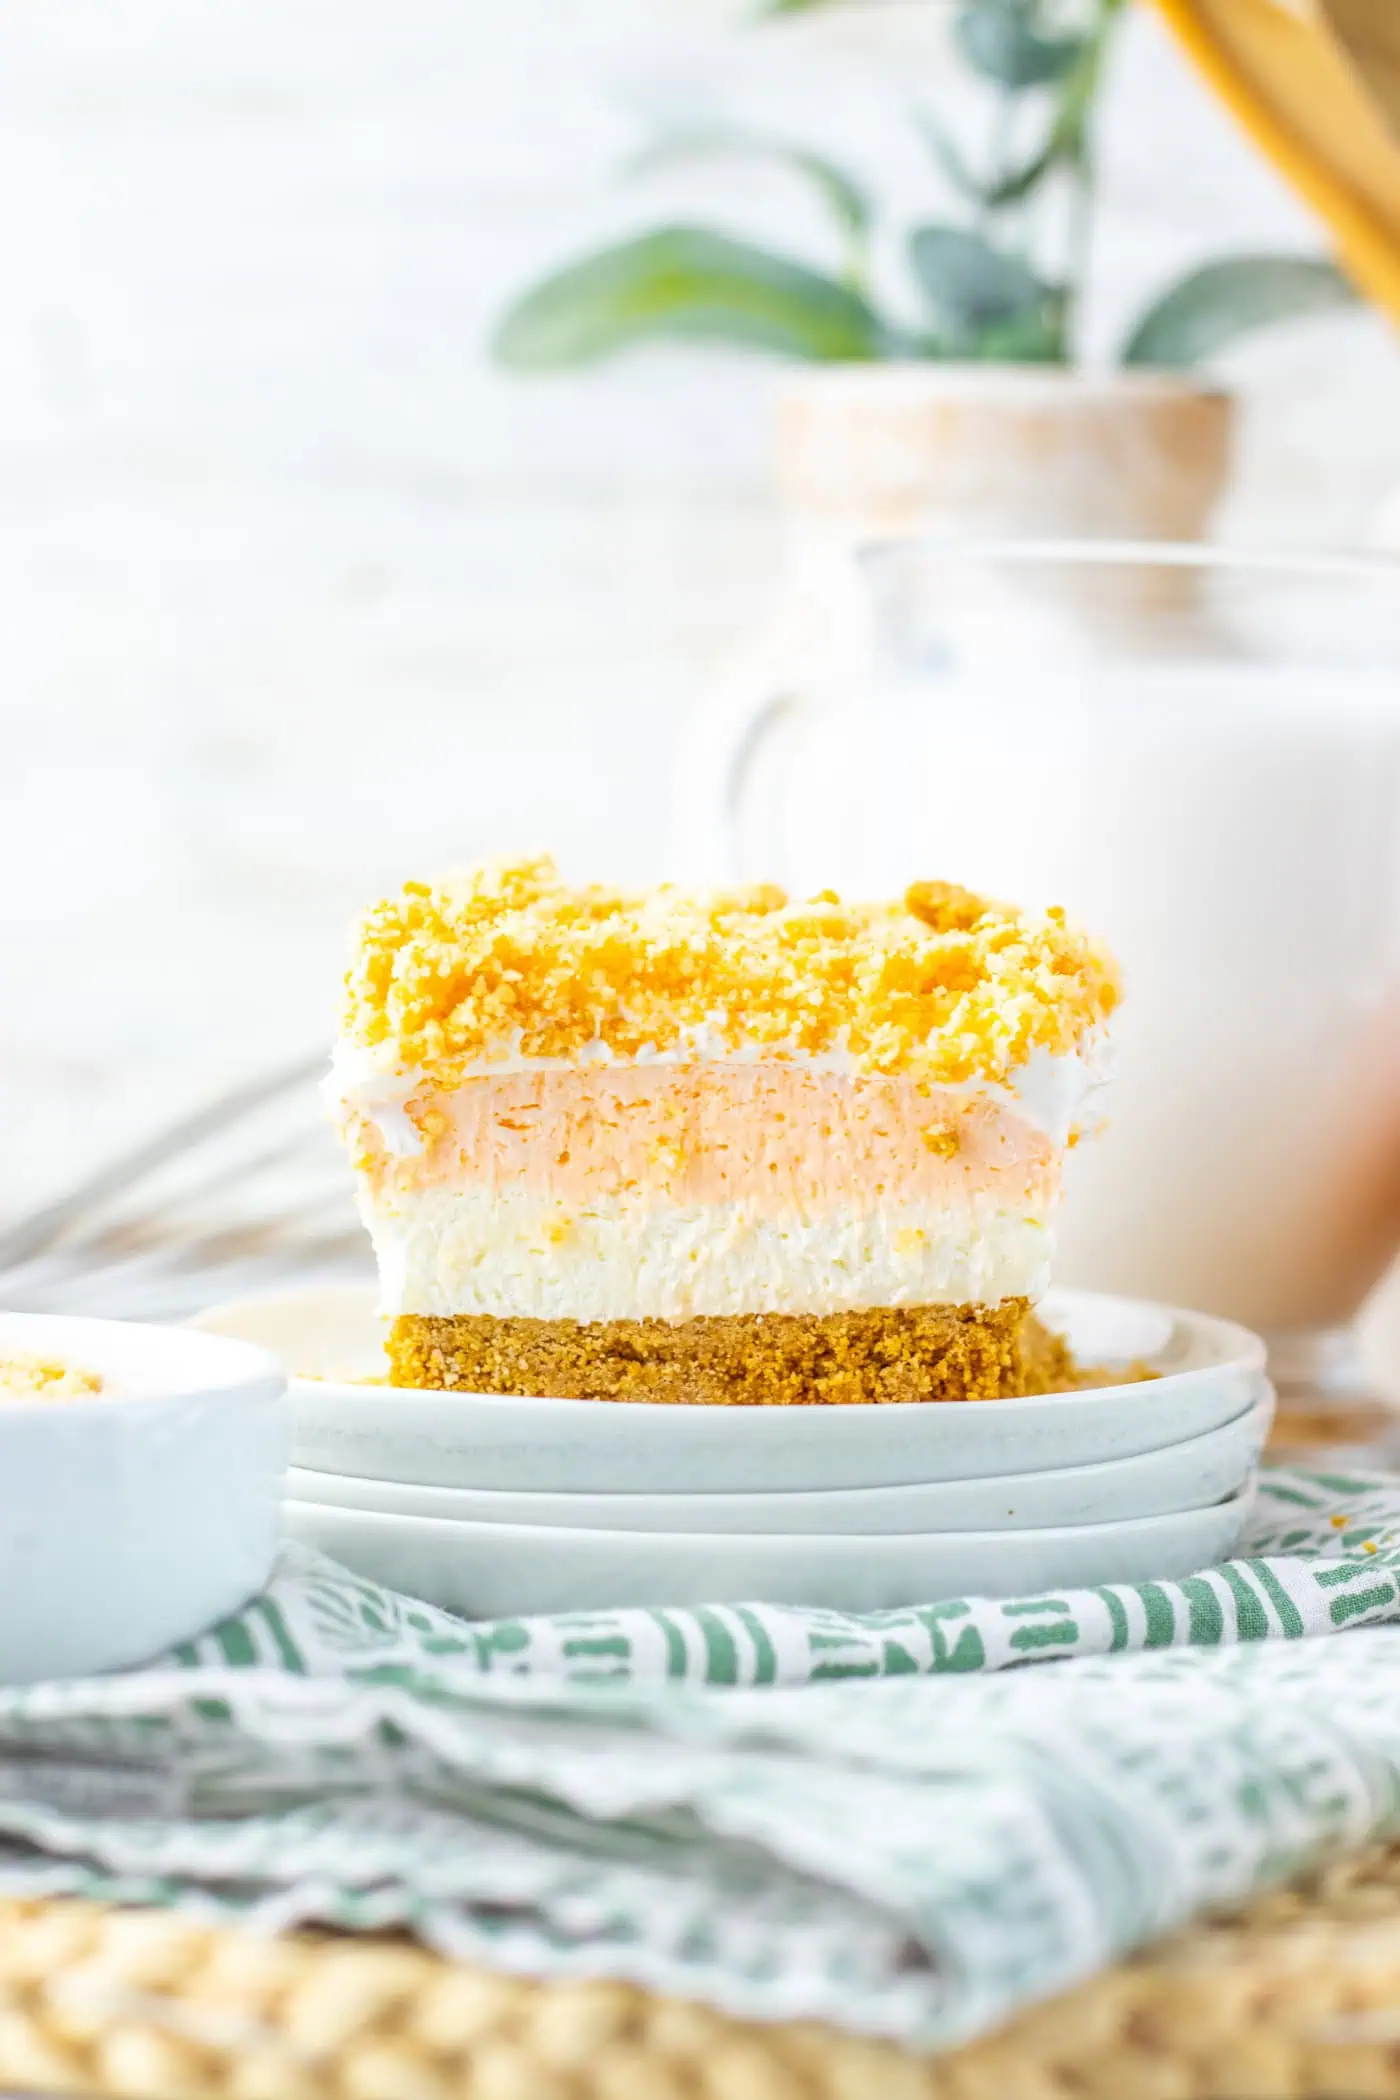
Orange Creamsicle Bars
If the orange creamsicle was your go-to from the ice cream truck, these orange creamsicle bars are about to become your new obsession. We're talking layers of creamy orange-kissed cheesecake filling, fluffy whipped topping, and the thing that sets this recipe apart from every other creamsicle bar out there: a buttery vanilla Oreo and orange jello crunch topping that adds the most satisfying texture to every single bite. Zero oven time. Ten minutes of actual work. Pure nostalgic comfort.
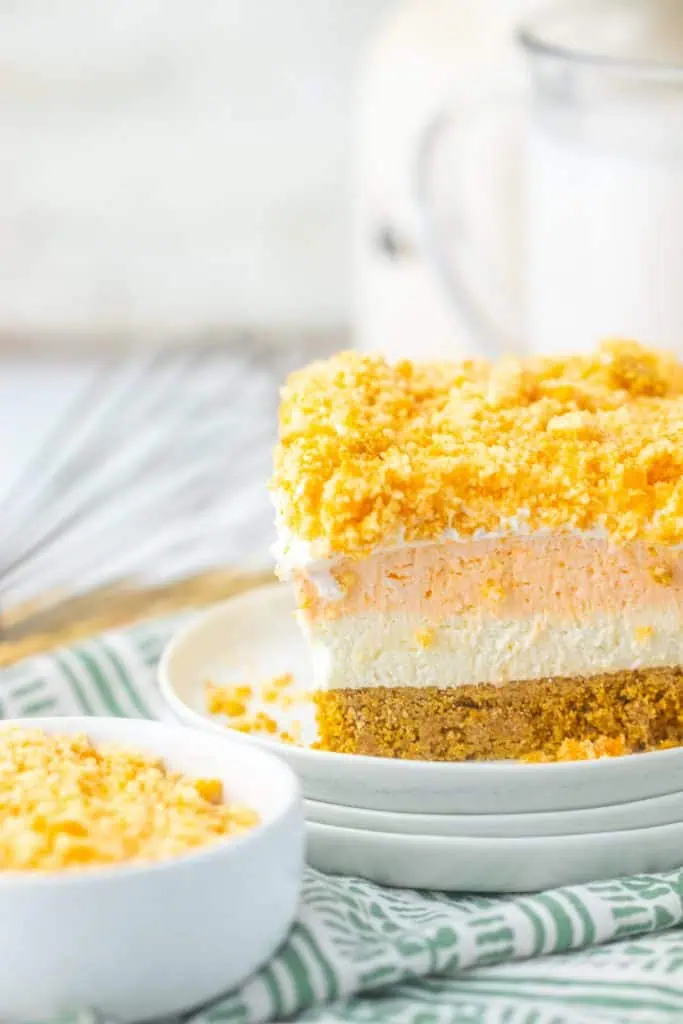
What I love most about this recipe is that crunch topping. Most no-bake creamsicle bars have a filling and a crust and that's it. Here, the combination of crushed vanilla Oreos mixed with dry orange jello powder and melted butter creates this incredible crumbly, citrusy, slightly sweet topping that looks beautiful and adds a completely different texture layer to the bar. It's the kind of detail that makes people take a second bite before they've even finished the first. If you love no-bake desserts that look like they took effort, my Piña Colada Cheesecake Bars and Key Lime Icebox Cake are two more that belong in your warm-weather rotation.
Recipe Snapshot
- That Crunch Topping Is Everything: Crushed vanilla Oreos tossed with dry orange jello powder and melted butter creates a crumbly, citrusy, buttery topping that no other creamsicle bar recipe has. It's the detail that makes people ask for the recipe immediately.
- Three Distinct Layers of Creamy: Plain cream cheese filling, orange-swirled cream cheese filling, and a cloud of whipped topping – each layer adds a different flavor intensity so no bite tastes exactly the same.
- Zero Bake Time, Real Results: Ten minutes of active prep and the fridge does everything else. No oven, no thermometer, no complicated steps.
- Make-Ahead Friendly: These bars need at least an hour to set and are even better after a full night in the fridge. Perfect for prepping the day before a party.
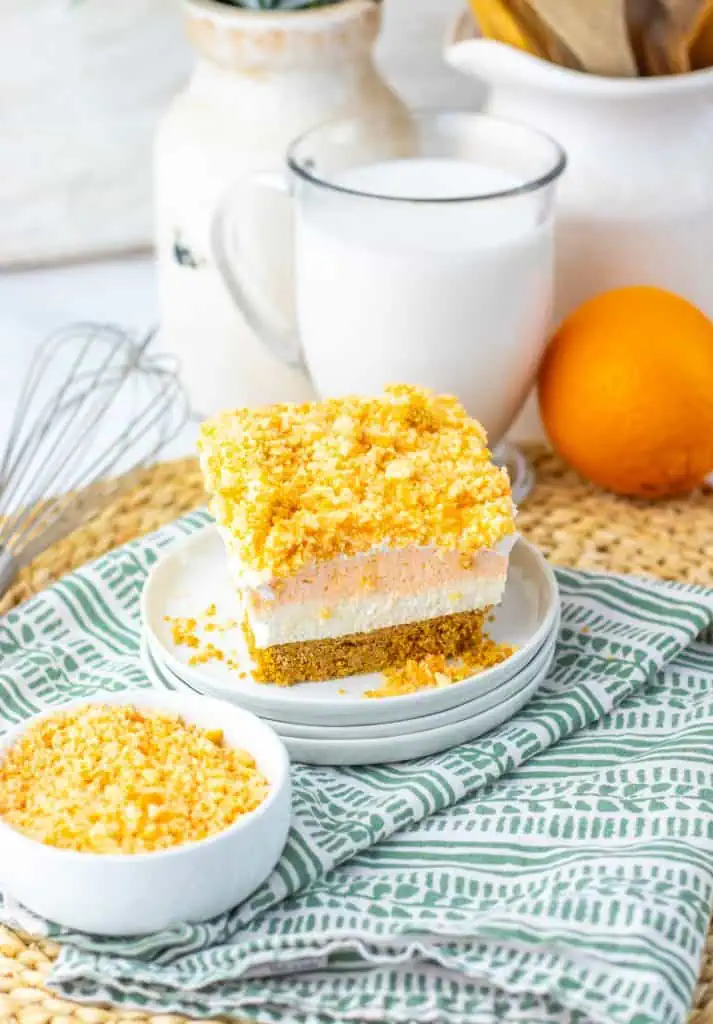
- Best For: Summer cookouts, pool parties, potlucks, 4th of July spreads, Mother's Day, birthday parties, and any gathering where you want a no-bake dessert that looks and tastes genuinely special.
💡 David's Tip: Line the 8×8 pan with parchment paper and leave a generous overhang on all four sides. This is how you lift the entire slab out cleanly to slice into neat bars without digging them out of the pan and ruining the layers. Don't skip the overhang.
These bars are perfect for summer cookouts, potlucks, birthday parties, or any time you need a dessert that impresses without requiring you to turn on the oven. Make them the night before, slice them cold, and watch them disappear.
Why You'll Love This Recipe
Why Does This Recipe Use Dry Jello Mix (And Not Prepared Jello)?
This is the question that trips up most people the first time they make a recipe like this, so let's clear it up right now. The recipe calls for dry orange jello powder used in two different ways – and in neither case do you prepare the jello as instructed on the box.
In the filling: A quarter cup of dry jello powder is folded directly into the cream cheese mixture. Using it dry instead of dissolved gives the filling its intense orange flavor and color without adding extra liquid that would make the filling too soft to set properly. The cream cheese and whipped topping provide all the moisture the filling needs – adding prepared jello on top of that would result in a soupy layer that never firms up.
In the crunch topping: The full 3 oz box of dry jello powder is mixed with the crushed vanilla Oreo crumbs and melted butter. Here, the dry powder is acting as a flavoring and coloring agent, coating every crumb in orange citrus flavor and giving the topping that vivid orange hue. The butter binds everything together so it sprinkles cleanly and holds its shape.
The takeaway: always use the jello dry in this recipe, exactly as written. Adding it prepared (dissolved in water) would throw off the moisture balance in both the filling and the topping and give you a completely different result.
The Ingredient Breakdown
Top Tip for the Fluffiest Filling
Make sure your cream cheese is fully softened before mixing the filling. Cold cream cheese creates little lumps that are almost impossible to smooth out later. Letting it sit at room temperature for a bit makes the filling silky, creamy, and way easier to fold together without overmixing.
Can I Use Real Whipped Cream Instead of Cool Whip?
Yes, but there are some important things to know before you swap. Cool Whip is stabilized, meaning it holds its shape over several days in the refrigerator without weeping or breaking down. Real freshly whipped cream is not stabilized – it will start to lose volume and release liquid after a day or so, which can make the layers look messy and affect the texture of the bars.
If you prefer to use real whipped cream, make stabilized whipped cream instead. Beat two cups of cold heavy whipping cream with two tablespoons of powdered sugar and one teaspoon of pure vanilla extract until stiff peaks form, then fold in one teaspoon of unflavored gelatin dissolved in two teaspoons of cold water. This gives you the stability you need for a chilled bar that holds up for several days.
For the best, most reliable, most stress-free result: stick with Cool Whip (or a store-brand equivalent). It's the right tool for this particular job and makes the recipe significantly more forgiving.
How to Make Orange Creamsicle Bars (Step-by-Step)
Step 1: Make and Chill the Graham Cracker Crust
Line an 8×8 baking dish with parchment paper, leaving a generous overhang on all four sides. In a large bowl, mix the crushed graham crackers and sugar together, then pour in the melted butter and stir with a fork until every crumb is coated and the mixture looks like wet sand. Pour into the lined pan and press firmly into an even layer using the bottom of a measuring cup or glass, getting tightly into the corners. Refrigerate while you make the filling.
Step 2: Make the Cream Cheese Base
In a large bowl, beat the room-temperature cream cheese with a hand mixer on medium speed until completely smooth and creamy – about two minutes. No lumps at all. Add the powdered sugar and fresh orange juice and beat again until fully combined and smooth. Scrape down the sides of the bowl and beat one more time to make sure there are no streaks.
Step 3: Fold in the Whipped Topping
Add 2 cups of the thawed Cool Whip to the cream cheese mixture. Switch from the hand mixer to a silicone spatula and fold gently – do not stir or beat. Fold from the outside of the bowl inward, turning the bowl as you go, until no white streaks remain. This preserves the air in the whipped topping and gives you that light, mousse-like filling.
Step 4: Layer the Filling
Take the crust out of the refrigerator. Spread 2 cups of the plain cream cheese mixture evenly over the crust using an offset spatula or the back of a spoon. Now add the 1/4 cup of dry orange jello powder to the remaining cream cheese mixture in the bowl and fold gently until fully combined with no white streaks. Spread the orange cream cheese layer evenly on top of the plain layer.
David's Tip
For the cleanest, most distinct layers, chill the pan in the refrigerator for 10 minutes after spreading each cream cheese layer before adding the next. This firms the bottom layer just enough that the next layer sits on top rather than sinking in.
Step 5: Add the Whipped Topping Layer
Spread the remaining 1 cup of Cool Whip evenly over the orange cream cheese layer. Take your time here – this is the layer that will be visible under the crunch topping and a smooth, even surface makes the finished bars look genuinely polished.
Step 6: Make and Add the Orange Crunch Topping
Pulse the vanilla Oreos in a food processor until you get fine crumbs with no large chunks. Transfer to a medium bowl and add the full 3 oz box of dry orange jello powder and the 1/4 cup of melted butter. Stir until every crumb is fully coated in the orange-butter mixture – it will look vibrantly orange and smell incredible. Sprinkle evenly over the whipped topping layer.
Step 7: Refrigerate and Slice
Cover loosely with plastic wrap and refrigerate for at least 1 hour, or overnight for best results. When ready to serve, use the parchment paper overhang to lift the whole slab out onto a cutting board. Use a sharp knife wiped clean between cuts to slice into 8 bars. Serve cold.
Fun Variations
Strawberry creamsicle version: Swap the orange jello for strawberry jello and replace the orange juice with two tablespoons of fresh strawberry juice or puree. Use Golden Oreos in the crunch topping with strawberry jello powder. Perfect for Valentine's Day or spring gatherings.
Lemon creamsicle bars: Use lemon jello powder in place of orange and swap the orange juice for fresh lemon juice. Add a teaspoon of lemon zest to the cream cheese filling for extra brightness.
Make it in a 9×13 pan: Double the filling recipe (keep the crust and topping the same) for a larger batch that serves 16. Great for potlucks and parties.
Golden Oreo crust instead of graham crackers: Crush 30 Golden Oreos (filling included) and mix with 5 tablespoons of melted butter. Press into the pan as directed for a sweeter, more cookie-like crust.
Add mandarin oranges: Drain one 11 oz can of mandarin oranges very thoroughly and press them gently into the top whipped topping layer before adding the crunch topping. Adds fresh fruit flavor and looks gorgeous.
Storage & Make-Ahead Instructions
Slicing Tip: Run a sharp knife under warm water, wipe it dry, and slice. Wipe clean between each cut for sharp, clean edges that show off all the layers.
Refrigerator: Store covered with plastic wrap or in an airtight container in the fridge for up to 3 to 4 days. The crunch topping will soften slightly over time – these bars are at their textural best within the first two days.
Freezer: Can be frozen for up to 1 month, but note that the whipped topping may break down slightly when thawed and the crunch topping will lose some crunch. Thaw overnight in the refrigerator, not on the counter.
Make-Ahead: These bars are genuinely better the day after you make them. The layers set more firmly, the flavors meld together, and the crust holds its shape much better. Make the evening before your event and slice right before serving.
More No-Bake Desserts You'll Love
- Butterfinger Lush
- Cherry Fluff Salad
- Tropical Fruit Marshmallow Fluff
- Orange Fluff Salad
- Mason Jar No-Bake Strawberry Cheesecake
Make a Pan This Weekend
These orange creamsicle bars are the kind of no-bake dessert that punches way above its effort level. Ten minutes of prep, a handful of simple ingredients, and one hour in the fridge stands between you and a dessert that tastes like summer and looks like you put in a lot more work than you actually did. That's my favorite kind of recipe.
Give these a try and let me know how it went in the comments below! Did you try a different jello flavor? Did you add mandarin oranges? Did you make the 9×13 version for a crowd? I want to hear all about it. And if you share a photo on Pinterest, tag FoodnService – these bars look incredible and I would love to see yours.
Orange Creamsicle Bars
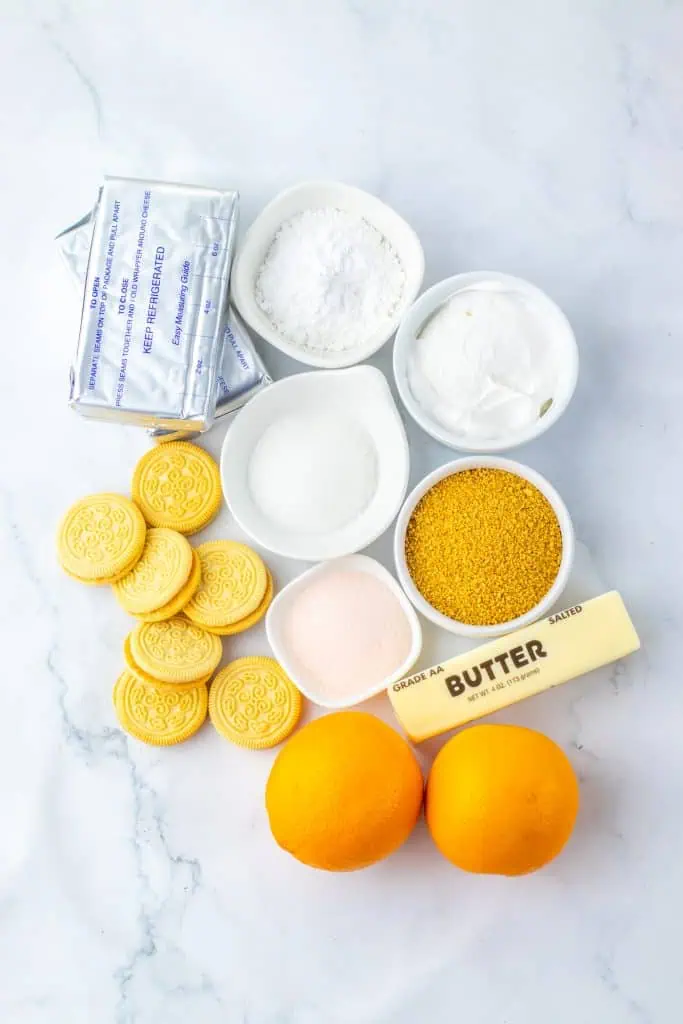
Ingredients
- 2 cups of finely crushed graham crackers
- 1 stick of unsalted butter melted
- 1 tbsp of sugar
- 2 blocks of cream cheese room temp
- 1 1/3 cup of powdered sugar
- 1/4 cup of juice from an orange
- 1 3 oz box of orange jello mix only 1/4 cup
- 3 cups of whipped topping thawed
- 20 vanilla Oreos crushed into crumbs
- 1/4 cup of unsalted butter melted
- 1 3 oz box of orange jello mix
Instructions
- In a large bowl add the crushed graham crackers and sugar and mix together, add 1 stick of melted butter to the bowl and stir with a fork until all the crumbs are coated. Line an 8×8 baking dish with parchment paper.
- Pour the crumbs into the 8×8 and spread and flatten evenly. Place in the refrigerator. In a large bowl add the cream cheese and beat with a hand mixer until creamy. Add the powdered sugar and orange juice, beat again until everything is mixed together and there are no lumps.
- Add 2 cups of whipped topping and fold using a silicone spoon. Fold until everything is well mixed. Take the crust out of the refrigerator and add 2 cups of the cream cheese mixture, spread evenly on top of the crust.
- Add 1/4 cup of the orange jello mixture to the rest of the cream cheese mixture in the bowl, fold again using the silicone spoon until there’s no more white streaks. Add the orange cream cheese mixture on top of the regular cream cheese mixture and spread.
- Add the remaining whipped topping to the top of the orange cream cheese mixture and spread around. Add the Oreos to a food processor and pulse until you get crumbs.
- Add the crumbs to a medium sized bowl and add the 3 oz of orange jello mix and 1/4 cup of melted butter, stir until everything is completely coated. Sprinkle on top of the whipped topping and place in the refrigerator for 1 hour.
- Lift the parchment paper up and slice into bars, serve and enjoy!
Nutrition
Notes
Pro Tips for Perfect Orange Creamsicle Crunch Bars
- Room temperature cream cheese is non-negotiable: Cold cream cheese will never beat smooth no matter how long you mix it. You'll end up with lumps in the filling that you can't get rid of. Leave it on the counter for a full hour before starting.
- Fold, don't stir, the whipped topping: Stirring deflates Cool Whip and turns your light, airy filling into something dense. Use a silicone spatula and fold gently from outside to inside. It takes slightly longer but the texture difference is significant.
- Press the crust firmly: A loose crust falls apart when you slice the bars. Use the bottom of a measuring cup to pack it tightly into every corner. The firmer the crust, the cleaner the bars.
- Leave the parchment overhang: This is the only way to get the bars out of the pan without destroying the layers. Leave at least two inches of overhang on each side before you add the crust.
- Chill overnight for the cleanest slices: The one-hour minimum is enough to set the bars, but overnight chilling gives you much cleaner, more distinct layers and slices. If you can plan ahead, make these the night before.
- Wipe the knife between cuts: A clean, slightly damp knife gives you sharp, clean slice edges that show off all the layers. Dragging a dirty knife through the bars smears the layers together and looks messy.
Tried this recipe?
Let us know how it was!FAQs: Creamsicle Bar Questions, Answered
Why does this recipe use dry jello mix instead of prepared jello?
Because adding prepared jello (dissolved in water) to a cream cheese filling would throw off the moisture balance and create a layer that never properly sets – you'd end up with something soupy rather than creamy and firm. The dry jello powder is used as a flavoring and coloring agent. It dissolves into the cream cheese and whipped topping mixture and gives you intense orange flavor without added liquid. In the crunch topping, the dry powder coats the Oreo crumbs in orange flavor and color without making them soggy.
Can I use real whipped cream instead of Cool Whip?
You can, but plain freshly whipped cream isn't stable enough for a chilled bar that needs to hold its shape over multiple days. If you prefer real dairy, make stabilized whipped cream by dissolving one teaspoon of unflavored gelatin in two teaspoons of cold water, then beating it into two cups of heavy whipping cream with a couple tablespoons of powdered sugar. For the easiest, most reliable result, Cool Whip is the right choice here.
Can I freeze these bars?
Yes, but with some caveats. They can be frozen for up to a month, but the whipped topping may break down slightly when thawed and the crunch topping will lose some of its crispness. For the best texture, refrigerate rather than freeze and consume within three to four days. If you do freeze them, thaw overnight in the refrigerator rather than on the counter.
My cream cheese filling has lumps – what went wrong?
Almost always a temperature issue. Cold cream cheese will never beat fully smooth. Make sure your cream cheese is fully at room temperature (this takes a solid hour on the counter) and beat it alone for a full two minutes before adding any other ingredients. If you already have lumps, pressing the mixture through a fine mesh strainer can help.
Can I make these in a 9×13 pan?
Yes. Double the filling recipe and keep the crust and topping amounts the same. The bars will be slightly thinner per layer but still delicious. A 9×13 pan makes 16 bars and is great for a large party or potluck.
How far in advance can I make these bars?
Up to two days ahead is ideal. The bars taste better after an overnight rest because the layers set more firmly and the flavors meld together. Make the evening before your event, keep covered in the fridge, and slice right before serving. Beyond two days the crunch topping starts to soften as it absorbs moisture from the whipped topping.
Can I use a different flavor jello?
Absolutely. Lemon, lime, strawberry, and grapefruit all produce fantastic results with the same creamsicle concept. Strawberry jello with strawberry juice instead of orange juice makes a beautiful strawberry creamsicle bar. Just match the jello flavor to any fruit juice adjustments you make to the filling.