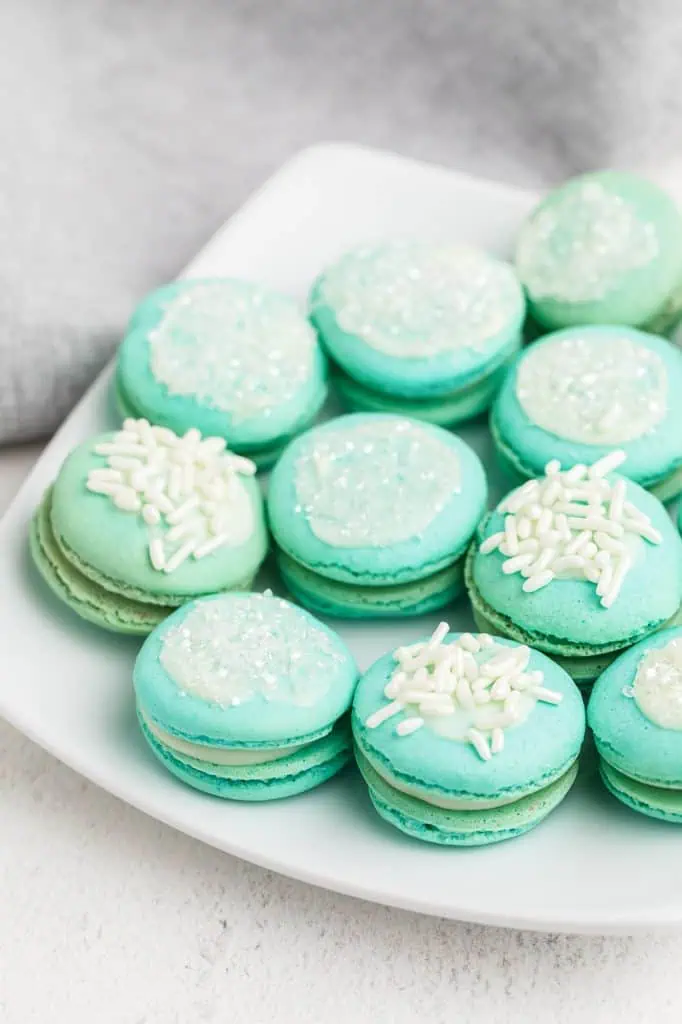
Blue Raspberry Macarons
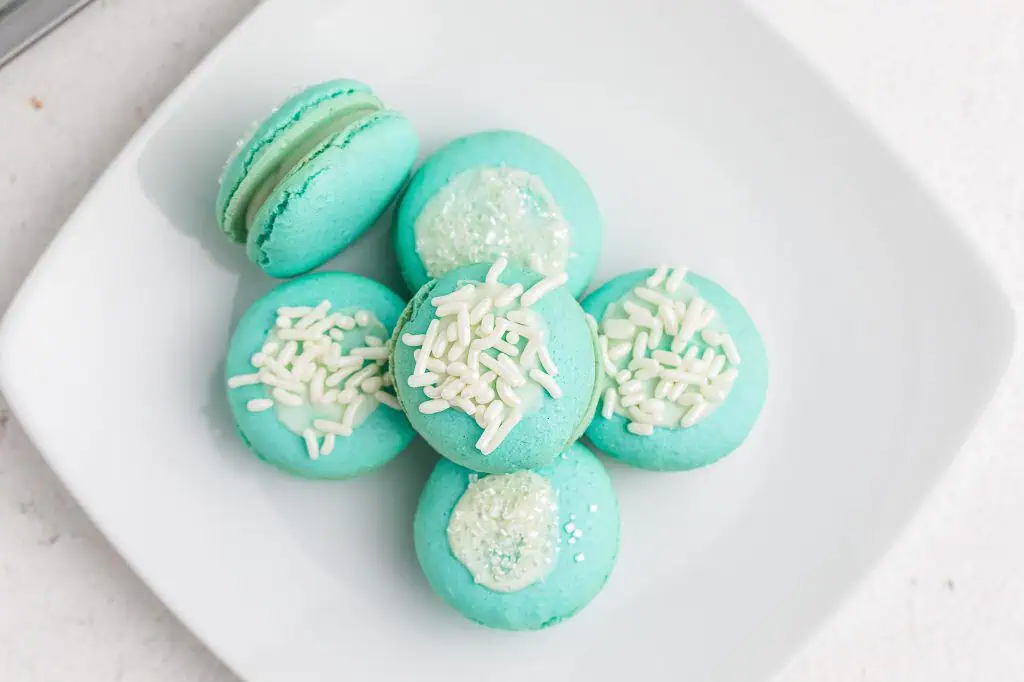
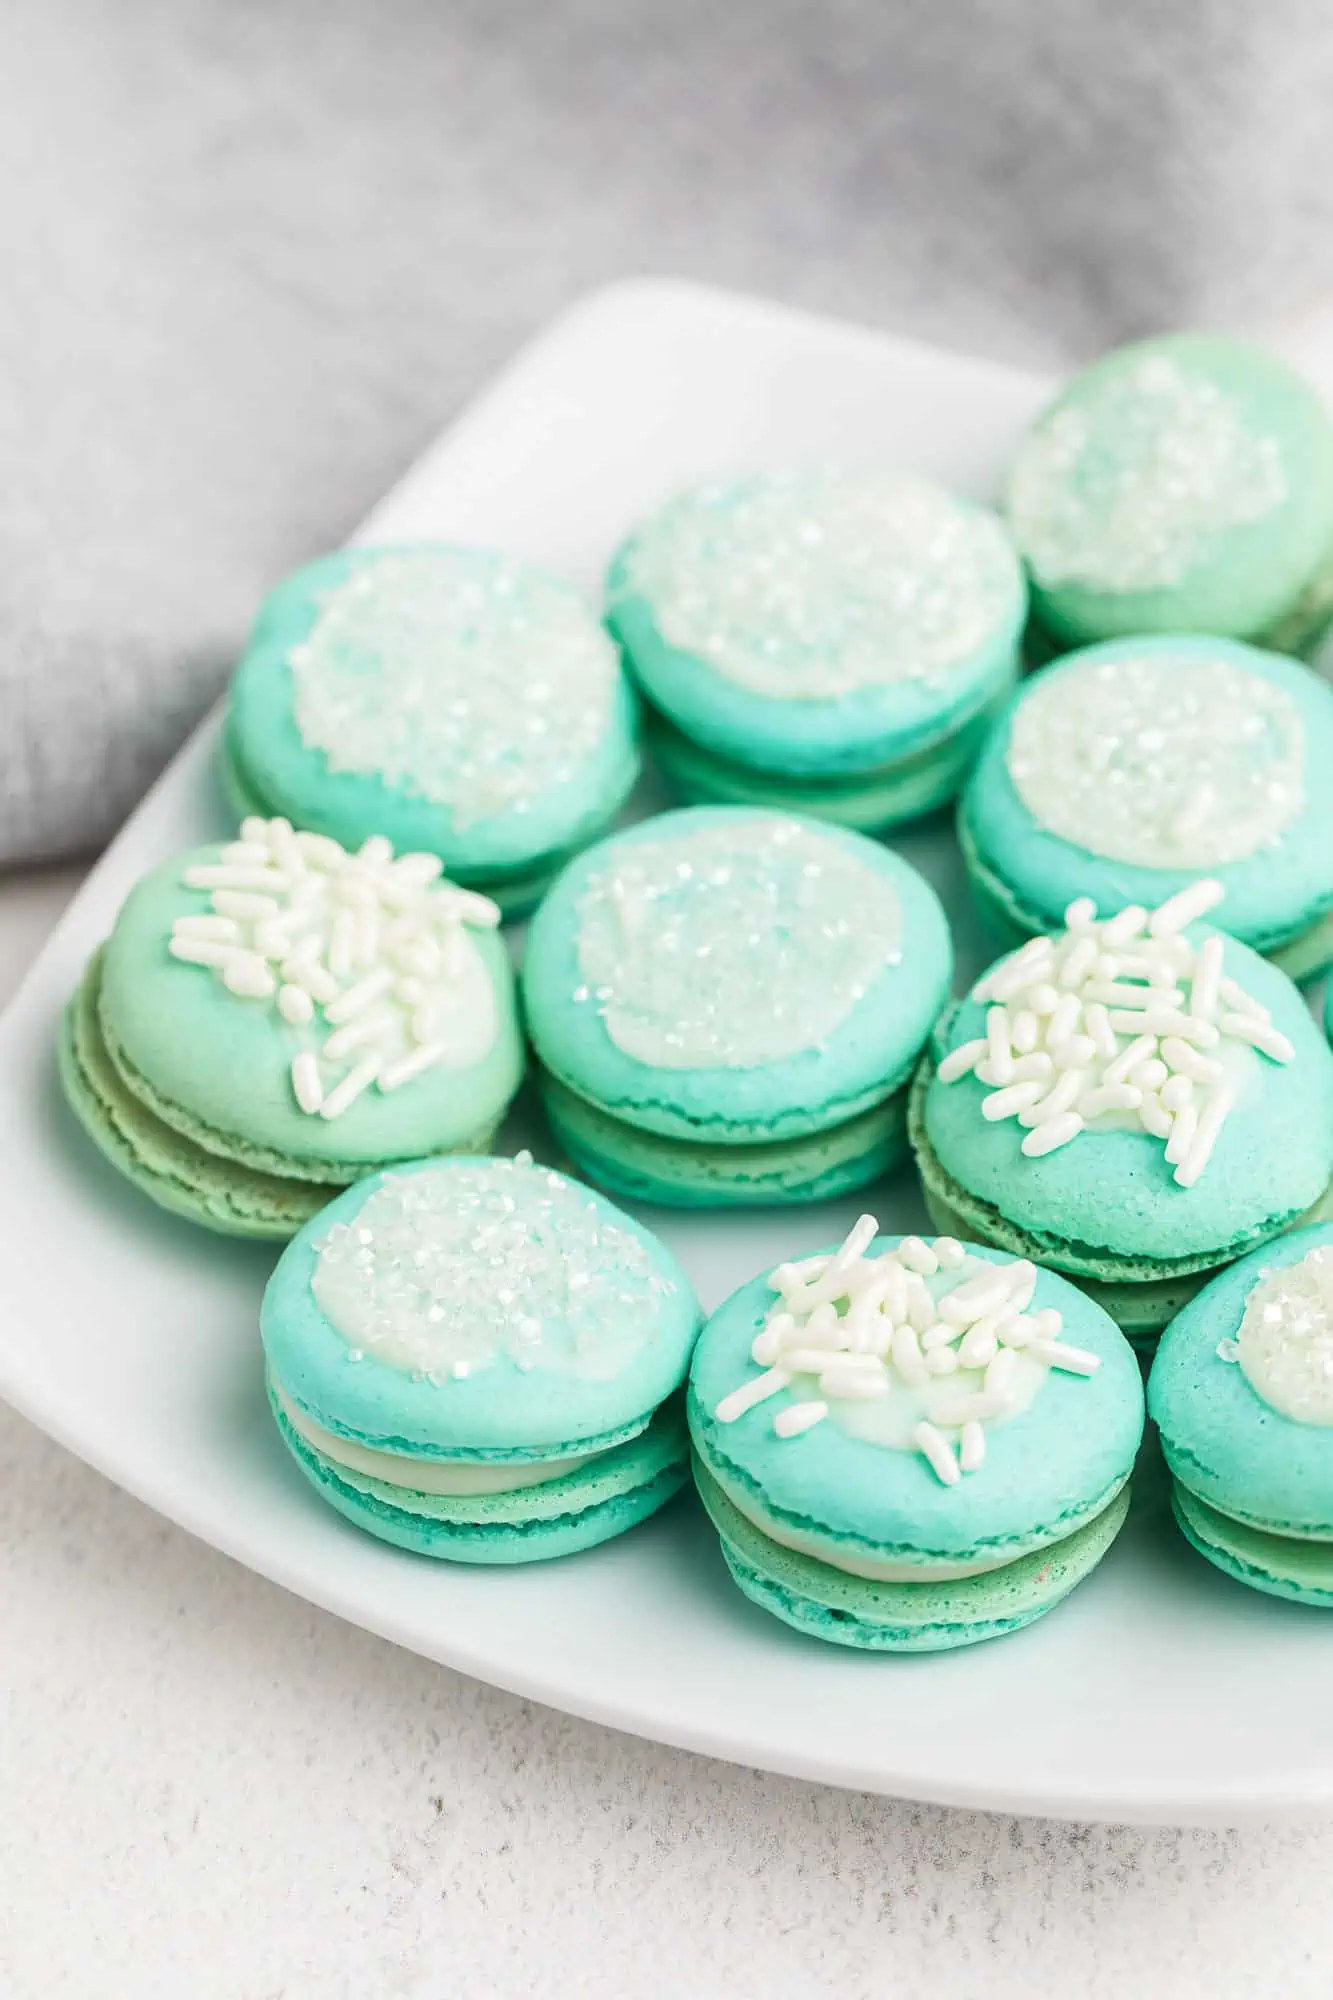
These Blue Raspberry Macarons are colorful, fun, and filled with a creamy raspberry white chocolate ganache that makes every bite feel extra special. The bright blue shells give them that playful blue raspberry look, while the delicate almond cookie and smooth filling bring classic French macaron texture.
Macarons have a reputation for being intimidating, but once you understand what the batter should look like, how resting works, and why little details matter, they become so much less scary. This recipe walks you through those important steps so you can create beautiful macarons with those signature little “feet.” My Lavender Macarons are another fun flavor to try after you master this batch!
About This Recipe
Blue Raspberry Macarons are French-style meringue sandwich cookies made with egg whites, granulated sugar, almond flour, and powdered sugar, tinted aqua with gel food coloring and filled with a white chocolate raspberry ganache. The recipe makes approximately 20 to 24 sandwich cookies, takes about 30 minutes of active prep plus 20 to 40 minutes of resting time, and bakes at 280°F for 15 to 18 minutes. All ingredients should be at room temperature. The ganache needs 30 minutes of refrigeration before piping. Humidity significantly affects resting time — plan for up to an hour in humid conditions.
Recipe Snapshot
- The figure-8 test tells you everything: When you lift your spatula and the batter falls in a slow, continuous ribbon that you can draw a figure 8 with without it breaking, the macaronage is done. Too thick and you're undermixed. Too runny and you've gone too far.
- Humidity is a real variable: On a dry day you might rest them 20 minutes. On a humid summer day you might need a full hour. The test is the same either way — touch the edge lightly and if it doesn't stick to your finger, they're ready.
- Low and slow in the oven: 280°F feels too low — it's not. The low temperature gives the feet time to bloom without the shells cracking or browning.
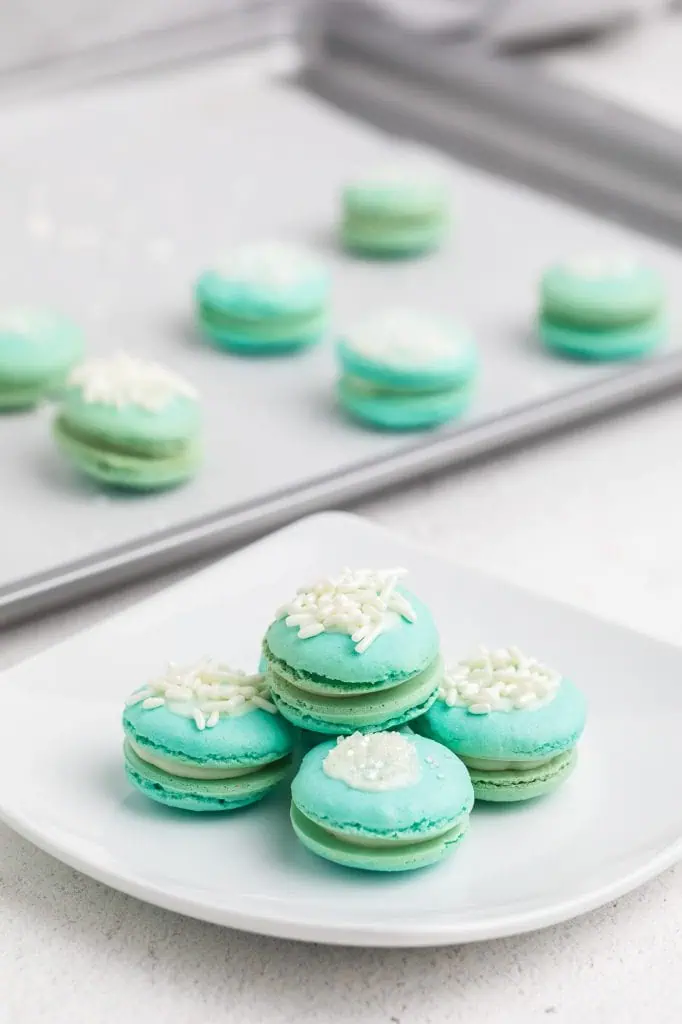
- The feet bloom in the oven: You'll actually see them appear through the oven door. It happens around the 5-minute mark. That little ruffle around the base is the sign of a successful macaron.
- They get better after 24 hours: Macarons are almost always better the day after they're filled. The ganache softens the shell slightly from the inside and the whole cookie becomes more cohesive.
- Best For: Dinner parties, bridal showers, baby showers, Valentine's Day, Easter, dessert tables, and gifting.
💡 David's Tip: Use a kitchen scale for this recipe. I know measuring cups feel easier, but macaron ratios are precise enough that a few grams in either direction can affect the outcome. Setting your scale to grams and weighing the almond flour and powdered sugar takes 30 extra seconds and gives you dramatically more consistent results batch after batch.
SUMMARIZE AND SAVE THIS RECIPE CONTENT ON:
Why You'll Love These Blue Raspberry Macarons
The Macaron Shell Ingredient Breakdown
The White Chocolate Raspberry Ganache Breakdown
Top Tip for a “Fabulous” Finish
Make the ganache first, before you start the shells, so it has time to chill while you're making and resting the macarons. By the time the shells are baked, cooled, and ready to fill, the ganache will be at exactly the right piping consistency. If you make them in the reverse order, you'll be waiting on the ganache at the very end.
How to Make Blue Raspberry Macarons (Step-by-Step)
Step 1: Make the Ganache First
Place the white chocolate chips in a heatproof bowl. Heat the heavy cream in the microwave for 30 to 45 seconds, or in a small saucepan over medium heat until just steaming — not boiling. Pour the hot cream over the chocolate chips and let it sit undisturbed for 60 seconds. Then stir gently from the center outward until completely smooth and glossy. Stir in the raspberry extract. Cover and refrigerate for 30 minutes until firm enough to pipe. It should look thick and hold a soft peak when you lift the spoon.
Step 2: Prep Your Pans and Preheat
Line two baking sheets with silicone baking mats or parchment paper. If you're using parchment, you can print or draw 1 to 1½-inch circles as a template and slide it underneath to guide your piping — just remove it before baking. Preheat your oven to 280°F. This temperature is lower than most baking, and that's intentional.
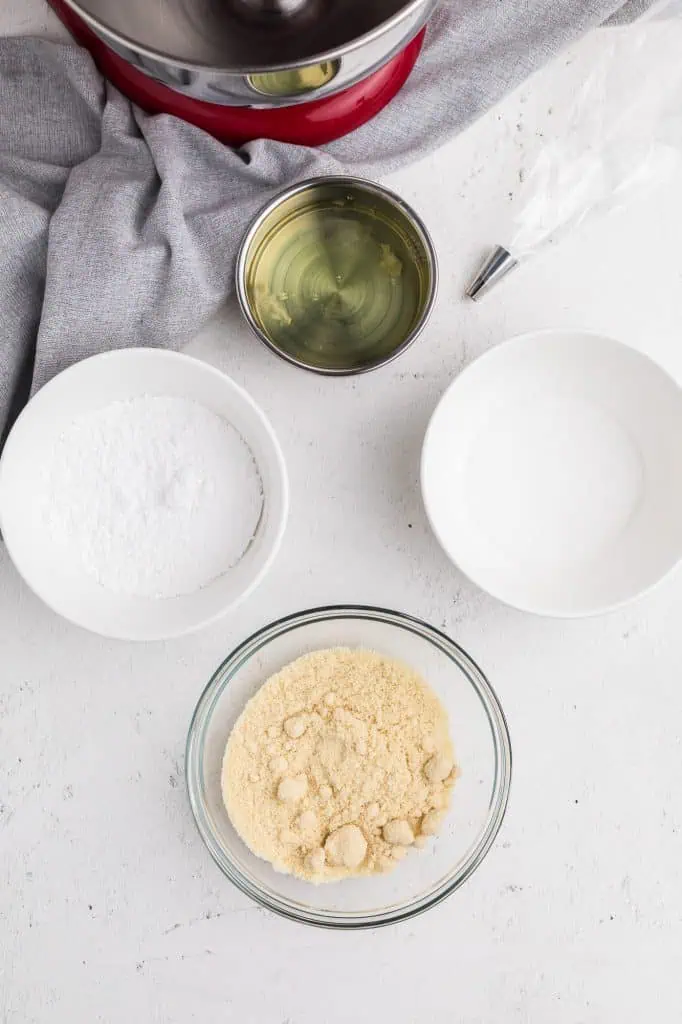
Step 3: Make the Meringue
Place the egg whites and granulated sugar into the bowl of a stand mixer fitted with the whisk attachment. Start on low speed for 1 to 2 minutes until the whites are foamy and the sugar begins to dissolve. Increase to speed 6 for 2 minutes, then increase to speed 8 for 5 to 6 minutes. By the end, the meringue should be glossy, white, and holding stiff peaks that point straight up when you pull the whisk away. The bowl should feel stable when you tilt it — the meringue shouldn't slide or slump. If it's still soft or droopy, keep going in 1-minute intervals.
Step 4: Combine Almond Flour and Powdered Sugar
In a separate bowl, whisk together the almond flour and powdered sugar until combined. If your almond flour is coarser than you'd like, sift the mixture through a fine mesh strainer and discard any large pieces — they'll create bumpy shells. I use fine almond flour and just whisking does the job. The mixture should look like fine, pale sand.
Step 5: Macaronage — The Most Important Step
Pour the almond flour and powdered sugar mixture into the bowl with the meringue. Using a rubber spatula, fold the two together — scoop from the bottom, press against the side of the bowl, and fold over the top. This is called macaronage and the goal is to deflate the meringue slightly while combining the ingredients. After about 20 to 25 folds, add the gel food coloring and continue folding. You're looking for a very specific consistency: when you lift the spatula, the batter should fall in a slow, thick ribbon. You should be able to draw a figure 8 with the falling batter without it breaking. If it falls in chunks, you're undermixed. If it flows like water, you've gone too far — there's no coming back from overmixing. Stop and test frequently after 30 total folds. Most batters are ready between 40 and 55 folds total.
Step 6: Pipe the Shells
Transfer the batter to a piping bag fitted with a round tip (Wilton #10 or #12 works well). Hold the bag straight up and down, perpendicular to the baking sheet. Pipe 1 to 1½-inch circles, releasing pressure and flicking the bag slightly to the side to finish each circle cleanly. Space them about an inch apart — they spread slightly. Once piped, pick up each baking sheet and firmly slam it down on the counter several times to release any large air bubbles. Then pop any remaining bubbles visible on the surface with a toothpick.
Step 7: Rest Before Baking
Let the piped macarons sit at room temperature until the tops are dry enough to touch without sticking. On a low-humidity day this takes 20 to 30 minutes. On a humid summer day it could take 40 minutes to an hour. Don't rush this step — the dry skin is what forces the rising batter sideways rather than upward, which is what creates the feet. To test, lightly touch the very edge of one macaron shell. If it doesn't stick to your finger and feels slightly tacky but dry, they're ready. If it's still wet or leaves any residue, give them more time.
Step 8: Bake
Bake one sheet at a time in the center of the oven. Bake for 5 minutes, then rotate the pan 180 degrees. Bake another 5 minutes, then rotate again for a final 5 to 8 minutes — 15 to 18 minutes total. Watch through the oven door around the 5-minute mark: you'll see the feet begin to form, puffing out from the base of each shell. That's the sign everything is working. When done, the shells should feel set and firm to a gentle touch, and they should release from the mat or parchment cleanly — if they stick, give them 2 more minutes. Remove from the oven and let them cool completely on the baking sheet before attempting to remove them.
David's Tip
Ovens vary wildly, and macaron temperature is one of the most common reasons for failure. If your shells are cracking, your oven is likely running hot — try dropping to 270°F. If the feet aren't developing, try going up to 285°F. An inexpensive oven thermometer is one of the best investments you can make for this recipe specifically. The temperature dial on most home ovens can be off by 15 to 25 degrees in either direction.
Macaron Troubleshooting Guide
Fun Variations
Lemon Raspberry: Keep the same shell color and add 1 teaspoon of lemon zest to the ganache along with the raspberry extract. The combination of white chocolate, raspberry, and lemon is genuinely excellent and feels very spring.
Strawberry Version: Use pink gel coloring instead of blue and swap raspberry extract for strawberry extract in the ganache. Same technique, completely different vibe — perfect for Valentine's Day or a bridal shower. Similar to my Snowman Macarons in terms of the white-on-white decoration look.
Vanilla Bean: Skip the extract entirely and split a vanilla bean into the warm cream before adding it to the chocolate. Let it steep for 5 minutes, then strain before pouring over the chocolate. The flavor is subtle, elegant, and pairs with any shell color.
Dark Chocolate Fill: Replace the white chocolate ganache with a dark chocolate version — 160g dark chocolate chips with 80g heavy cream. No extract needed; dark chocolate is bold enough on its own. The contrast of the bright blue shell and dark filling is striking.
Holiday Colors: The exact same recipe with different gel colors and different extracts becomes a completely new macaron for any occasion. Red and green for Christmas, pastels for Easter, patriotic colors for 4th of July. The technique is the template.
Storage and Make-Ahead Instructions
Make-Ahead Strategy: Make the ganache the day before and refrigerate overnight. The next day make and bake the shells, fill them, then refrigerate the finished macarons for 24 hours before serving. This is the version that tastes the best.
Refrigerator: Store filled macarons in an airtight container in the fridge for up to 5 days. They're best on day two or three after the ganache has had time to work into the shell.
Freezer: Freeze filled macarons in a single layer on parchment, then transfer to a freezer-safe container with layers separated by parchment. They keep for up to 3 months. Thaw in the fridge overnight or at room temperature for about 20 minutes before serving.
Unfilled shells: Baked, unfilled shells can be frozen for up to a month. Thaw completely before filling — don't fill frozen shells or the ganache won't adhere properly.
More Macaron Recipes to Try
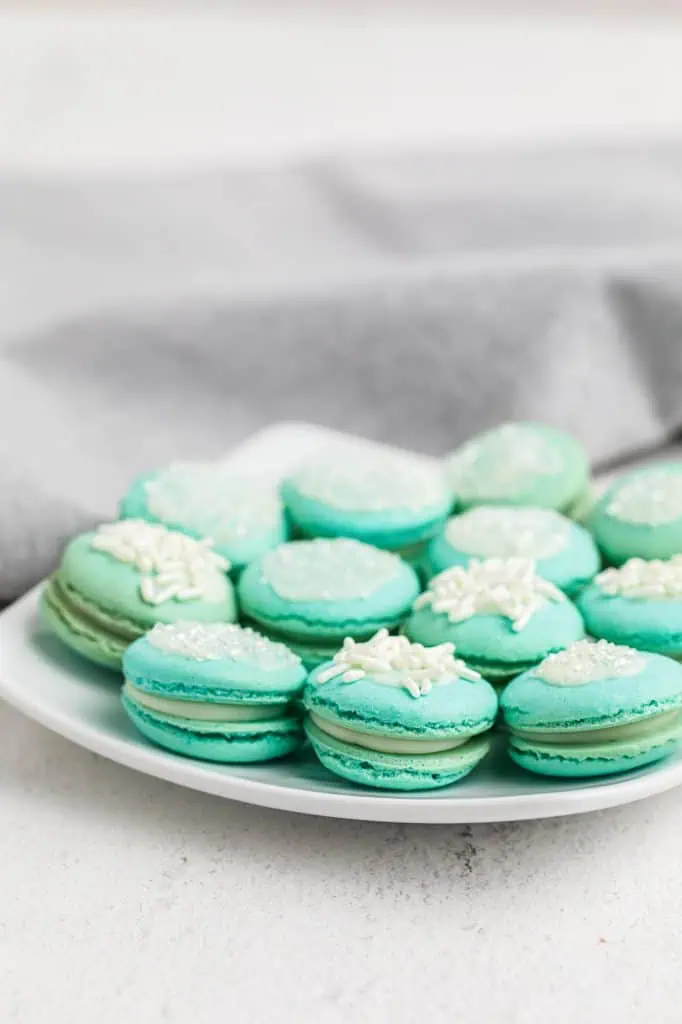
Blue Raspberry Macarons are worth every minute of patience they ask for. The moment you pull them out of the oven and see those little feet blooming on the edges, you'll know exactly what I mean. They look beautiful, they taste incredible, and making them teaches you something every single time. That's my favorite kind of recipe.
Give them a try and leave a comment below — I want to know how your feet turned out and whether you went with the sprinkles or the sanding sugar. And if your first batch doesn't go perfectly, make them again. The second batch is almost always better.
Blue Raspberry Macarons
Ingredients
- 1/3 cup Egg whites
- 1/3 cup Granulated sugar fine
- 86 g Almond flour
- 1/8 tsp Teal Food Color
- 160 g White chocolate chips
- 60 g Heavy cream
- 74 g Powdered Sugar
- 1 tsp Raspberry Extract
Instructions
- Place eggs and sugar into the bowl of a stand mixer. Beat egg whites and sugar on low speed for 1 -2 minutes. Increase speed to 6 for 2 minutes. Increase speed to 8 for 5-6 minutes until meringue is glossy and has stiff peaks.
- Combine almond flour and powdered sugar in a bowl and whisk together. Sift if needed. I use fine almond flour and whisking is all that is needed.
- Pour the flour sugar mixture into the bowl with the meringue and fold it together. Careful not to over mix.
- Add food coloring. I suggest adding about ⅛ tsp of gel coloring. Mix several more times. You should be able to make figure 8s with the mixture when it’s ready. Again, don’t overmix.
- Heat oven to 280°F.
- Add mixture to a piping bag with a Wilson 10 or 12 top. Pipe 1-1 1/2 inch circles onto a silicon mat or parchment paper.
- Pop any air bubble by slamming the sheets down on to the counter several times. Then pop remaining air bubbles that are on top with a toothpick.
- Allow the macarons to sit at room temp for 20-40 minutes. You should be able to touch the edges and if the edges are sticky but not wet, you can place them in the oven. If the edges are still wet You will need to allow them to sit a little longer.
- **ovens can vary. I can bake mine at 280°F for 15-18 minutes, but it’s best to rotate the pan every few minutes.
- **humidity plays a huge part in this. One day you can rest them for 20 minutes and one day you may need to rest them for an hour. A dry climate may not need any testing time. **
- Baking Instructions: Bake in the oven for 5 minutes, then turn the pan around and bake for another 5 minutes, and then turn for last 5 – 8 minutes.
- Remove from oven and check to see if they pull up easily. They should pop off the silicon or parchment without sticking. If they still stick, allow them to bake another 2 minutes, carefully keeping an eye on them.
- Remove the macarons from the oven and allow them to cool. Add your favorite filling (I used a while chocolate ganache for these) and then store in the refrigerator for 24 hours before serving. Macarons have “feet” on the edges of the cookies and these will bloom over time. You can serve them immediately, or you can allow them to bloom. Big feet or little feet, these macarons are delicious!
- For the white chocolate ganache, mix 160g of white chocolate with 60 g of heated heavy cream. Mix until the chocolate is melted and the ganache is creamy.
- Refrigerate the ganache for 30 minutes before adding it to a piping bag and piping the ganache onto the Macarons. OPTIONAL: Add a little melted chocolate to the tops of the macarons and add sprinkles.
Nutrition
Notes
Pro Tips for Perfect Macarons
- Use a kitchen scale: Macarons need accurate measurements for consistent results.
- Watch your batter texture: The figure-8 test helps you know when mixing is finished.
- Rest time changes: Humidity can make macarons take longer to form a skin.
- Know your oven: Small temperature differences can affect macaron shells.
- Let them mature: Filled macarons taste even better after resting in the refrigerator.
Tried this recipe?
Let us know how it was!FAQs: Blue Raspberry Macarons, Answered
Why didn't my macarons get feet?
The two most common culprits are insufficient resting time and undermixed batter. The dry skin that forms during resting is what forces the batter to expand sideways and create feet rather than puffing upward and cracking. Make sure the surface is genuinely dry to the touch before baking. Also check your batter consistency — undermixed batter doesn't spread evenly and the feet won't form properly. The figure-8 test is your friend here.
Does humidity really matter that much?
Yes, genuinely. On a dry day, macarons can be ready to bake in 20 minutes. On a humid summer day I've waited a full hour. The surface needs to form a dry skin regardless of the conditions outside, so the resting time adjusts to the environment. If you're in a very humid climate, try running the air conditioning in the kitchen while the macarons rest — it helps significantly.
Can I use liquid food coloring instead of gel?
No — liquid food coloring adds water to the batter, which disrupts the meringue structure and affects the consistency. Gel coloring is concentrated and dry enough not to interfere with the batter. Even a small amount of extra liquid at this stage can cause problems. Gel coloring is widely available online and at craft stores. Americolor and Chefmaster are the brands I reach for.
My shells cracked on top. What went wrong?
Almost always one of two things: the oven is running hot, or the shells weren't rested long enough. Try an oven thermometer to check your actual temperature — many home ovens run 15 to 25 degrees hotter than the dial shows. Also make sure the shells are completely dry on the surface before going in. If you can still see a slight sheen on the top, they need more time.
Can I make macarons without a stand mixer?
Yes, with a hand mixer. It takes a little longer to reach stiff peaks — expect an extra 2 to 3 minutes at each speed stage. A hand mixer works well, just move it around the bowl consistently so the meringue develops evenly. Whisking by hand is not recommended for this recipe — you won't be able to build enough volume or stability in the meringue.
How do I know when to stop folding the batter?
The figure-8 test. Lift your spatula and let the batter fall back into the bowl in a slow, thick ribbon. While it's falling, draw a figure 8 in the air. If the batter flows continuously for the entire figure 8 without breaking, you're ready. If it falls in chunks, fold a few more times. If it flows like water, you've gone too far. I start testing after 35 folds and check every 3 to 4 folds after that. Most batters land between 40 and 55 total folds.
Why do macarons taste better the next day?
The ganache filling is doing a lot of work overnight. As the filled macarons sit in the fridge, the moisture from the ganache slowly softens the inside of the shell, creating that slightly chewy, melting texture that's the hallmark of a perfect macaron. A fresh macaron is crispier and the shell and filling feel more separate. A rested macaron is cohesive — the shell and filling meet in the middle and every bite is exactly what it should be.