
Banana Split Lush
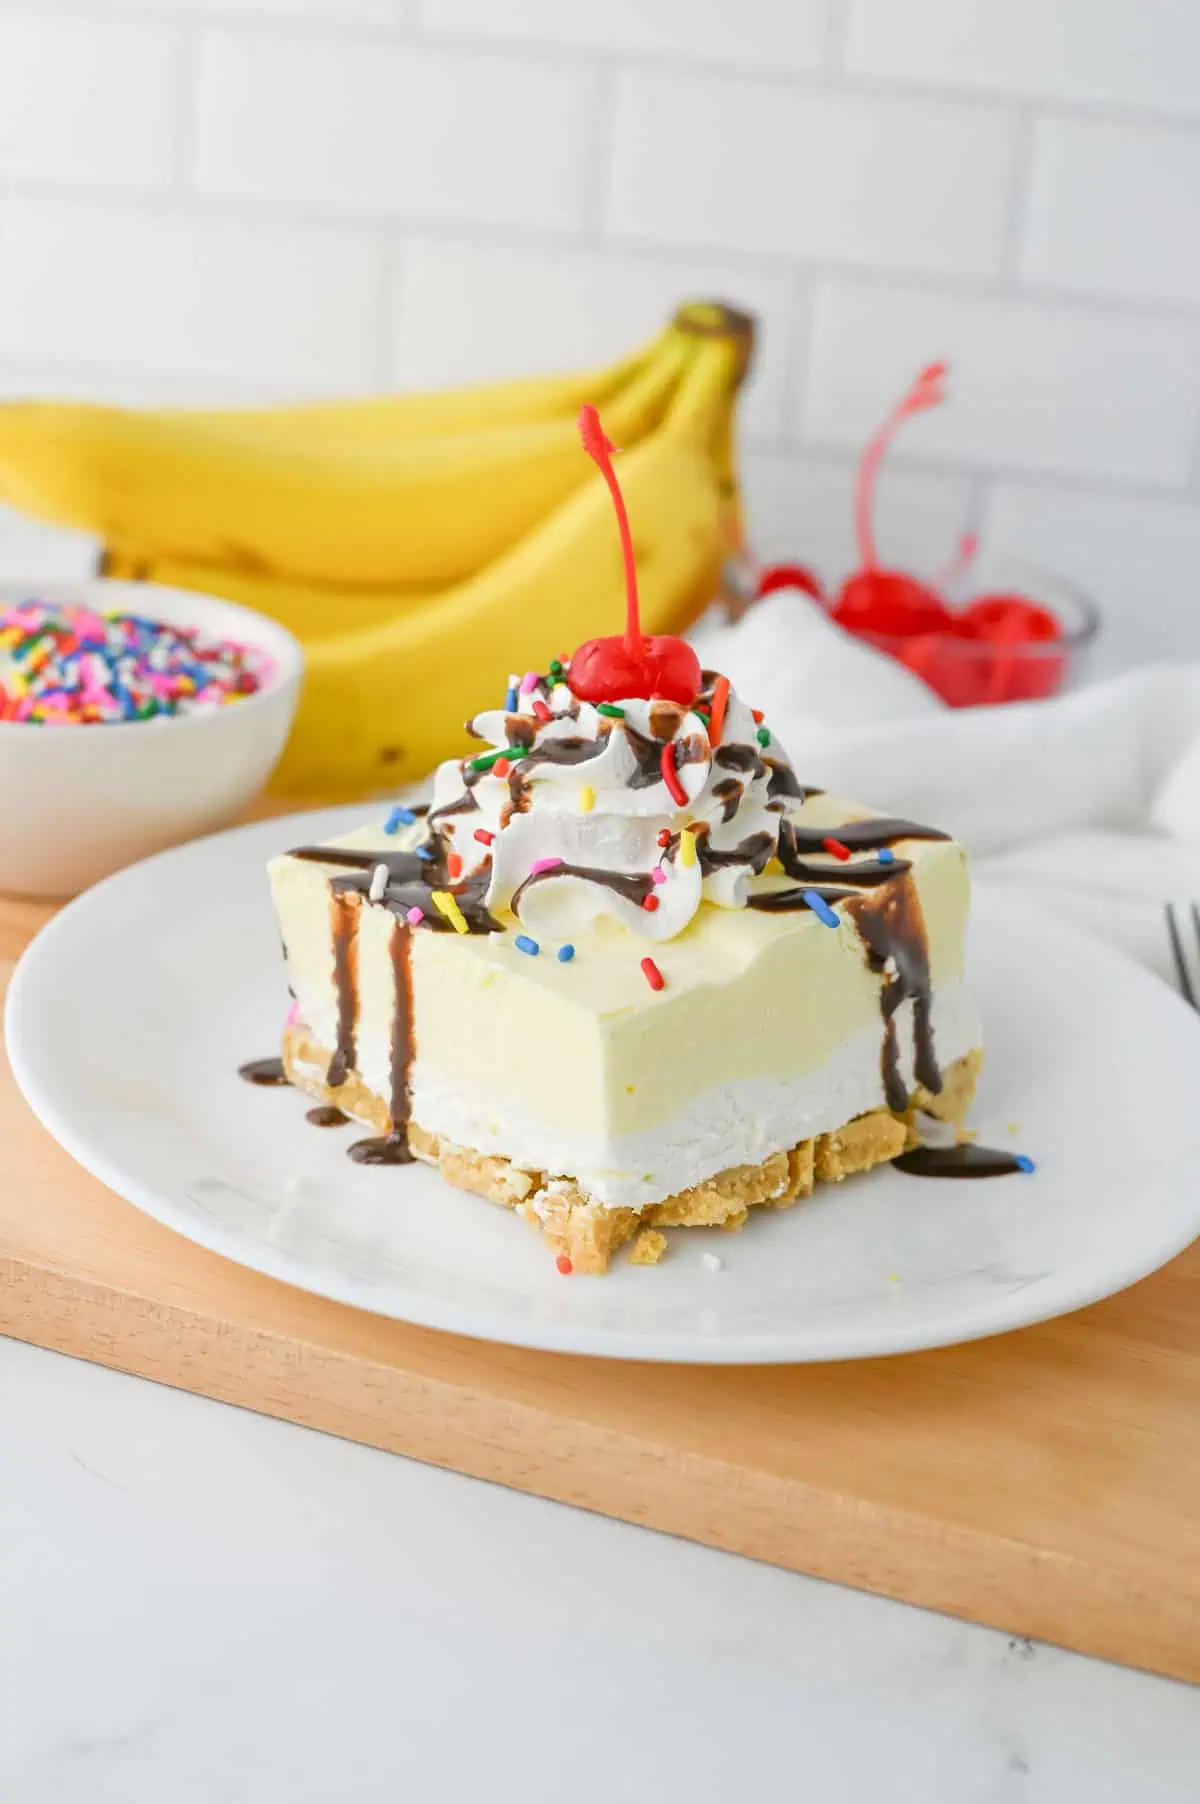
This Banana Split Lush is everything I want when I need a fun dessert without turning on the oven. You get a buttery Golden Oreo crust, a fluffy cream cheese layer, creamy banana pudding, and all those classic sundae-shop toppings like fudge sauce, sprinkles, whipped cream, and bright red cherries.
I especially love desserts like this for summer cookouts, birthdays, family get-togethers, and potlucks because you can put everything together ahead of time and let the refrigerator do the rest. If you’re already a fan of my Butterfinger Lush, this banana version has that same creamy layered goodness with a completely different personality.
About This Recipe
This Banana Split Lush is a no-bake layered dessert made with a buttery Golden Oreo crust, a sweet cream cheese layer, and fluffy banana pudding filling. It serves 12, takes about 20 minutes to assemble, and needs 6 hours to chill before slicing. The banana flavor comes from instant pudding, so there are no fresh bananas to prep. Fudge sauce, whipped topping, sprinkles, and maraschino cherries give the finished dessert that classic banana split look.

Recipe Snapshot
Prep Time: 20 minutes
Cook Time: 0 minutes
Chill Time: 6 hours
Total Time: 6 hours 20 minutes
Servings: 12
Difficulty: Easy
Perfect For: Summer parties, potlucks, birthdays, cookouts, family gatherings
Main Ingredients: Golden Oreos, cream cheese, banana pudding, whipped topping, fudge sauce
Why You’ll Love This Banana Split Lush
Why This Recipe Works
The base starts with Golden Oreos instead of a traditional graham cracker crust. Once those cookies are crushed finely and mixed with melted butter, they create a sweet vanilla crust that works really well with banana without competing with it.
Then you have the cream cheese layer. Beating cream cheese with powdered sugar gives you a rich, cheesecake-like base, while folding in whipped topping keeps it from becoming too dense. You still get that creamy richness, but the texture stays soft and fluffy.
The banana pudding layer is mixed with 3 cups of milk and more whipped topping. That gives you plenty of banana flavor while keeping the filling light enough to balance the richer cream cheese layer underneath.
The long refrigerator chill brings everything together. The crust firms, the creamy layers set, and those individual components start feeling like one dessert. Once the fudge sauce, whipped cream, sprinkles, and cherries go on top, you get that unmistakable banana split look without needing an ice cream scoop anywhere in sight.
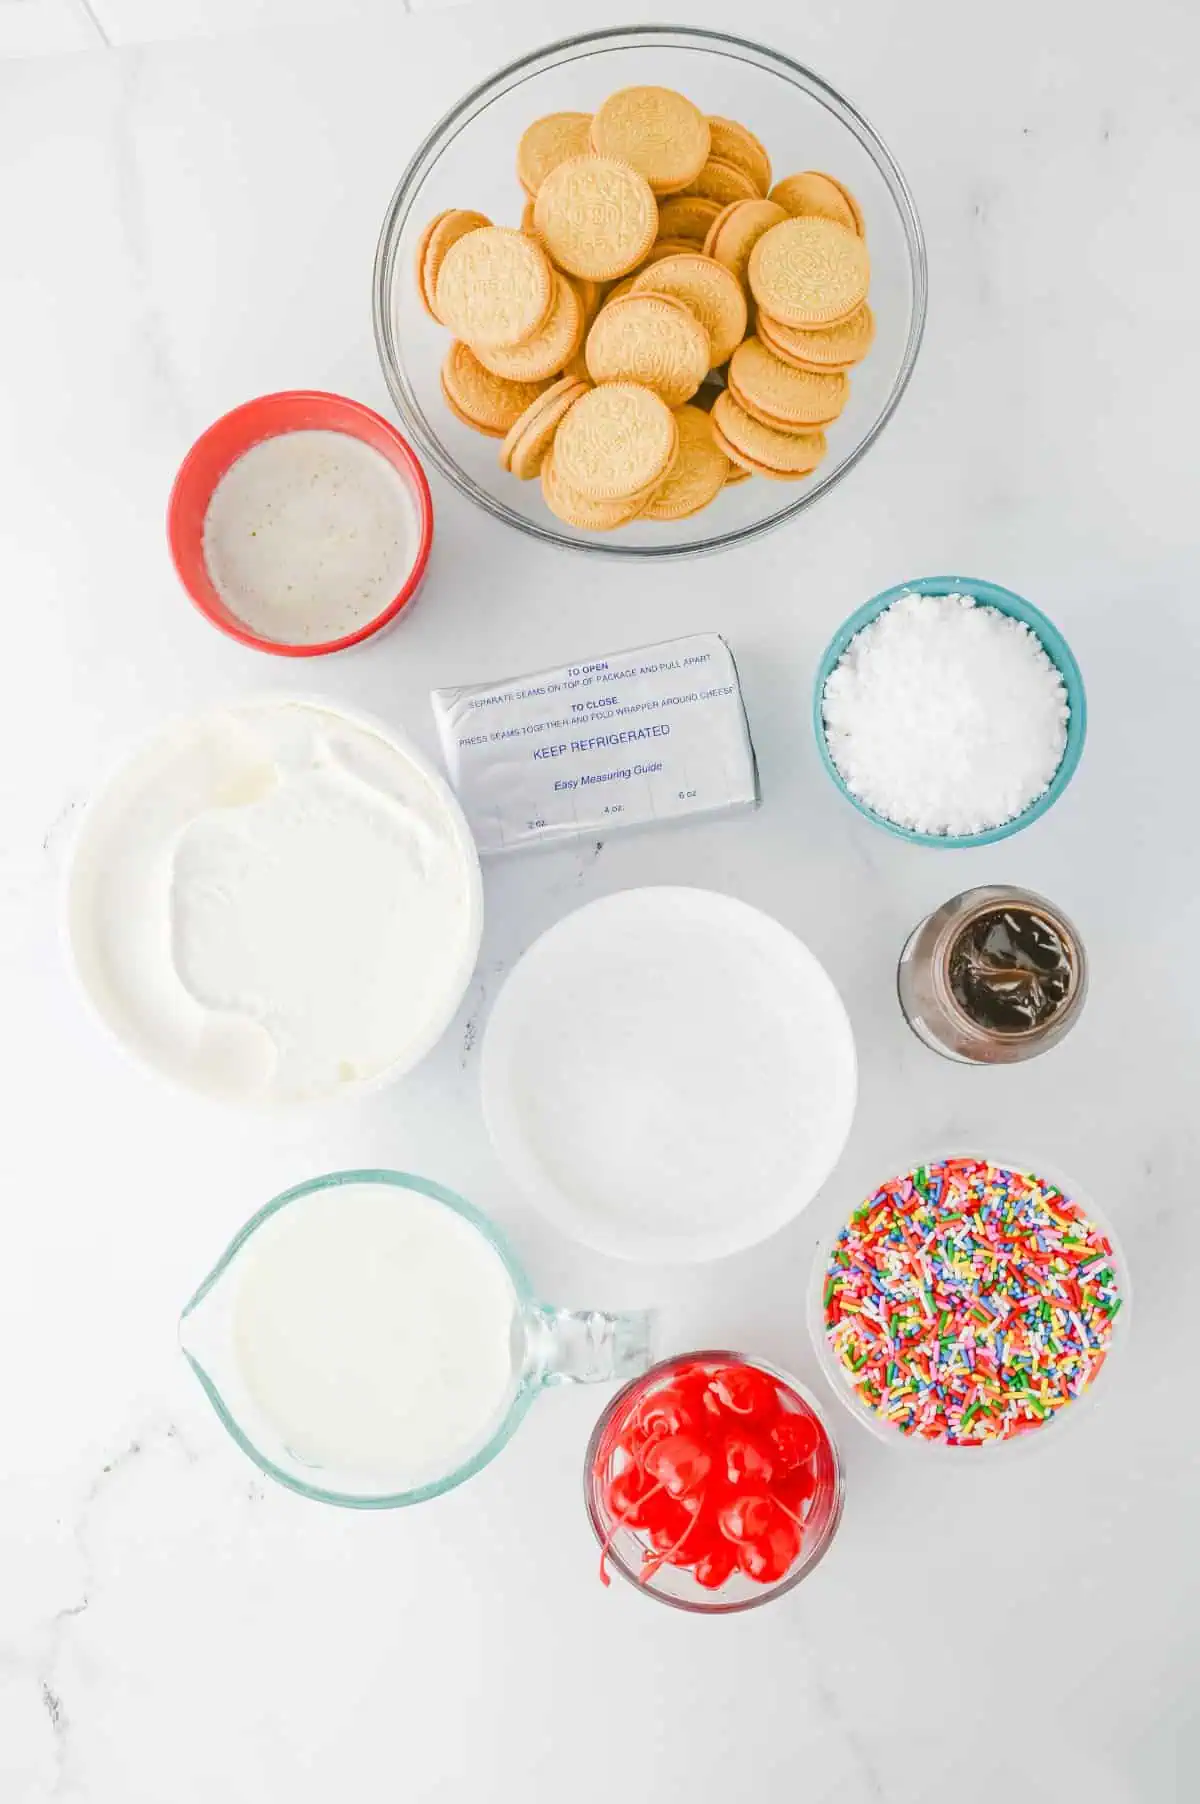
The Ingredient Breakdown
Top Tip for a “Fabulous” Finish
When you press the crust in, use the flat bottom of a measuring cup to pack it down hard and even. A loosely pressed crust crumbles the second your fork hits it, but a firmly packed one holds its shape and gives you that satisfying base under every creamy bite.
How to Make Banana Split Lush
Step 1: Make the Oreo Crust
Add all 36 Golden Oreos to your food processor and blitz until they look like fine, sandy crumbs with no big chunks left. Pour in the melted butter and pulse until the crumbs look like wet sand and hold together when you pinch them. Line a 9×13 dish with parchment, then press the mixture firmly into the bottom in an even layer.
Step 2: Beat the Cream Cheese Layer
In a large bowl, beat the softened cream cheese and powdered sugar until the mixture is completely smooth with no lumps hiding in it. Add half of the Cool Whip (8 oz) and beat again just until it is fluffy and streak-free. Spread it over the crust and smooth the top. It should spread like frosting, thick but soft.
Step 3: Whisk the Banana Pudding Layer
In another bowl, whisk together both pudding packets and the 3 cups of cold milk for about 2 minutes, until it starts to thicken and hold the whisk lines. Fold in the remaining Cool Whip until no white streaks remain and the layer looks pale banana yellow. Pour it over the cream cheese layer and smooth it out to the edges.
Step 4: Chill Until Set
Cover the dish and chill in the fridge for at least 6 hours, or overnight if you can wait. It is ready when the layers feel firm and a knife pulls out clean, not soupy. Do not rush this part. An under-chilled lush slides apart the second you cut it.
Step 5: Add Toppings and Serve
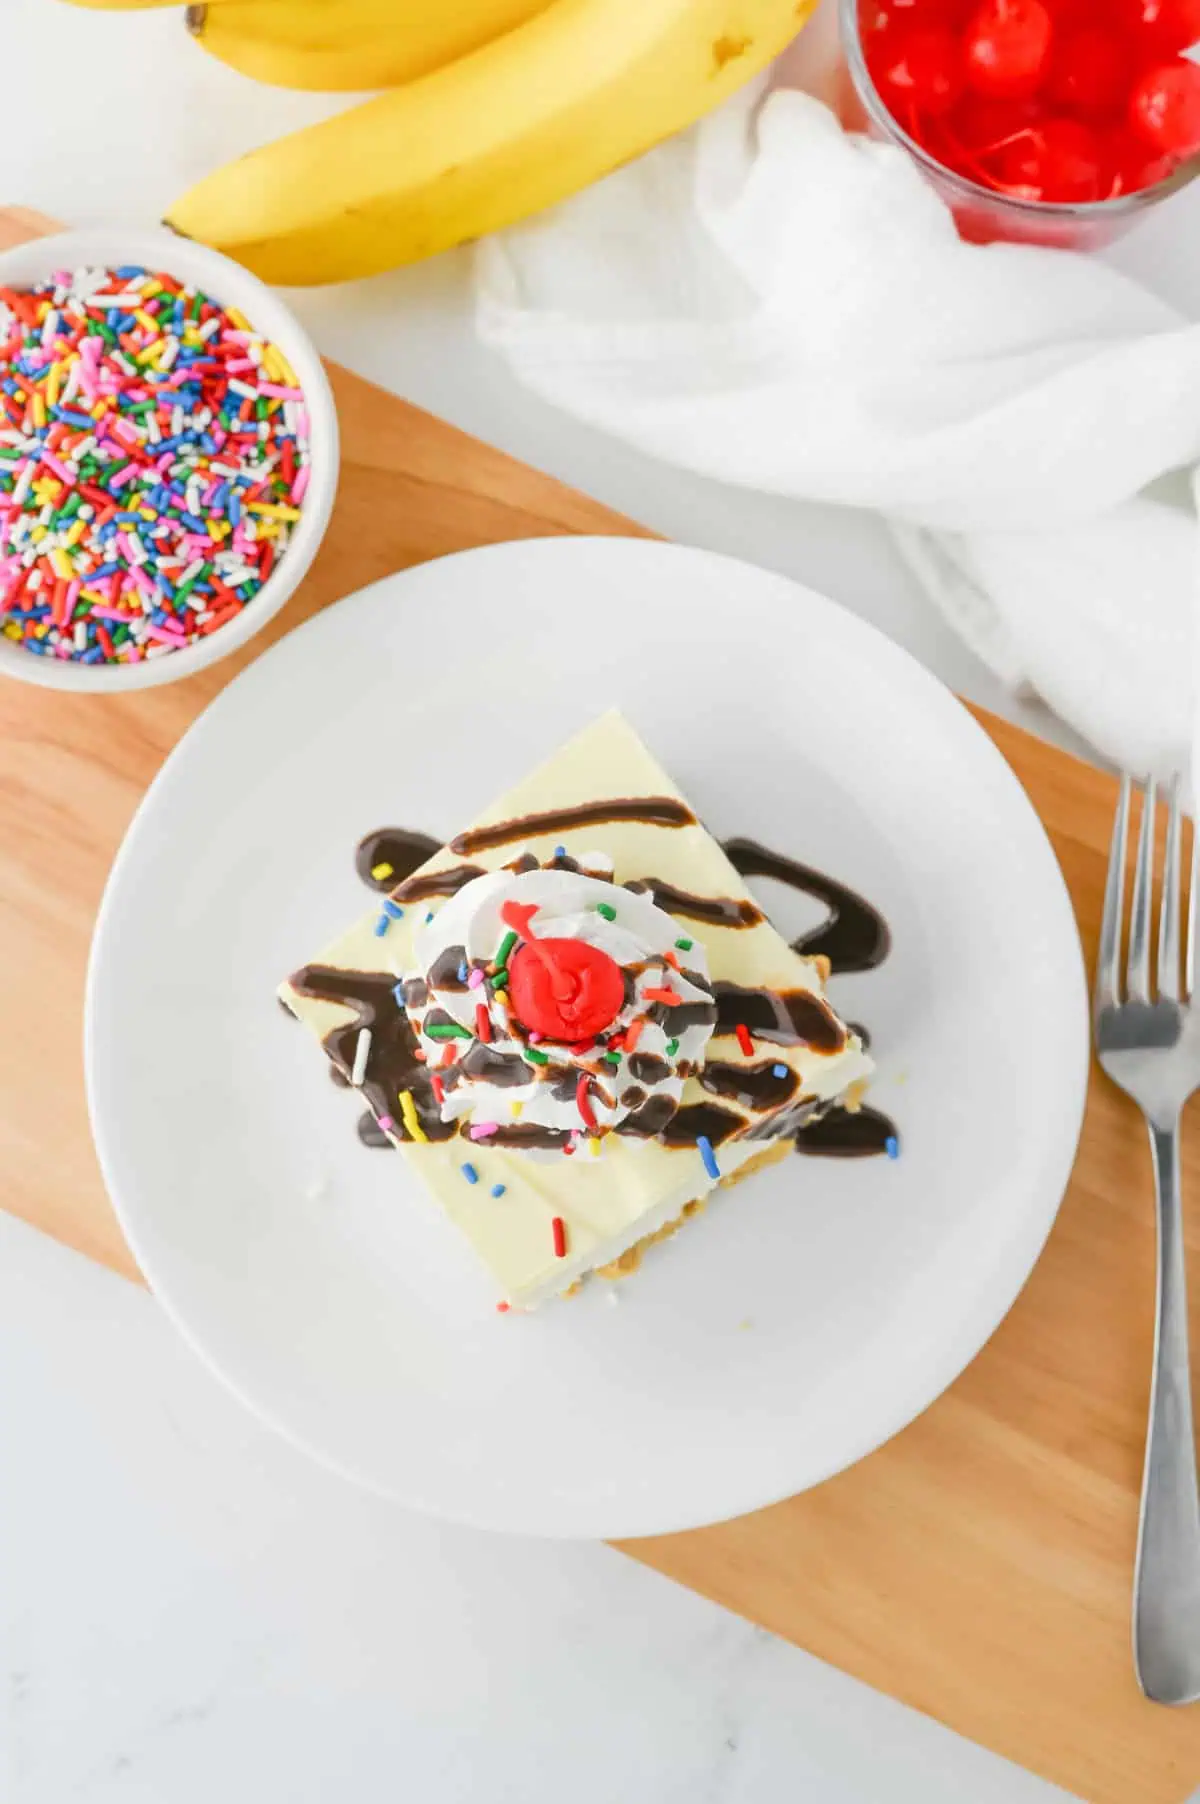
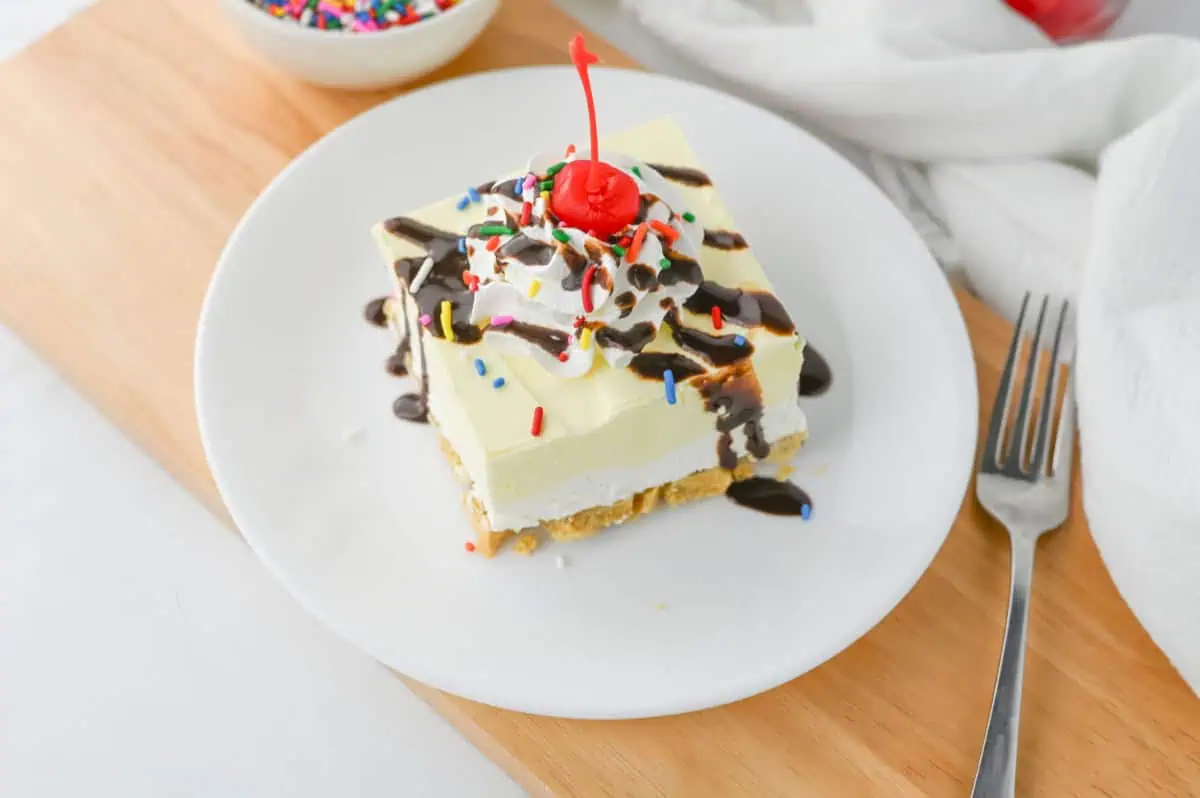
Right before serving, spread or dollop extra Cool Whip on top, drizzle with fudge sauce, and finish with sprinkles and maraschino cherries. Cut into squares with a sharp knife, wiping the blade between cuts for clean edges. The first slice is always the hardest to lift out, so go slow with it.

David’s Tip
Here is the trick I learned the messy way: thaw your Cool Whip in the fridge overnight, not on the counter. Counter-thawed whipped topping goes loose and weepy, and a loose topping is the number one reason a lush layer slides around when you cut it. Cold and set folds in so much cleaner.
Fun Variations (Make it Your Own)
Go full sundae: Add a layer of well-drained crushed pineapple and thin banana slices between the cream cheese and pudding layers for the classic banana split lineup.
Chocolate crust: Swap the Golden Oreos for regular chocolate Oreos if you want a darker, more brownie-like base.
Strawberry twist: Use strawberry pudding instead of banana and top with fresh sliced strawberries for a strawberry shortcake feel.
Peanut butter lover: Fold a couple tablespoons of peanut butter into the cream cheese layer and swap the fudge for a peanut butter drizzle, like my Butterfinger Lush but with bananas.
Nutty crunch: Sprinkle chopped toasted peanuts or walnuts over the top for the crunch a real banana split brings.
Storage & Make-Ahead Instructions
Room Temperature: Because this dessert contains cream cheese, pudding, and whipped topping, keep it chilled until you’re ready to serve. Return leftovers to the refrigerator rather than leaving the pan sitting out for an extended period.
Refrigerator: Cover the dish tightly with plastic wrap or transfer individual pieces to airtight containers. Store in the refrigerator for up to 3 to 4 days.
Freezer: You can freeze individual slices in airtight containers for up to 1 month. Thaw them overnight in the refrigerator. The filling may be a little softer after freezing, so I prefer this dessert fresh from the refrigerator when possible.
Make-Ahead Tip: Assemble the crust and creamy layers the night before you need the dessert and refrigerate overnight. Save the fudge sauce, extra whipped topping, sprinkles, and cherries for shortly before serving so everything looks fresh.
More Easy Desserts to Try
If this Banana Split Lush is exactly your kind of dessert, I’ve got a few more creamy and fruity treats I think you’ll love:
- My Butterfinger Lush gives you another easy layered dessert with plenty of creamy texture and candy-bar flavor.
- This Key Lime Icebox Cake is another refreshing chilled dessert that’s wonderful when you don’t want to turn on the oven.
- These Banana Chocolate Tarts pair banana and chocolate in a completely different way.
- My Tropical Fruit Marshmallow Fluff is another fun chilled treat for summer gatherings and potluck tables.
Time to Grab a Spoon
This Banana Split Lush is everything I want in a summer dessert: cool, creamy, no oven, and gone before the burgers are cold. It has all the nostalgia of a real banana split with none of the melting, and it feeds a whole table from one easy pan.
If you make it, I would love to hear how it went. Leave a comment, give it a rating, and tell me what toppings you went with. This is the kind of recipe that begs to be made your own, so run with it.
FAQs: Banana Split Lush, Sorted
Why is my banana split lush watery or runny?
The most common cause is Cool Whip that was thawed too warm or a pudding layer that did not get enough chill time. Thaw the whipped topping in the fridge, use cold milk so the pudding sets thick, and give the whole dessert the full 6 hours. If you add fresh fruit, drain it very well first.
Can I make banana split lush ahead of time?
Yes, and it is actually better that way. Build the full dessert up to 24 hours in advance and keep it covered in the fridge, then add the fudge, cherries, and sprinkles right before serving so they stay fresh and glossy.
Do I have to use Golden Oreos for the crust?
No, but they give the best classic banana split flavor. You can swap in regular chocolate Oreos, vanilla wafers, or graham cracker crumbs. Just keep the total amount about the same so the crust still binds and holds its shape.
Why did my crust crumble when I cut it?
A crumbly crust almost always means it was not packed down hard enough or there was not enough melted butter. Press the crumbs firmly with the flat bottom of a measuring cup, and make sure they look like wet sand before you press them in.
Can I freeze banana split lush?
Yes, it freezes well for up to 2 months as long as you leave off the fresh toppings. Wrap the pan tightly, freeze, then thaw in the fridge overnight and add your fudge, cherries, and sprinkles just before serving.
Why doesn’t this recipe use fresh bananas in the layers?
The banana flavor comes from instant pudding, which keeps every slice clean and yellow instead of brown and mushy. Fresh bananas brown fast and release liquid, so skipping them inside the layers is what keeps this lush looking and slicing beautifully. You can always add fresh banana slices on top right before serving.
What size pan do I need for banana split lush?
A standard 9×13 baking dish is exactly right and gives you 12 generous squares. Lining it with parchment makes lifting and slicing much easier, so you can pull the whole thing out and cut clean pieces on a board.

Hi,
Can this lush be made with cooked pudding? I’m asking because when I make instant pudding, it never sets. Also, can you make this with homemade whipped cream instead of cool whip?
You can definitely make this with cooked puddin; you just have to be a bit more patient as it cools to set!
Also, I think usin homemade whipped cream is delicious for this recipe, and makes an excellent topping in lieu of Cool Whip!