
Copycat Crumbl Dirt Cake Cookies


These copycat Crumbl dirt cake cookies pile milk chocolate icing, crushed Oreos, and gummy worms onto a soft chocolate cookie. You get the chocolate and cookie crumb combo of a “dirt dessert” in a treat you can pick up with your hands. No spoon or fork is required, but a napkin certainly wouldn’t hurt!
They’re a fun fit for Halloween parties, birthdays, or a baking afternoon when decorating is half the appeal. The cookie dough comes together with familiar baking ingredients, and the topping does the fancy work. Give the cookies time to cool before adding the icing so those swirls stay on the cookies instead of sliding onto the plate.

About This Recipe
This dough has 1 ½ cups of butter in it, so it’s soft right out of the mixer. Plan on a 30-minute chill after scooping to keep the cookies thick. Bake one sheet at a time for 9 to 11 minutes, until the edges are set and the centers still look a little soft. Let the cookies cool completely (about 30 minutes) before frosting, or the frosting will melt and slide. Decorate the day you serve them for the crunchiest Oreo dirt.

Recipe Snapshot
Prep Time: 20 minutes, as listed in the original recipe
Cook Time: 9–11 minutes per batch
Total Time: 29–31 minutes for prep and one baking batch, plus cooling, decorating, and any additional batches
Servings: 24 cookies listed in the original recipe; scoop size and yield need confirmation
Difficulty: Easy
Perfect For: Halloween parties, birthdays, and cookie decorating
Main Ingredients: Flour, cocoa powder, butter, granulated sugar, brown sugar, eggs, milk chocolate icing, Oreos, and gummy worms

Why You’ll Love These Dirt Cake Cookies with Worms
- Bakery-big cookies: Thick, soft centers with lightly crisp edges that feel special on a dessert tray. Prepare to wow them at your next School bake sale!
- Nostalgic flavor: Chocolate cookie, chocolate frosting, Oreo “dirt,” and gummy worms for that “kid at heart” moment, just like my Dirt Worm Cups!
- Party perfect: Decorate with extra “dirt” and worms for birthdays, bake sales, or Halloween.
- Make-ahead friendly: Bake the cookies and mix the frosting in advance, then decorate before serving.
- Customizable topping: Go extra crumbly, add sprinkles, or swap the worms for a more elegant look.
- Freezer approved: Unfrosted cookies freeze beautifully for future cravings.
Why This Recipe Works
There’s a lot of butter in this cookie dough compared to the flour, and that’s what gives the cookie its soft, fudgy center instead of a dry, cakey one. The tradeoff is spread. Butter melts fast in a hot oven, so a soft dough runs toward the edges of the pan before the flour and eggs have time to set. Chilling firms the butter back up, which buys the cookie a few extra minutes to bake upward before it melts outward.
Brown sugar keeps the centers moist and chewy, while the white sugar gives you lightly crisp edges. Baking soda helps the cookies rise and spread a little, and it also darkens the cocoa, which gives the cookie that deep, almost dirt-colored crumb.
The topping works because of the texture contrast. A smooth, creamy frosting holds the dry, sandy Oreo crumbs in place, and the gummy worms add a chewy bite (and the whole point, if you’re a kid). Frosting a fully cooled cookie keeps the butter in the frosting from melting, so the swirl stays tall and the crumbs stay crunchy.
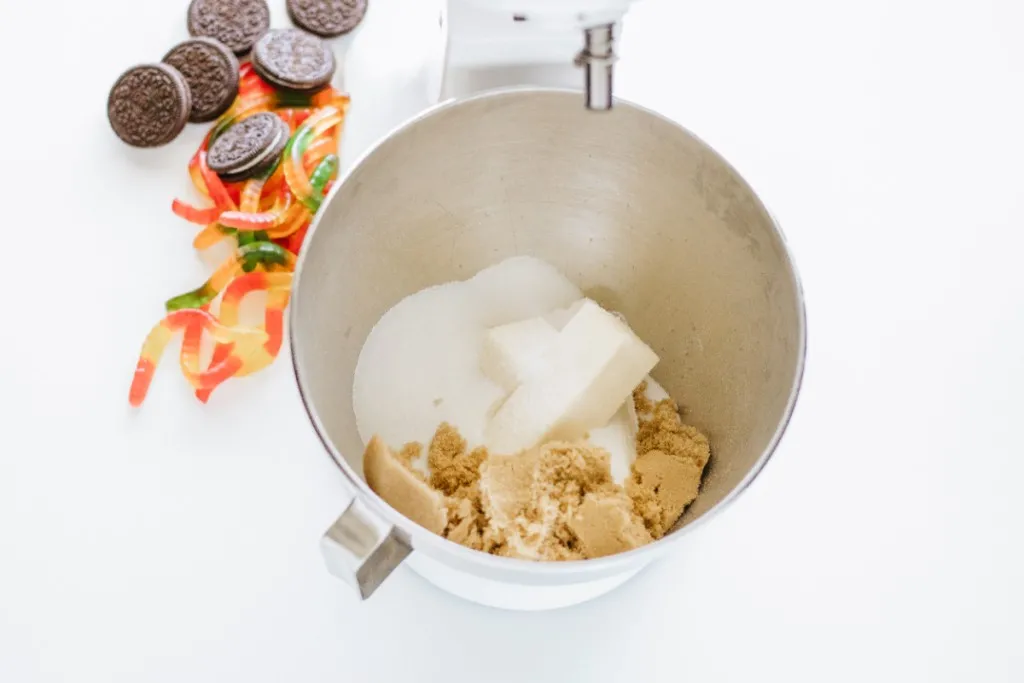
The Ingredient Breakdown
Top Tip for a “Fabulous” Finish
Decorate a few cookies at a time. Add the Oreo crumbs while the icing is still soft so they stick, then gently press the gummy worms into place before moving on to the next cookies.
How to Make Copycat Crumbl Dirt Cake Cookies
Step 1: Prepare the Oven and Dry Ingredients
Heat your oven to 350°F and line your baking sheets with parchment paper. Sift together the flour, cocoa powder, baking soda, and salt to break up cocoa lumps and distribute the baking soda throughout the dough.
Step 2: Mix the Cookie Dough
Cream the softened butter, granulated sugar, and packed brown sugar until well combined and lighter in texture. Beat in the eggs and vanilla until smooth, scraping the bowl so no pockets of butter remain.
Add the dry ingredients and mix until the flour disappears. Stop once the dough comes together rather than continuing to beat it.
Step 3: Portion and Bake
The original instructions call for 1 tablespoon of dough per cookie. Place the portions on the prepared baking sheets with room between them to spread.
Bake for 9–11 minutes. Look for set edges and centers that still look a little soft, rather than waiting for the entire cookie to become firm. Because the dough is dark, texture is a more useful cue than browning.
Step 4: Cool Before Decorating
Let the cookies firm up on the baking sheet enough to move without breaking, then transfer them to a cooling rack. Cool completely before adding the icing, including the bottoms of the cookies.
Step 5: Add the Dirt Cake Topping
Pipe or spread milk chocolate icing over each cooled cookie. Sprinkle with Oreo crumbs and gently press 2 gummy worms into the icing on each cookie.
A piping bag gives you defined swirls, but the back of a spoon works for a more casual finish. This is dirt we’re making. A little mess fits the theme. If you don’t have a piping bag, you can take a Ziploc bag and cut a corner tip off!
How to Keep the Cookies From Spreading Too Much
Start with softened butter that still holds its shape. If it’s nearly melted before you mix the dough, the cookies can spread before their edges have time to set.
Use a cool baking sheet for each batch, too. Dropping fresh dough onto a hot pan gives the butter a head start on melting. If the dough becomes very soft in a warm kitchen, chill it until it’s easier to portion; the original card doesn’t include a required chilling time.
I recommend baking a small first batch if you’re checking the portion size. That lets you see the spread and doneness before committing the rest of the dough to the oven.
Make It Your Own
For a Halloween tray, choose orange and purple gummy worms or add a few Halloween sprinkles to the icing. Keep the crumbs visible so you still get that dirt cake look.
You can also skip the gummy worms and finish with icing and Oreo crumbs. For another decorated chocolate cookie, try my Cosmic Brownie Cookies.
Making Them Ahead
For the neatest finish, bake the cookies ahead and decorate closer to serving. Keep the fully cooled cookie bases in an airtight container, and store the icing according to its package or recipe directions.
Once decorated, arrange the cookies in a single layer so the icing doesn’t get flattened. Follow the icing’s storage requirements for the finished cookies, including refrigeration when directed. Add the crumbs and gummy worms near serving time if you want to preserve their texture.

More Cookies to Try
If you’re putting together a cookie tray, here are a few more recipes to add:
- Easy Double Chocolate Cookies for another chocolate option.
- Reese’s Pieces Chocolate Chip Cookies for a colorful candy topping alternative.
- Easy Spider Web Sugar Cookies for another Halloween decorating idea.
- And if bakery copycats are your thing, try my copycat Stranger Things Chips Ahoy cookies next
Time to Get Your Hands Dirty
These copycat Crumbl dirt cake cookies are as fun to decorate as they are to eat, and the frosting, dirt, and worms are a great job to hand off to kids once the cookies are cool. Chill the dough, let the cookies cool all the way, and you’ll get that thick, bakery-style cookie with the frosting right where it should be.
If you make a batch, leave a rating and a comment below and tell me how you decorated yours. And follow FoodnService on Pinterest and Facebook for more easy desserts to bookmark for your next party.

Copycat Crumbl Dirt Cake Cookies
Ingredients
- 2 ¼ cups of Flour
- ⅔ cup of Cocoa
- 1 teaspoon of Baking Soda
- 1 teaspoon of Salt
- 1 ½ cups of Butter softened
- 1 cup of White Sugar
- ⅔ cup of Brown Sugar packed
- 2 eggs
- 1 teaspoon of Vanilla
- container Milk Chocolate Icing
- ½ cup Oreo Crumbs
- Gummy Worms
Instructions
- Preheat the oven to 350°F. Line baking sheets with parchment paper.
- Sift together the flour, cocoa powder, baking soda, and salt.
- In a separate bowl, cream the softened butter, granulated sugar, and brown sugar until well combined and lighter in texture.
- Beat in the eggs and vanilla until smooth, scraping the bowl as needed.
- dd the dry ingredients and mix until no dry flour remains.
- Scoop the dough, using a 1 tablespoon scooper, onto the prepared baking sheets, leaving room for spreading.
- Bake for 9–11 minutes, until the edges are set and the centers still look slightly soft.
- Let the cookies firm up on the baking sheets, then transfer to a rack and cool completely before icing.
- Pipe or spread the milk chocolate icing onto the cooled cookies. Divide the Oreo crumbs over the tops while the icing is soft, then gently press 2 gummy worms into each cookie.
Nutrition
Notes
Notes
- Use softened butter that still holds its shape and a cool baking sheet for each batch.
- Store decorated cookies in a single layer and follow the storage directions for the icing used. Add crumbs and gummy worms close to serving for the best texture.
- Recalculate nutrition after confirming the yield and icing amount. Do not reuse the original card’s 1 g serving size.
Tried this recipe?
Let us know how it was!Dirt Cake Cookie Questions, Answered
Can I use Double Stuf Oreos for the dirt?
Yes, but the extra filling makes the crumbs clumpier and lighter in color. Scrape the filling out before crushing if you want fine, dark dirt.
Why did my cookies come out cakey instead of fudgy?
Usually it’s too much flour or a minute or two of overbaking. Spoon and level the flour, and pull the cookies while the centers still look soft. They keep setting on the hot pan.
Can I use store-bought frosting?
Yes, a tub of milk chocolate frosting works in a pinch. Whip it with a mixer for a minute first so it gets lighter and pipes more like homemade.
Love this recipe? Please leave a 5-star 🌟 rating in the recipe card below and/or a review in the comments section further down the page.
Be sure to check out my FREE Meal Planner and Kitchen Organizer!
