
Melted Snowman Cookies
Melted snowman cookies look like a snowman who stayed out in the sun a little too long: a puddle of white icing, a marshmallow head tipped to one side, a carrot nose, two stick arms, and a couple of M&M buttons floating in the melt. They’re one of the most fun Christmas cookies you can make, and they start with a roll of store-bought sugar cookie dough, so the baking is the easy part.
All the personality comes from the decorating, and there’s no wrong way to do it. Every snowman ends up a little different, which makes these a great project for kids, a cookie decorating party, or a holiday cookie exchange where you want something that gets a laugh.


Recipe Snapshot
Prep Time: 20 minutes
Cook Time: 12 minutes
Cool and Set Time: About 1 hour 15 minutes
Total Time: About 1 hour 47 minutes
Servings: 16 cookies
Difficulty: Easy
Perfect For: Decorating with kids, Christmas cookie trays, cookie exchanges, and winter parties
Main Ingredients: Refrigerated sugar cookie dough, white, black, and orange cookie icing, marshmallows, M&Ms
Why You’ll Love This Recipe
Why This Recipe Works
The white icing creates the melted-snow effect and holds the marshmallow head and candy buttons in place. Letting that base set before adding the black icing helps the arms stay defined instead of bleeding into the white puddle.
A fully cooled cookie is important here. Warm cookies can make the icing run farther than you want and leave the decorations sliding around. Once the cookies are cool, the decorating happens in two short stages with setting time between them.
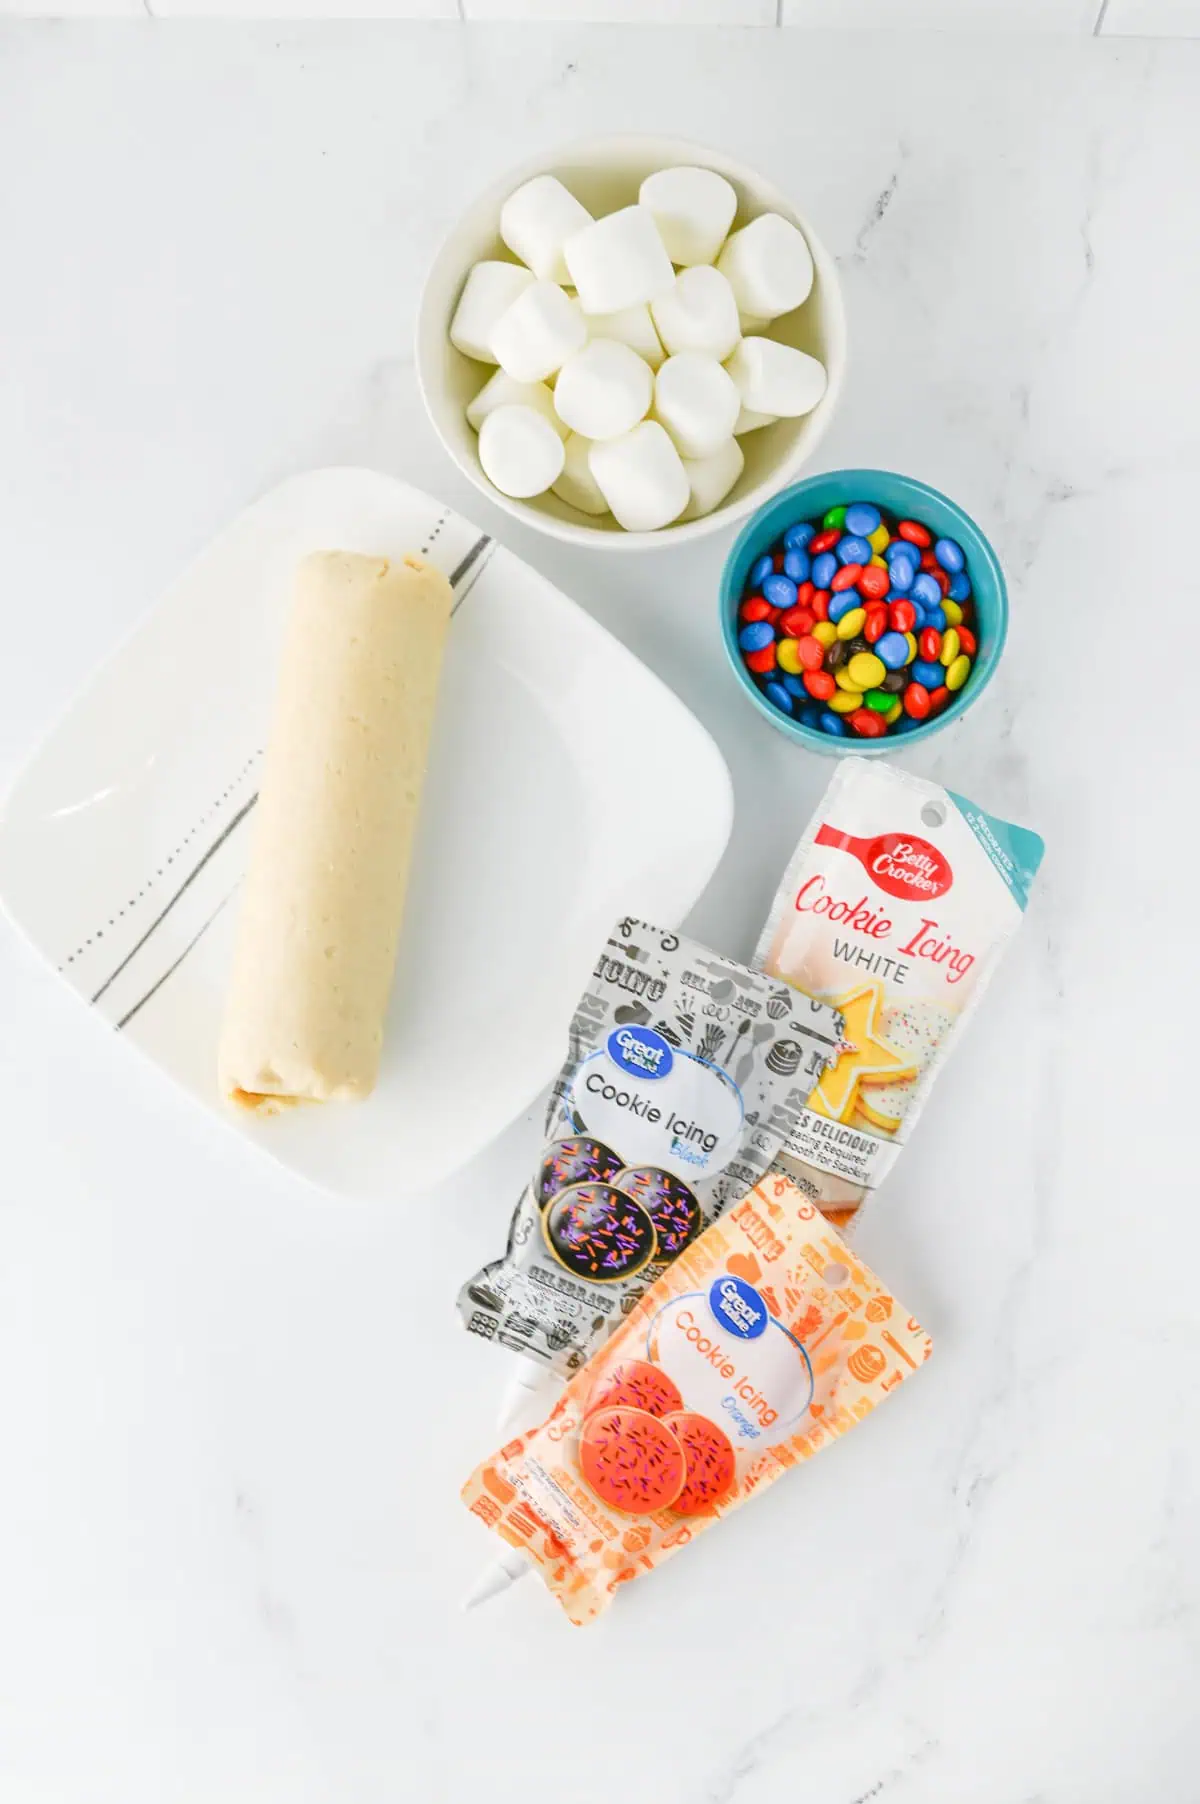
The Ingredient Breakdown
How to Make Melted Snowman Cookies
Step 1: Bake the Cookies
Bake the cookie dough according to the package directions, dividing the roll into 16 equal pieces and spacing them on a parchment-lined baking sheet. Pull them when the edges are set and just barely golden. Lightly browned cookies make a softer, paler base that looks better under the white icing.
Step 2: Let Them Cool Completely
Let the cookies cool on the baking sheet for a few minutes, then move them to a wire rack until they’re completely cool, about 15 minutes. Don’t rush this. Icing on a warm cookie melts and runs right off the edge.
Step 3: Make the Melted Snow Puddle
Squeeze a puddle of white icing onto each cookie. Use a toothpick to push it out into a lumpy, uneven shape, leaving a little cookie showing around the edge so it doesn’t drip over the side. Irregular is the goal here; a perfect circle looks like a plain iced cookie, not a melted snowman.
Step 4: Add the Marshmallow Head and Buttons
While the white icing is still wet, press a marshmallow into it near one edge of the puddle. Then press 2 M&Ms into the icing below the marshmallow for buttons. Placing the head off-center leaves room for the body and arms and makes the snowman look like it’s slumping over.
Step 5: Let the Base Set
Let the cookies sit at room temperature for about 30 minutes, until the white icing is firm to the touch.
Step 6: Add the Face and Arms
Use the black icing to pipe two dots for eyes and a row of tiny dots for a mouth on the marshmallow. Pipe two thin stick arms on the white puddle, coming out from either side. Then use the orange icing to pipe a small carrot nose. Give each snowman a slightly different expression; the mix of faces is half the fun.
Step 7: Let Them Set Again
Let the cookies set for another 30 minutes, until all the icing is hard, before stacking or serving.

Make-Ahead and Storage Tips
You can bake the cookie bases a day ahead. Once completely cool, store them in an airtight container and decorate the next day.
Keep finished cookies in a single layer in an airtight container at cool room temperature, following any storage directions on your icing packaging. For the best appearance and marshmallow texture, plan to serve them within a day or two of decorating.
Avoid stacking the cookies. Even icing that feels dry on the surface can dent under another cookie, and the marshmallow heads make an even stack difficult.
If you want to get further ahead, freeze the undecorated baked cookies and thaw them completely before adding the icing and candy.
More Recipes You’ll Love
- If you can’t get enough snowmen, my snowman truffles are another adorable no-fuss treat for the holiday table.
- For a cookie tray that’s a little more grown-up, these Christmas meltaway cookies are buttery, tender, and melt in your mouth.
- And if you want to take the marshmallow theme further, my easy homemade marshmallows are fun to make and even better in a mug of hot cocoa.
- Planning a decorating party? These polar bear cupcakes keep the winter animal theme going.
- Snowman Macarons: A festive baking project when you have time for something more detailed.

Melted Snowman Cookie Questions, Answered


Melted Snowman Cookies
Ingredients
- 1 roll refrigerated sugar cookie dough 16.5 ounces
- White cookie icing as needed
- Orange cookie icing as needed
- Black cookie icing as needed
- 16 regular-size marshmallows
- 32 M&Ms
Equipment
- Baking sheets
- Cooling rack
- Toothpicks
- Small decorating tips or icing tubes with fine tips
Instructions
- Preheat the oven according to the sugar cookie dough package directions. Divide the dough into 16 portions and arrange on baking sheets with the recommended spacing.
- Bake according to the package instructions, approximately 12 minutes, or until done as directed. Allow the cookies to cool completely.
- Spread white cookie icing onto each cookie to form an uneven melted-snow puddle, leaving a small border. Use a toothpick to guide the icing.
- While the white icing is wet, gently press one marshmallow near the back of each cookie. Add two M&Ms below it for buttons.
- Let the cookies set for about 30 minutes, or until the white icing is firm enough to decorate without smearing.
- Use black icing to add eyes and a mouth to each marshmallow and stick arms to the white icing.
- Use orange icing to add a carrot nose to each marshmallow face.
- Let the cookies rest flat for another 30 minutes, or until the icing details are set, before serving or packaging.
- Notes
Nutrition
Notes
- Dough directions: Use the package oven temperature and baking instructions. The 12-minute bake time is approximate.
- Cooling: Cool the cookies completely before adding icing.
- Icing: Use cookie icing that sets as it dries. Drying time varies by brand, thickness, and humidity.
- Storage: Keep in a single layer in an airtight container at cool room temperature, subject to the icing label’s storage directions. For best quality, serve within a day or two of decorating.
- Make ahead: Bake the bases a day ahead, or freeze undecorated cookies for longer preparation.
