
Shark Rice Krispies Treats
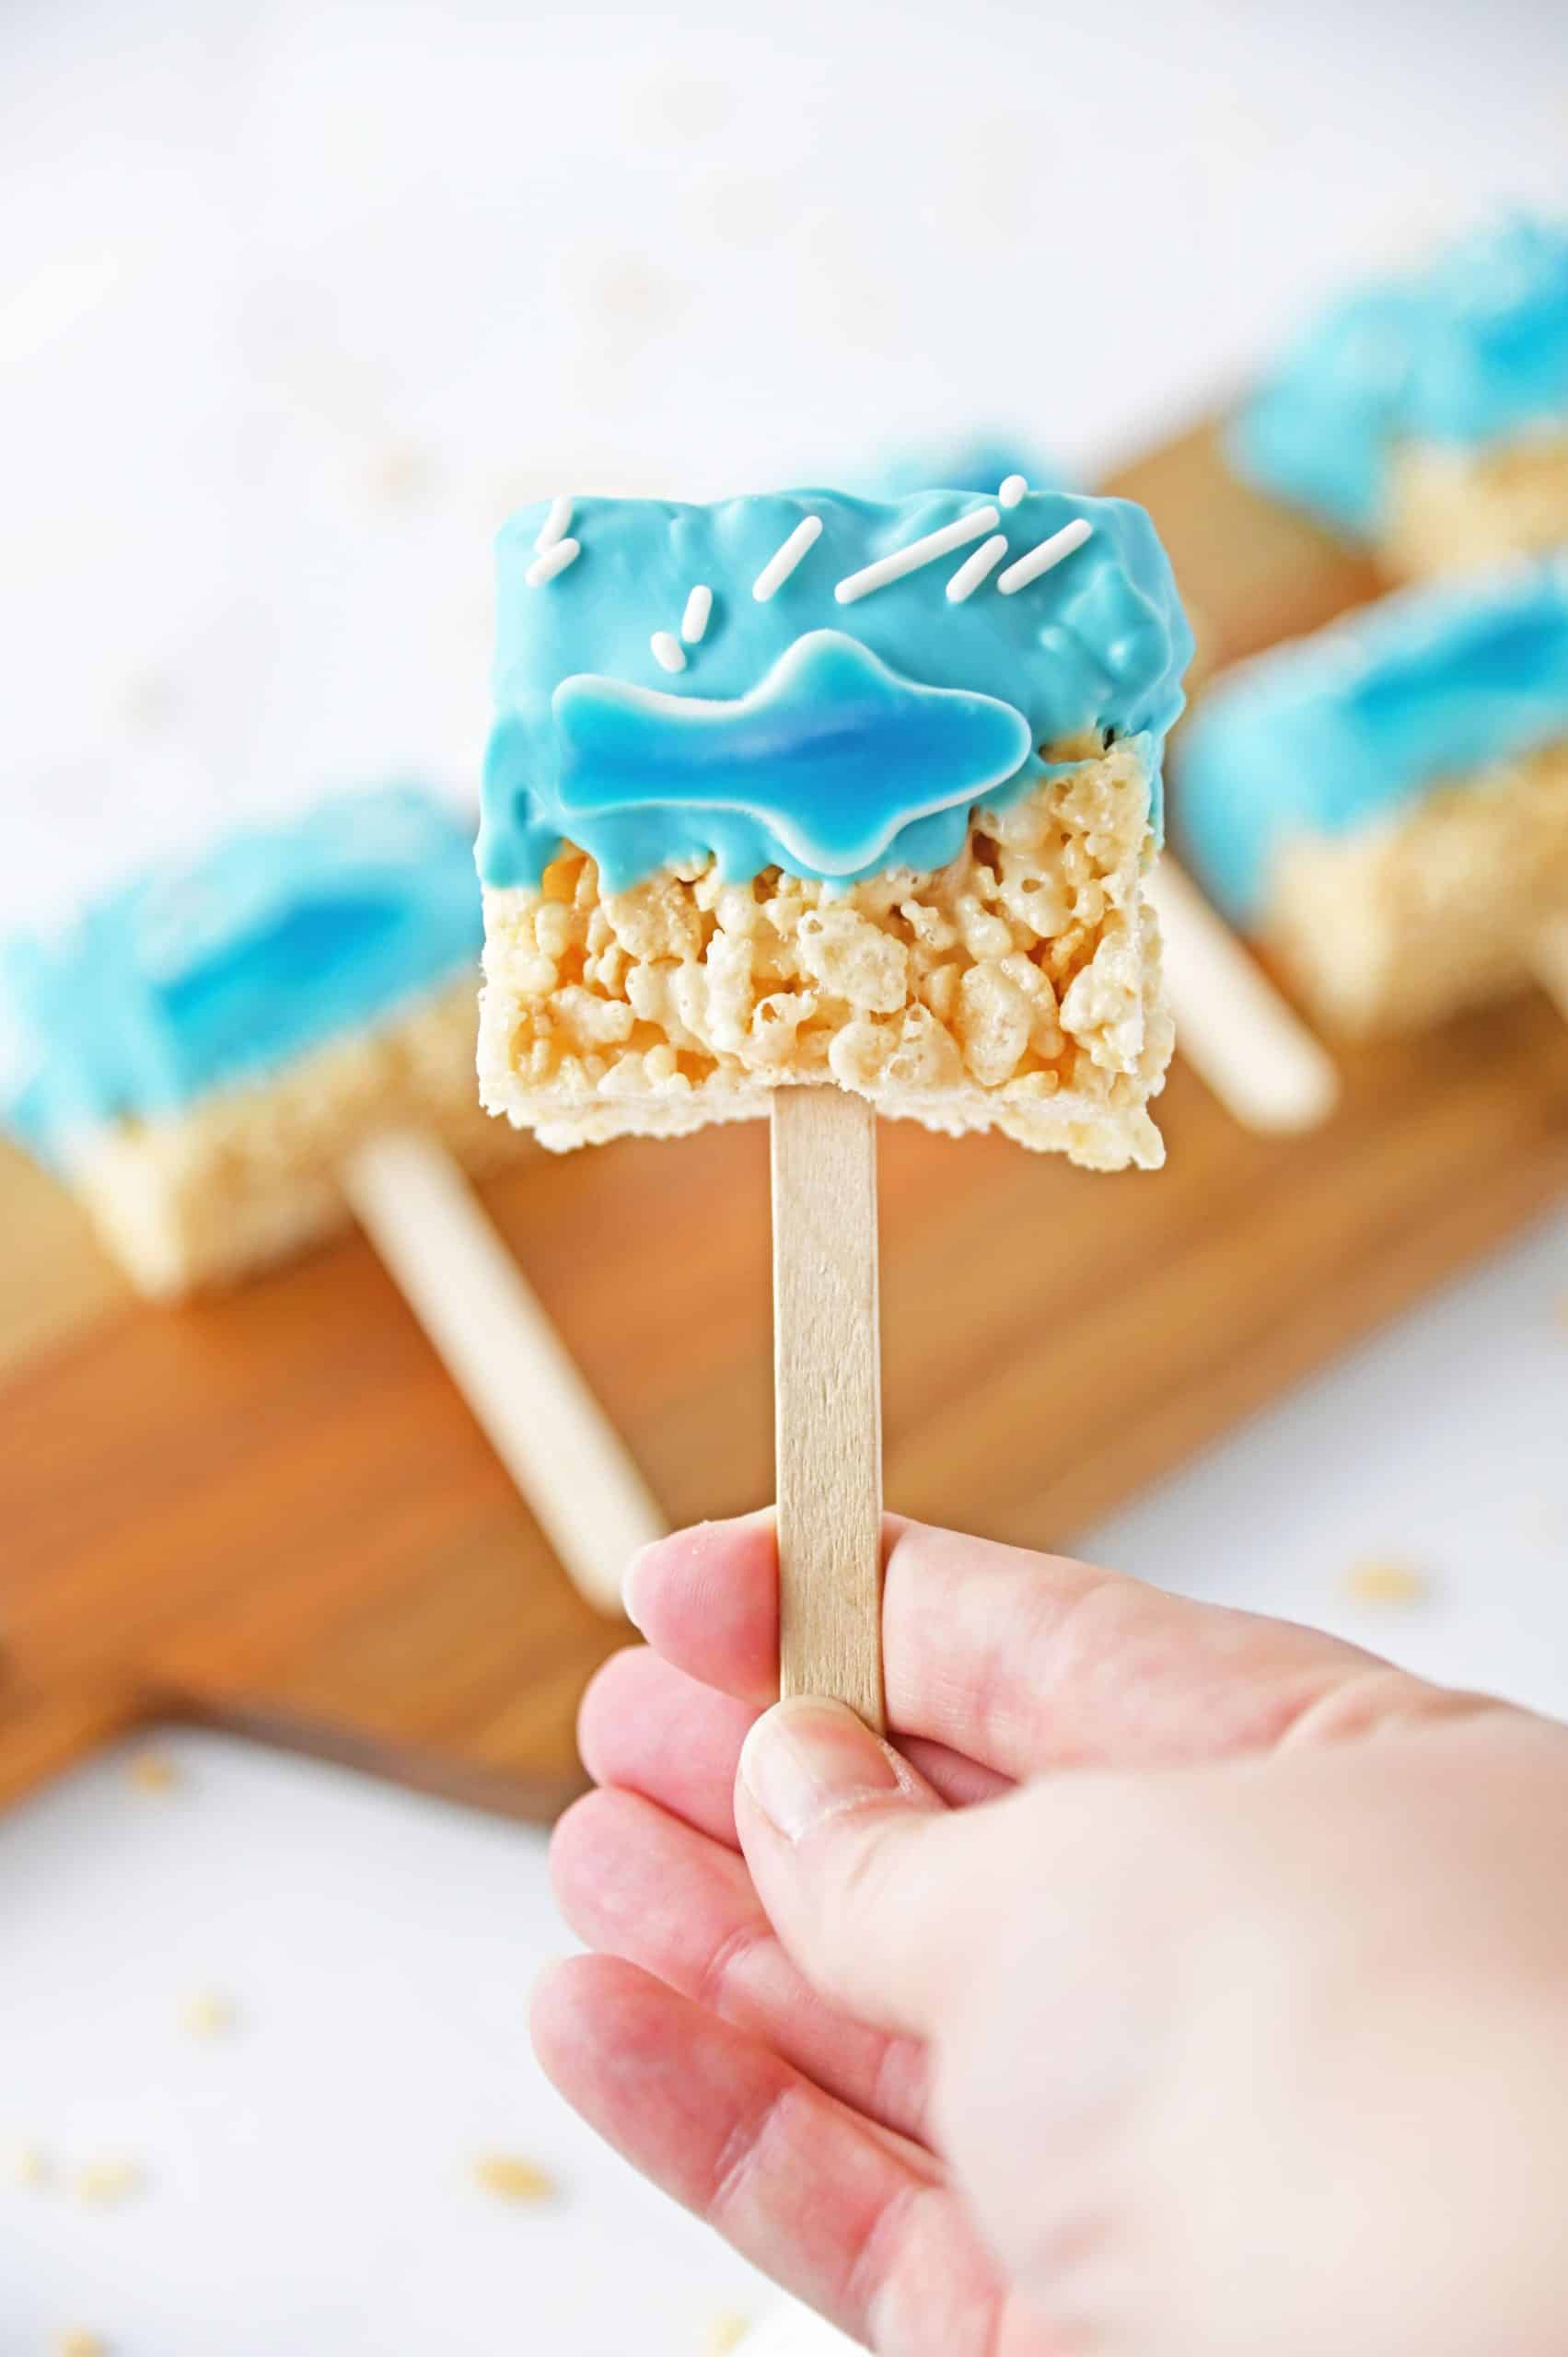
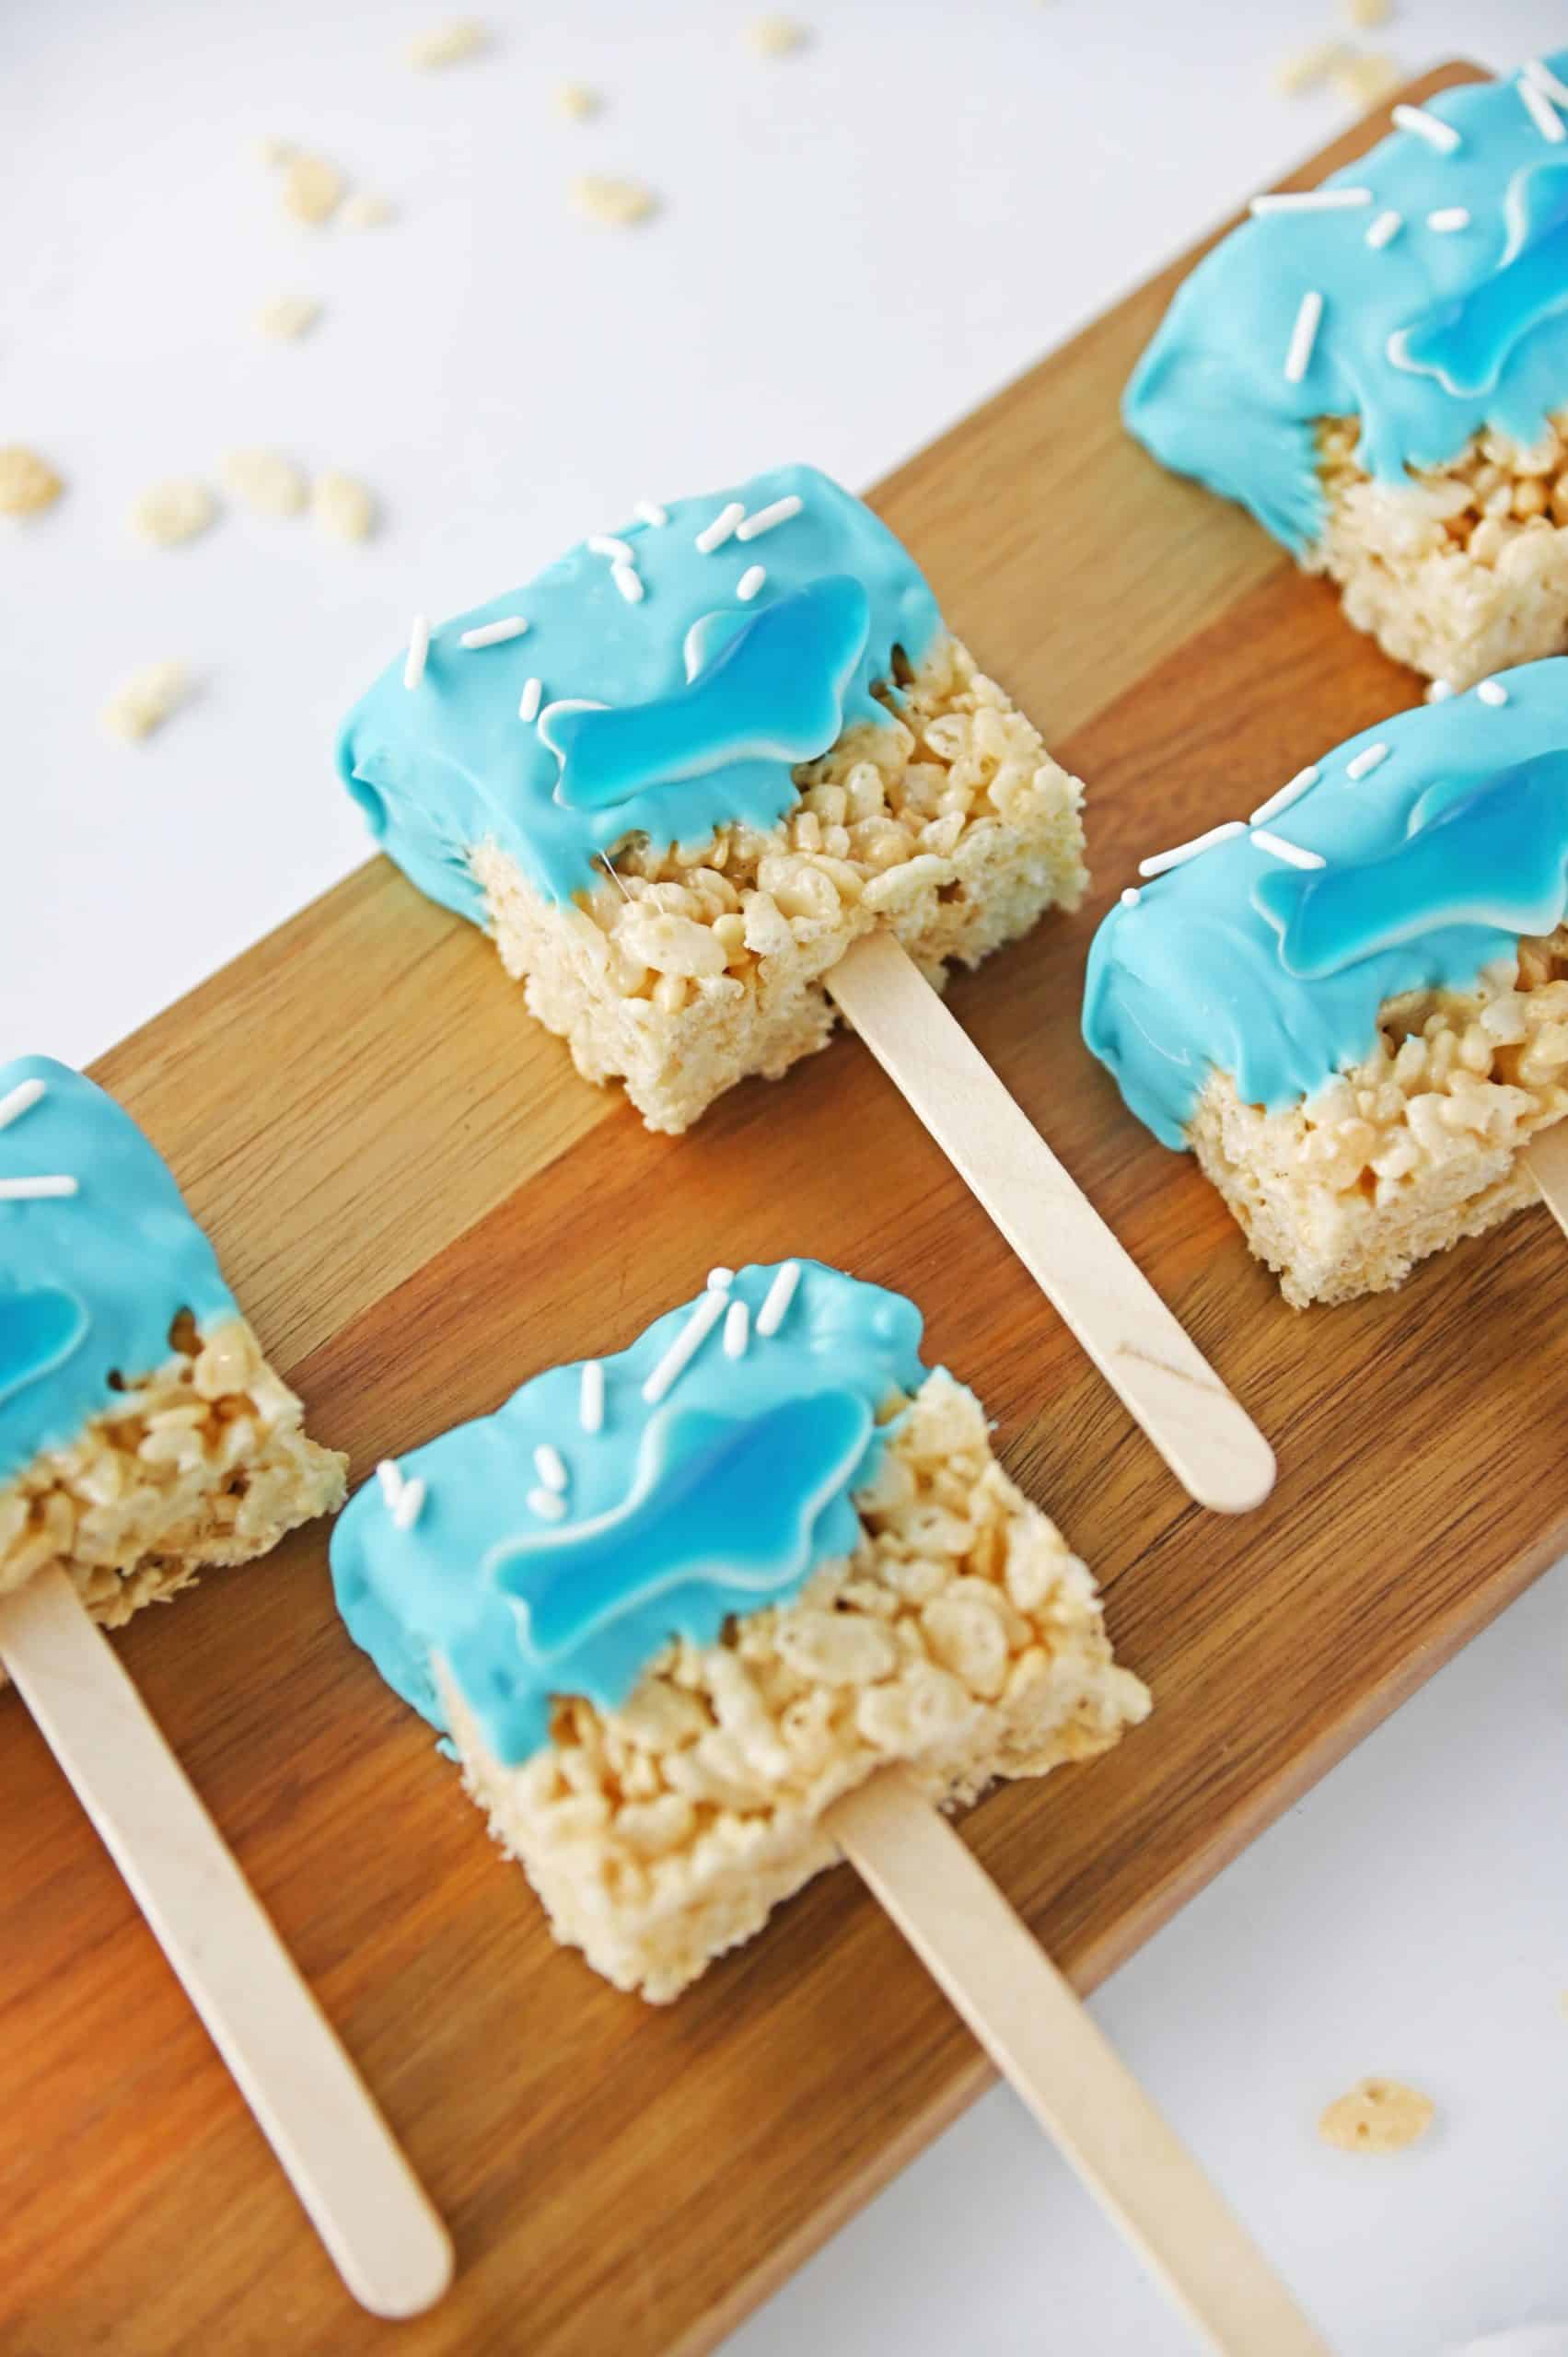
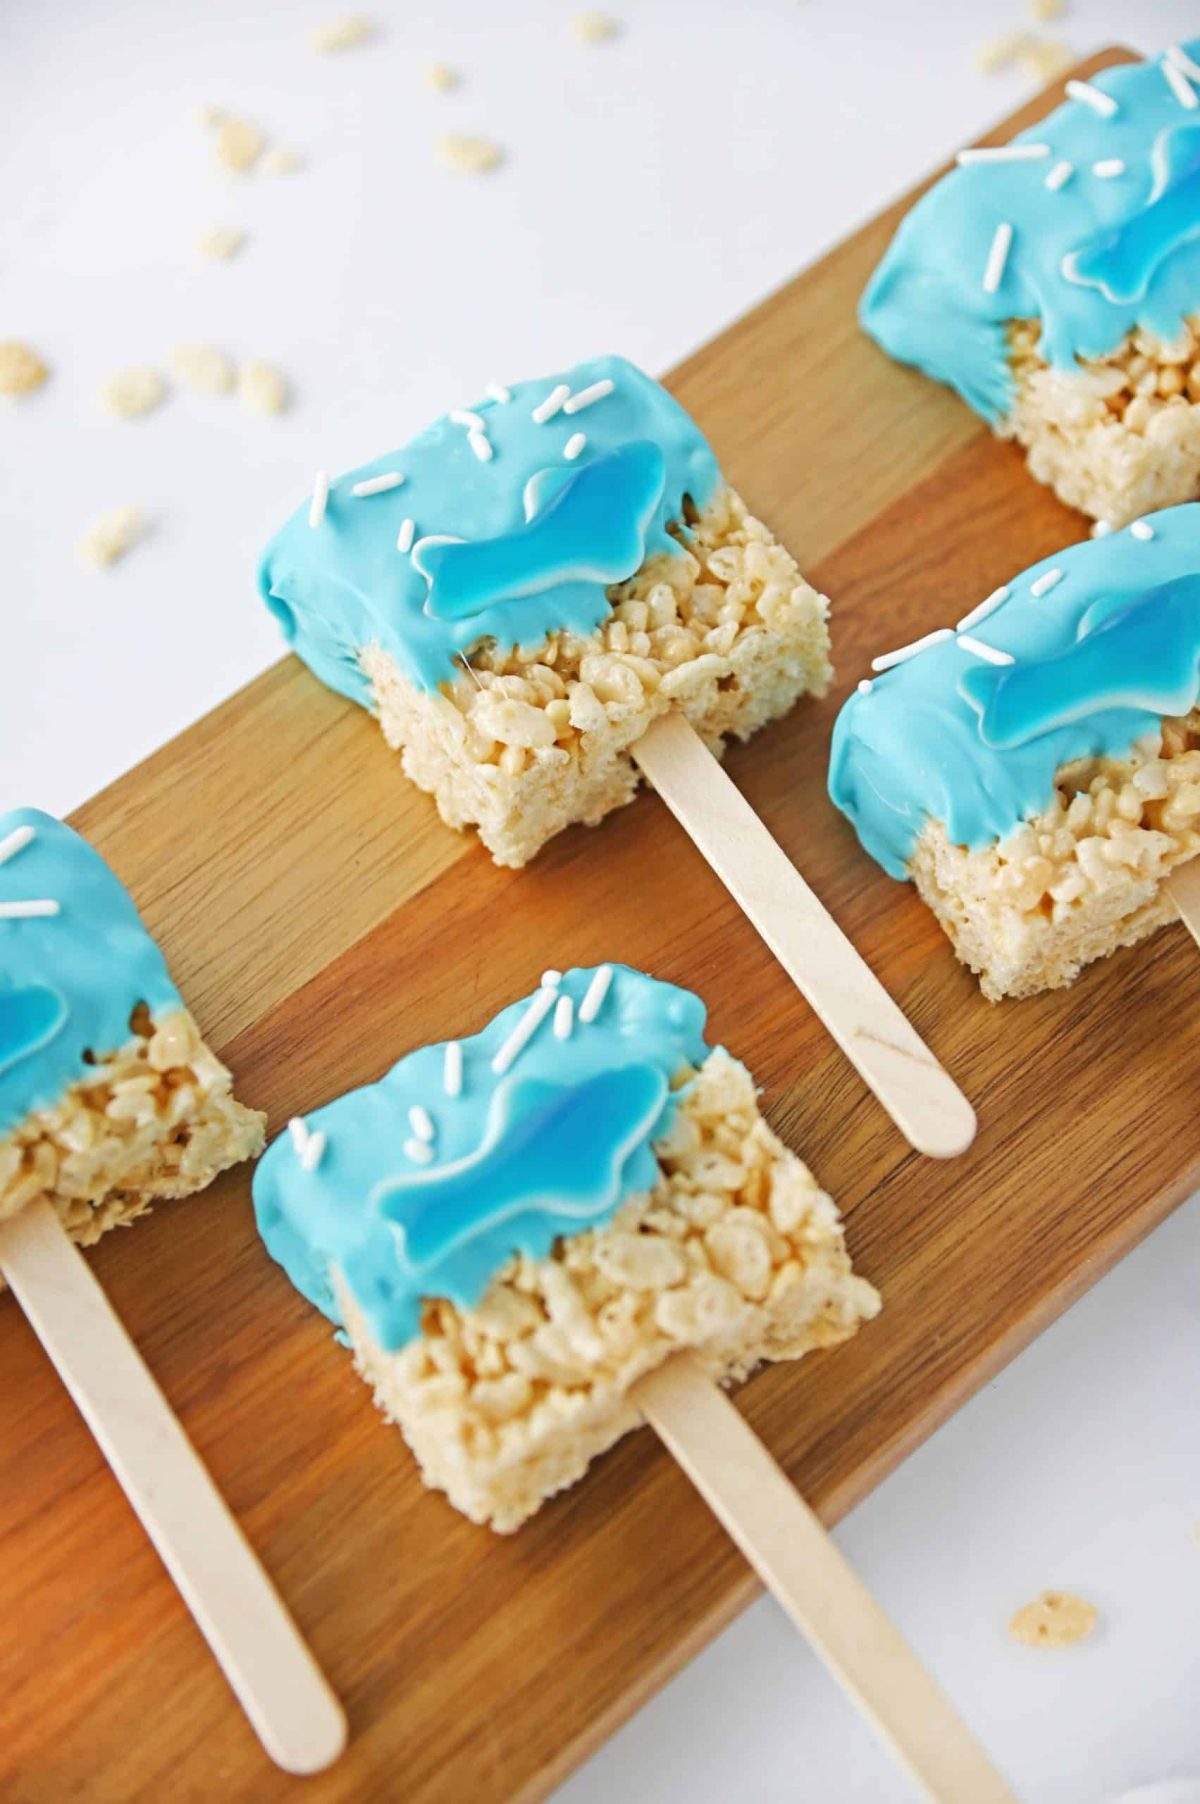
These Shark Rice Krispie Treats turn classic marshmallow cereal bars into the cutest ocean inspired party dessert. Each treat is placed on a popsicle stick, dipped in bright blue candy melts, and finished with a gummy shark and white sprinkles.
They are perfect for Shark Week watch parties, summer birthdays, pool parties, and beach themed decorations. The treats look like little sharks swimming through blue ocean waves, but they are surprisingly easy to assemble. If you enjoy playful seasonal desserts like my 4th of July Rice Krispie Treats, this is another fun way to dress up a familiar favorite.
About This Recipe
Shark rice krispie treats are no-bake cereal treat pops dipped in blue candy melts and topped with a gummy shark. You press a classic butter and marshmallow rice krispie base into a 9×13 pan, let it set, cut it into 15 rectangles, add popsicle sticks, then dip and decorate. Active time is about 15 minutes, with two separate 1 hour rest periods for the treats and the candy coating to set. No oven required at any point.

Recipe Snapshot
Prep Time: 15 minutes
Cook Time: About 10 minutes
Total Time: About 2 hours 25 minutes, including setting time
Servings: 15 treats
Difficulty: Easy
Perfect For: Shark Week parties, pool parties, summer birthdays, ocean-themed celebrations, classroom treats, and kids’ dessert tables
Main Ingredients: Butter, miniature marshmallows, crispy rice cereal, blue candy melts, gummy sharks, white sprinkles, and popsicle sticks
SUMMARIZE AND SAVE THIS RECIPE CONTENT ON:
Why You’ll Love These Shark Rice Krispie Treats
Why These Shark Rice Krispie Treats Work
Melting the butter and marshmallows together creates the sticky mixture that holds all of the crispy rice cereal in place. Stirring the cereal in after the pot comes off the heat helps coat every piece without continuing to cook the marshmallows. Pressing everything into one even layer gives you sturdy rectangles that are easy to cut and place on sticks.
The blue candy melts serve two purposes. They add another layer of sweetness, but they also create the bright ocean look that makes these feel like Shark Week treats instead of ordinary cereal bars. Dipping only the top portion leaves some of the crispy cereal visible, which gives the treats a fun sandy shoreline effect.
Adding the gummy shark and sprinkles while the coating is still wet is the final step that brings everything together. As the candy melts firm up, they hold the decorations in place so each treat can be picked up and served without falling apart.
The Ingredient Breakdown
Top Tip for a “Fabulous” Finish
Save a small handful of the marshmallows and stir them in at the very end, off the heat, after the rest have melted. They stay in soft little pockets instead of fully melting, and that is the difference between a good rice krispie treat and one people fight over. I do this every single time.
How to Make Shark Rice Krispie Treats
Step 1: Melt the Butter
Melt the butter in a large pot over medium heat until it is fully liquid and just starting to smell a little nutty. A big pot matters here, since you need room to fold in 6 cups of cereal later without it spilling over the sides.
Step 2: Melt the Marshmallows Low and Slow
Add the marshmallows and stir often as they melt down into a smooth, glossy pool. Keep the heat at medium or lower, because this is exactly where treats get ruined. If you rush it on high heat, the marshmallow dries out and your treats set up hard. When it looks like thick, shiny white lava with no lumps, you are right where you want to be.
Step 3: Fold in the Cereal
Take the pot off the heat and pour in the rice krispies. Fold gently until every piece is coated and glossy. Work fairly quickly here, because the mixture stiffens as it cools, and you want it still soft and pliable when it hits the pan.
Step 4: Press and Set
Spray a 9×13 pan with non-stick spray and scrape in the mixture. Press it into an even layer with sprayed hands or a piece of parchment, gently, so the treats stay soft. Let it set at room temperature for about an hour, until it is firm enough to cut clean.
Step 5: Cut and Add Sticks
Cut the slab into 15 rectangles. Push a popsicle stick about halfway into the bottom edge of each one. If a treat feels a little crumbly around the stick, warm it in your hands for a second and the marshmallow will grip better.
Step 6: Dip in Blue Candy Melts
Melt the candy melts in a microwave-safe bowl in 30 second bursts, stirring well between each, until smooth and pourable. Dip one end of each pop into the blue, let the excess drip off, and lay it on parchment paper. The coating should flow like thick paint, not sit clumpy on the spoon.
Step 7: Add the Shark and Set
While the candy is still wet, press a gummy shark onto each pop and shake on a few white sprinkles. Do this immediately, because once the coating starts to firm up, the toppers slide right off. Let them set for about an hour until the shell is hard, then serve.
Serving Suggestions
Wrap them individually: Slip each treat into a clear treat bag and tie it with blue ribbon for party favors or classroom treats.
Create an ocean dessert board: Arrange the pops on a large wooden board with gummy fish, blue candies, and scattered white sprinkles.
Build a Shark Week snack table: Pair the treats with blue punch, popcorn, and bowls of ocean-themed candy.
Serve them upright: Place the pops in a jar filled with wrapped blue candies or decorative paper shred for a fun party display.
Make It Your Own
- Add a sandy beach: Sprinkle crushed graham crackers along the lower edge of the blue coating to create a little shoreline.
- Use different sea creatures: Substitute gummy fish, whales, octopuses, or other ocean-themed candies.
- Create darker waves: Drizzle a small amount of darker blue candy coating over the lighter blue layer.
- Make smaller treats: Cut the cereal mixture into bite-size rectangles and use shorter paper sticks for a kid-sized dessert.
- Try white chocolate: Use white candy melts tinted with oil-based blue candy color if you cannot find the shade you want.
- Add a shark attack twist: Finish with a tiny drizzle of red candy coating for a playful Shark Week variation.
Storage and Make-Ahead
Make-ahead: Make and press the base a day ahead, then cut, dip, and decorate the day of your party so the coating looks its glossiest.
Room temperature: Store in an airtight container at room temperature for up to 3 days. This is where they stay softest, so keep them covered and off the open counter.
Refrigerator: You can chill them, but I do not recommend it. The cold firms up the cereal and dries them out faster.
Freezer: Freeze undipped treats, wrapped well, for up to 6 weeks. Thaw at room temperature, then dip and decorate fresh.
Time to Make a Splash
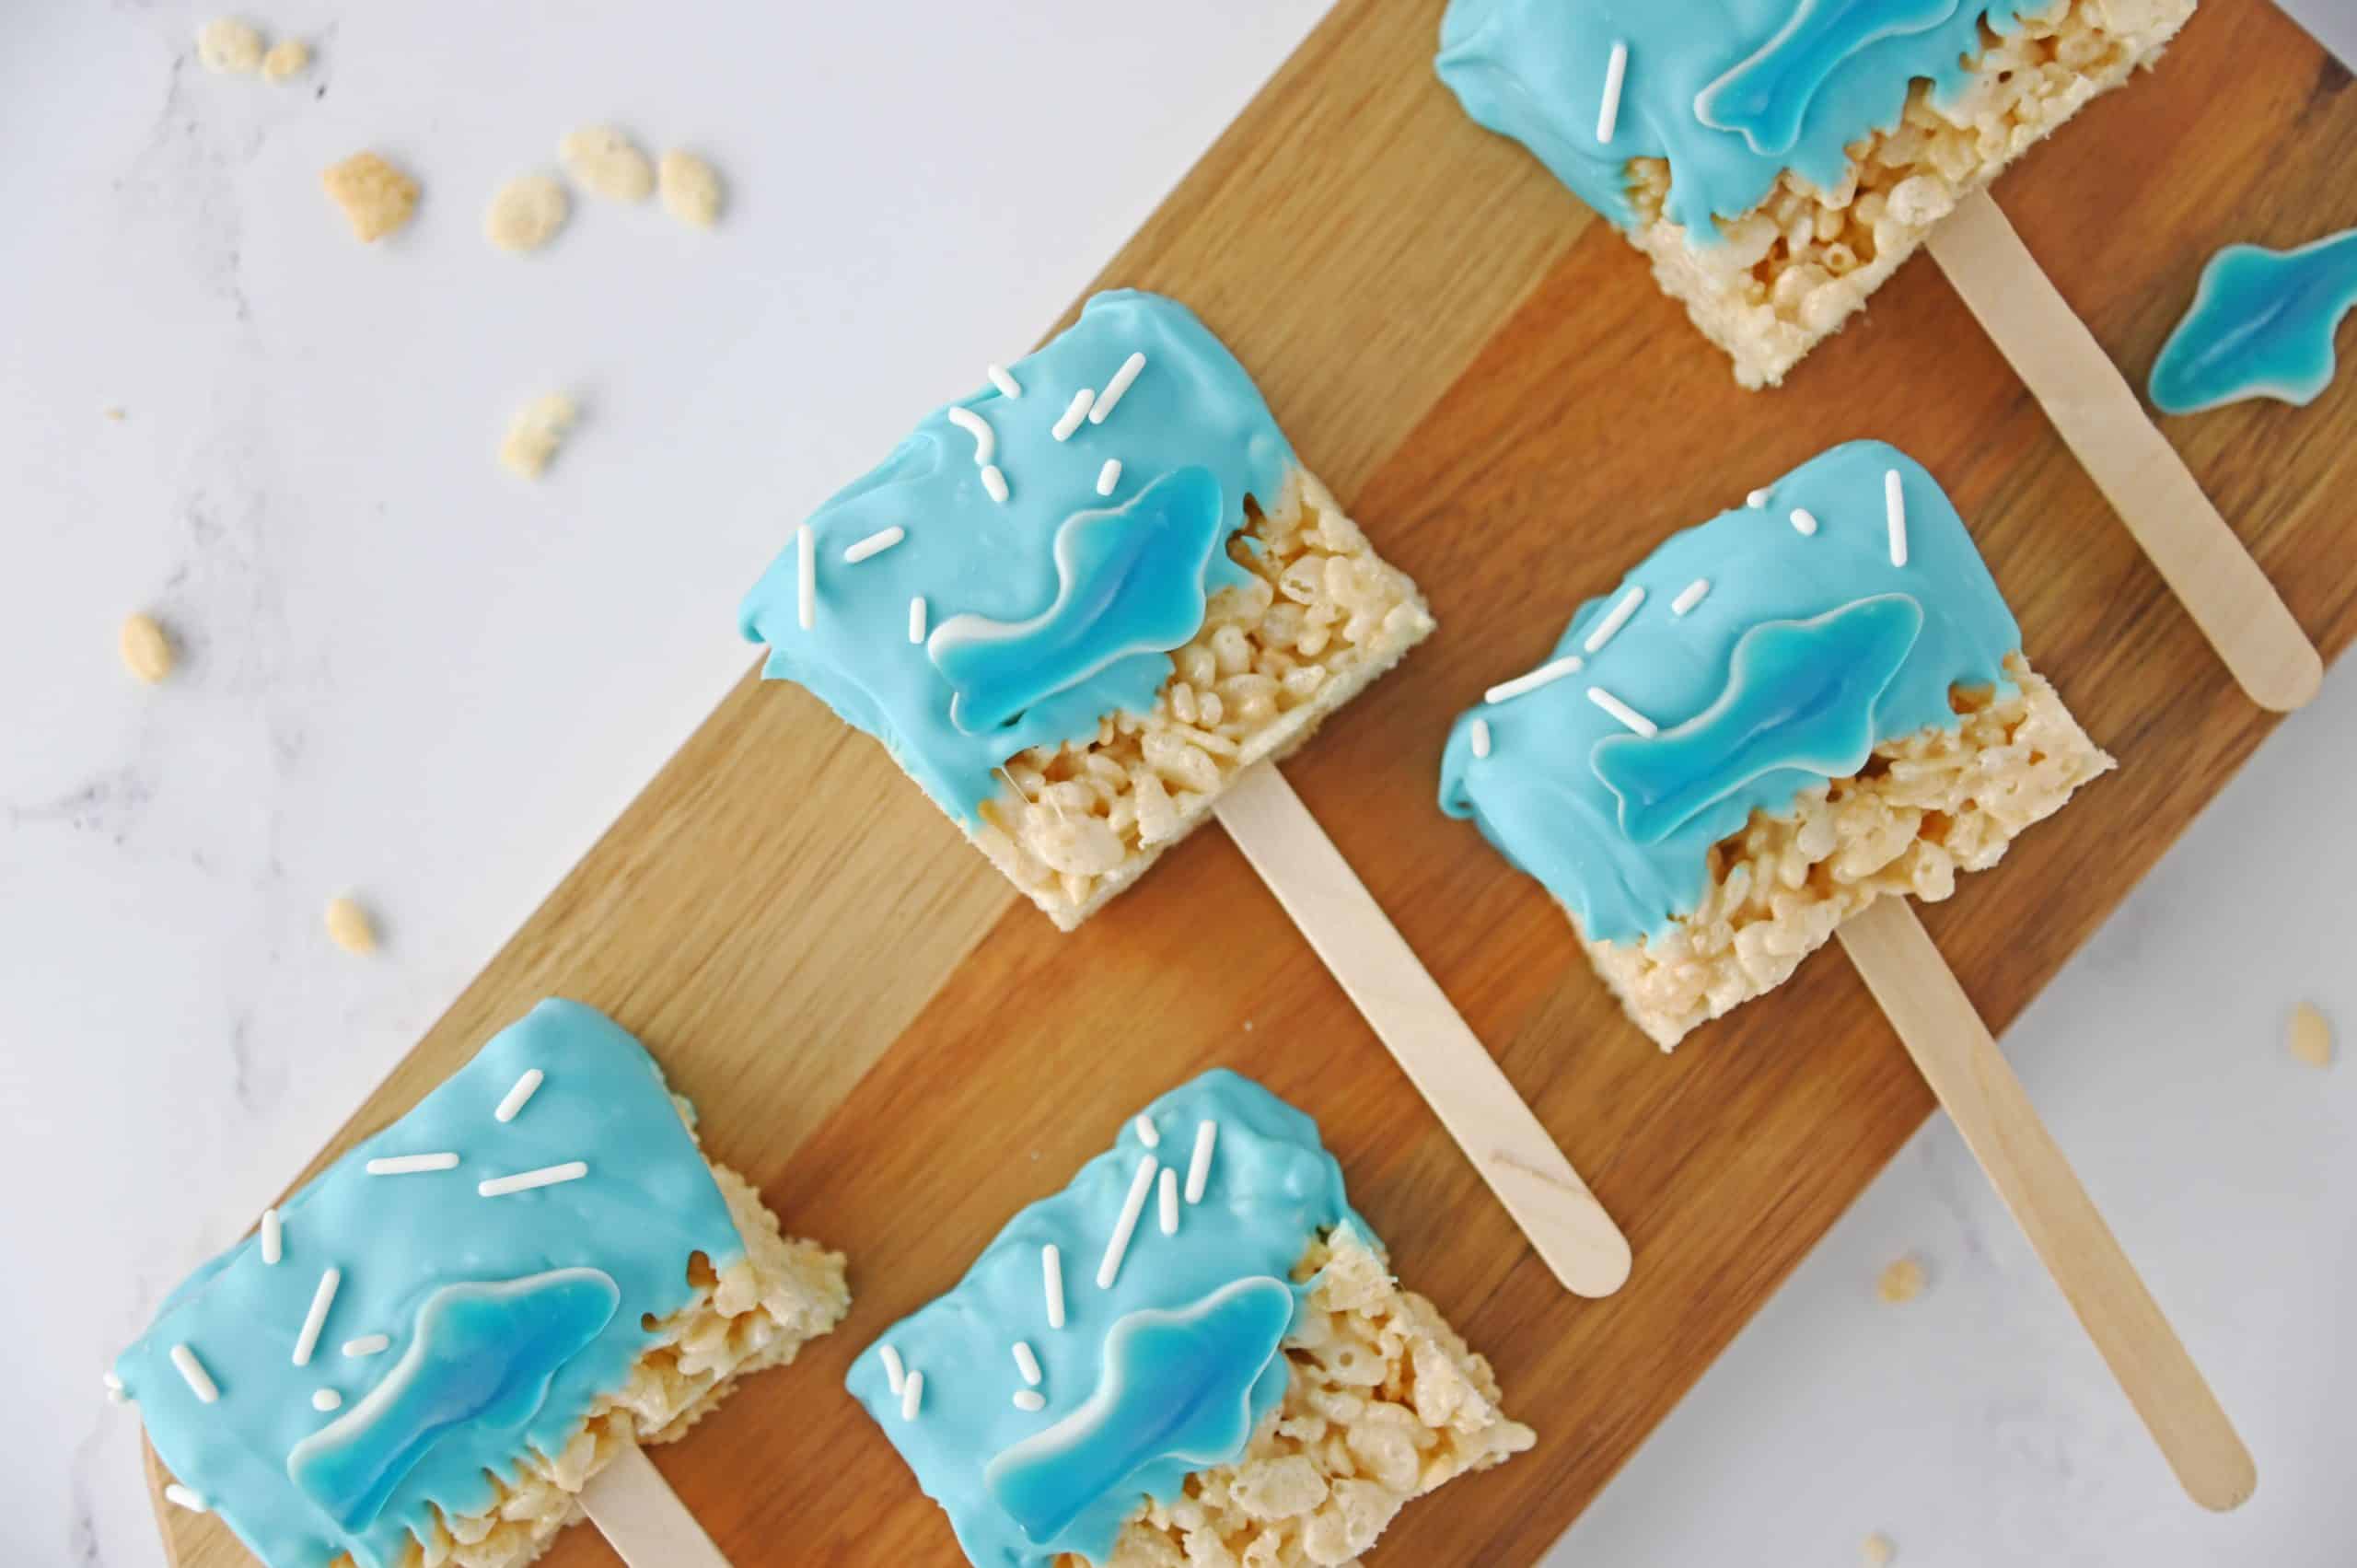
These shark rice krispie treats are proof that the simplest recipes are often the ones kids remember. Soft, chewy, blue, and topped with a little grinning shark, they turn any summer afternoon into an event, and they take almost no effort to pull off.
If you whip up a batch for Shark Week or a summer party, come back and let me know how they went in the comments. Tell me what color you dipped them, which gummy critters you used, and how fast they vanished. Snap a photo and tag me so I can see your school of sharks.
More Fun Party Treats You’ll Love
- Snow Cone Oreo Truffles
- Snow Cone Cake Pops
- Monster Cupcakes
- Tropical Fruit Marshmallow Fluff
- Patriotic Oreo Cookies
- Easy Homemade Marshmallows

Shark Rice Krispies Treats
Ingredients
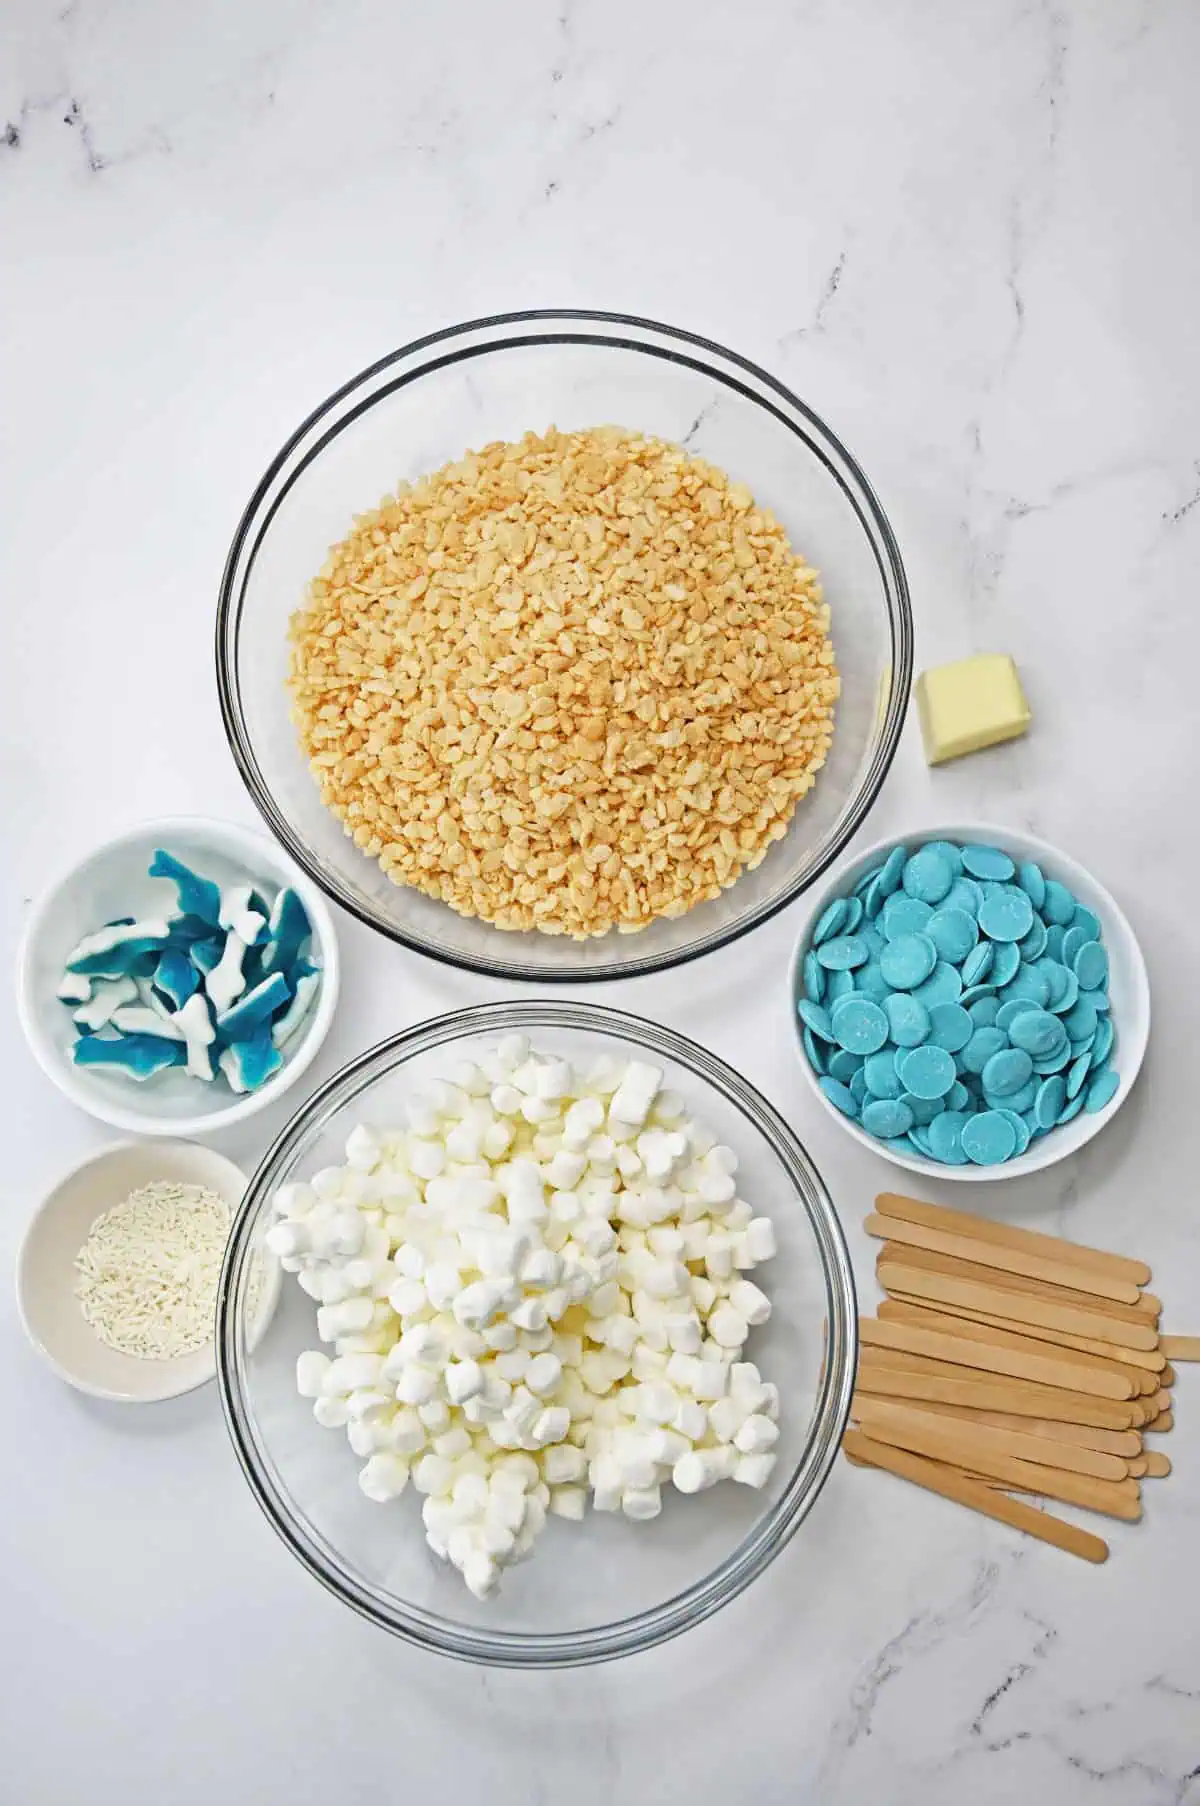
- 3 tbsp. Butter
- 5 ½ cups miniature marshmallows
- 6 cups rice krispies cereal
- 12 oz. blue candy melts
- 15 Shark gummies
- 1 tbsp. White sprinkles
- 15 popsicle sticks
Instructions
- In a large pot, melt butter over medium heat.
- Stir in marshmallows, and heat until melted, stirring frequently.
- Once melted, remove from the heat and stir in rice krispies, stirring well to coat all of the cereal in the marshmallow mixture.
- Spray a 9×13 inch pan with non-stick spray.
- Pour the rice krispie mixture into the pan, and press down evenly.
- Allow the rice krispies about an hour to set.
- Then, cut into 15 rectangles. Add a popsicle stick to each treat.
- In a microwave safe bowl, melt candy melts by microwaving on 30 second increments and stirring well in between.
- Lay out a large piece of parchment paper.
- Dip one end of the treats into the candy melts, and place onto the parchment paper.
- Add a shark gummy and a few white sprinkles.
- Repeat for each treat, and let the treats set for about an hour so the candy can set. Enjoy!
Nutrition
Notes
Pro Tips for the Best Shark Rice Krispie Treats
- Use fresh marshmallows every time: This is the whole ballgame for soft treats. An old bag melts into something that dries hard, so start with a fresh one.
- Keep the heat down: Low and slow on the marshmallows is the single best thing you can do. It takes a few extra minutes and saves the entire batch.
- Work while it is warm: The mixture firms up fast, so have your pan sprayed and ready before the cereal ever goes in.
- Thin your coating: The restaurant trick, a little coconut oil stirred into the candy melts, gives you a smoother, thinner dip that looks professional.
- Decorate wet: Add the shark and sprinkles the instant each pop is dipped. Waiting even a minute means they will not stick.
Tried this recipe?
Let us know how it was!Time to Make a Splash
These shark rice krispie treats are proof that the simplest recipes are often the ones kids remember. Soft, chewy, blue, and topped with a little grinning shark, they turn any summer afternoon into an event, and they take almost no effort to pull off.
If you whip up a batch for Shark Week or a summer party, come back and let me know how they went in the comments. Tell me what color you dipped them, which gummy critters you used, and how fast they vanished. Snap a photo and tag me so I can see your school of sharks.
FAQs: Shark Rice Krispie Treats, Sorted
Why did my rice krispie treats turn out hard?
Almost always it is high heat or stale marshmallows. Melt your marshmallows low and slow, use a fresh bag, and press the mixture into the pan gently instead of packing it down. Do those three things and they stay soft and chewy for days.
Why is my candy coating thick and clumpy?
Your candy melts probably overheated or caught a drop of water. Melt them in short 30 second bursts, stirring between each, and never let any water or steam touch the bowl. To loosen a thick batch, stir in a teaspoon of coconut oil or shortening.
Why won't my sprinkles and gummy sharks stick?
You waited too long. Candy melts set fast, so add the shark and sprinkles the second you finish dipping each pop, while the coating is still wet. If it already firmed up, dab on a little extra melted candy to use as glue.
Can I make shark rice krispie treats ahead of time?
Yes. Make the base a day ahead and store it covered at room temperature, then cut, dip, and decorate the day you plan to serve. Freshly dipped coating always looks glossiest, so save that step for last.
Do these need to be refrigerated?
No, and I would skip it. Rice krispie treats stay softest at room temperature in an airtight container. The fridge tends to dry them out and firm up the cereal, which is the opposite of what you want.
What can I use instead of candy melts?
White chocolate or regular chocolate both work great. If you want that blue color with white chocolate, tint it with an oil-based candy coloring, not the water-based kind, which can make chocolate seize up.
How many treats does this make?
This batch makes 15 pops from a 9×13 pan. You can cut them smaller for a bigger crowd of kids, or skip the sticks and make squares if you want more, smaller servings.
