Banana Pudding Poke Cake (Creamy, Nostalgic & Perfect for Potlucks)
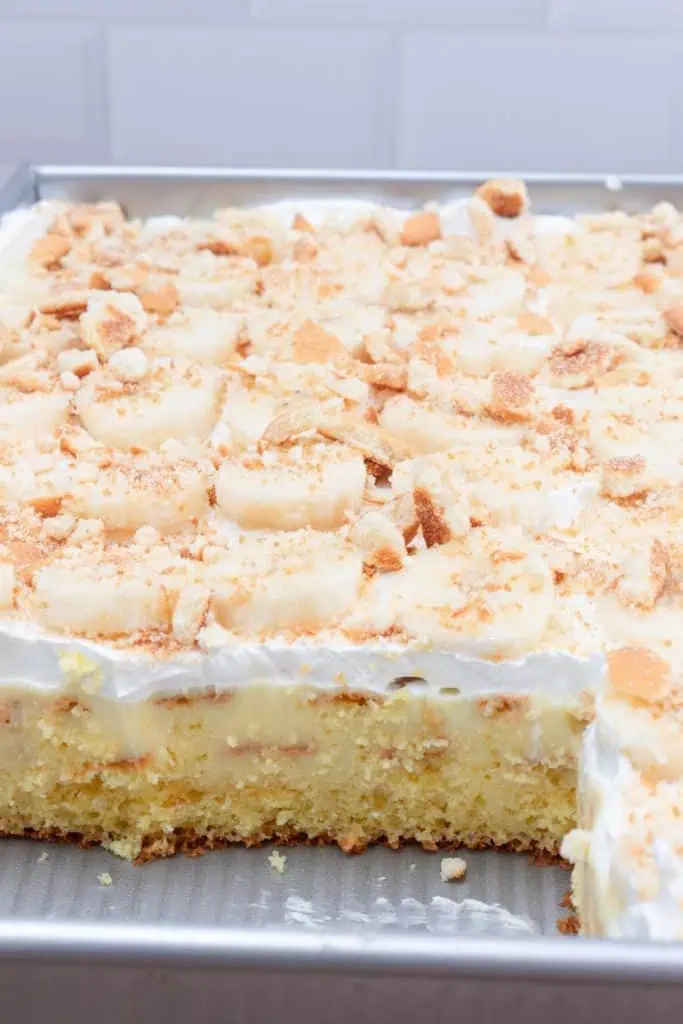
If there’s one dessert that disappears almost instantly at family gatherings, potlucks, or summer cookouts…it’s my banana pudding poke cake. You’ve got soft yellow cake, creamy banana pudding soaking into every little hole, fluffy whipped topping, and crushed vanilla wafers on top that bring the whole thing together. It tastes like old-school banana pudding and cake teamed up to create the ultimate comfort dessert.
After years of working in restaurant kitchens, I can tell you desserts like this stick around for a reason. They’re easy, nostalgic, crowd-friendly, and somehow always the first empty pan on the dessert table. Nobody’s out here asking whether poke cake is trendy… they’re asking for seconds. The best part is how ridiculously easy this is to make.
Recipe Snapshot
- Classic Southern Dessert in Cake Form: This banana pudding poke cake combines soft yellow cake, creamy banana pudding, whipped topping, and crunchy vanilla wafers into one nostalgic crowd-pleasing dessert.
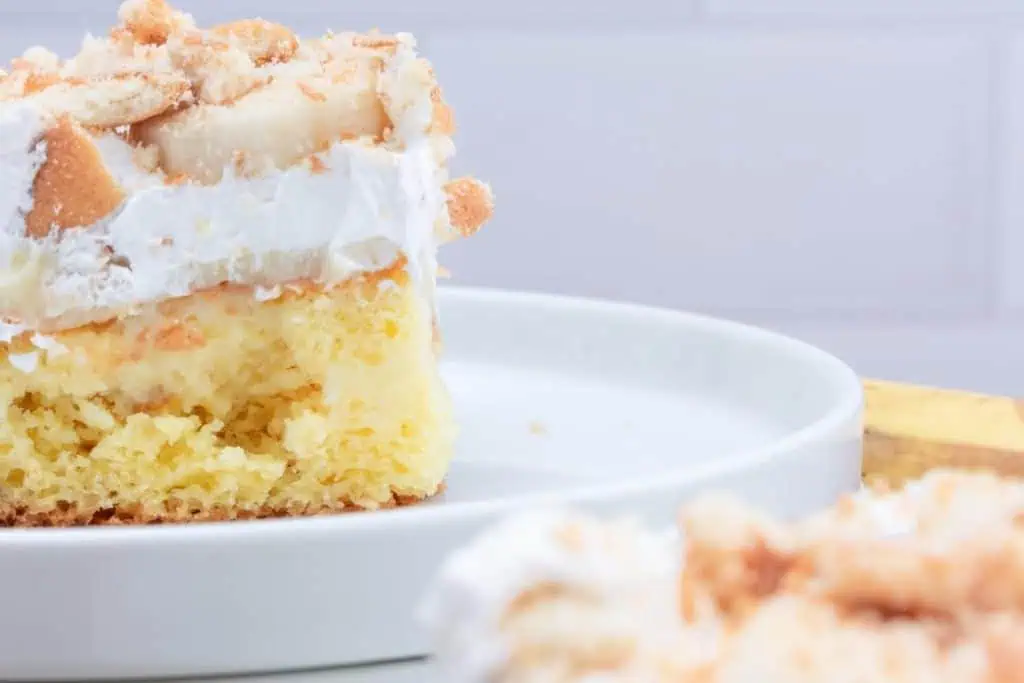
- Ultra Moist and Creamy: The banana pudding sinks into the poke holes, giving every bite that cool creamy banana pudding texture layered throughout the cake.
- Easy Make-Ahead Dessert: This cake actually gets better after chilling, making it perfect for potlucks, family gatherings, holidays, and easy prep-ahead entertaining.
- Best For: Potlucks, BBQs, family reunions, summer parties, holiday dessert tables, banana pudding lovers, and easy nostalgic desserts for a crowd.
David’s Tip: Wait to add the crushed vanilla wafers until right before serving if you want them to stay crisp. Adding them too early can cause the topping to soften quickly once it absorbs moisture from the whipped topping and pudding.

Why You’ll Love This Cake
The Ingredient Breakdown
⭐Top Tip for a “Fabulous” Finish
For the most professional look, wait to add your crushed vanilla wafers until immediately before serving. If you sprinkle them on before putting the cake in the fridge, the moisture from the whipped topping will turn them soggy. Keeping them separate until the last second ensures that satisfying “crunch” in every bite!
How to Make Banana Pudding Poke Cake
Step 1: Bake Your Foundation
Follow the package directions to bake your 15.25 oz yellow cake mix in a 9×13-inch pan. Chef’s Secret: Don't overbake! You want the cake to be just set. Because we are adding pudding later, a slightly tender crumb will absorb the liquid much better than a dry, overbaked crust. Remove it from the oven and let it sit for just 2–3 minutes.
Step 2: The “Vertical Saturation” Poke
Using the handle of a wooden spoon, begin poking holes across the entire surface of the warm cake. You want these holes to be about ½ inch wide—big enough for the pudding to travel down. Be sure to press the handle all the way to the bottom of the pan. Space the holes about an inch apart so the cake maintains its structure while being fully “loaded” with flavor.
Step 3: Whisk the Pudding “Flood”
In a large bowl, whisk together the two packages of instant banana pudding with the 4 cups of cold milk. You need to work quickly here! Whisk until the lumps are gone, but stop before it fully sets. You want the pudding to be in its “liquid state” so it can flow freely into the holes you just created.
Step 4: Fill and Gravity-Set
Immediately pour the liquid pudding over the warm cake. Use the back of a spoon to gently guide the pudding into the holes, smoothing the excess over the top. As the cake cools, it will “pull” the pudding down into the crumb. Once the surface is level, cover the pan and move it to the refrigerator for at least 2 hours to let the pudding and cake “bond.”
Step 5: The “Cloud” Layer
Once the cake is completely cold to the touch and the pudding has set, spread your thawed whipped topping evenly across the top. This acts as a seal, keeping the moisture inside the cake and providing a light, airy contrast to the dense pudding-infused interior.
Step 6: The Final Crunch
Just before you are ready to serve, crush your vanilla wafers. You can put them in a zip-top bag and give them a few whacks with a rolling pin—you want a mix of fine crumbs and larger chunks. Sprinkle them generously over the whipped topping. If you’re feeling extra “fabulous,” you can add a few fresh banana slices to each individual plate as you serve.
Storage Tips
Best served chilled.
Leftovers should be covered and stored in the refrigerator for up to 4 days.
Add crushed vanilla wafers just before serving for maximum crunch.
Looking For More Desserts?
- Boston Cream Poke Cake
- Pumpkin Better Than Sex Cake
- Eleven’s Mini Eggo Waffle Cake Pops
- Two-Bite Bourbon Pecan Brownie Bites
- Homemade Oatmeal Cream Pies
- Biscoff Truffles

Banana Pudding Poke Cake
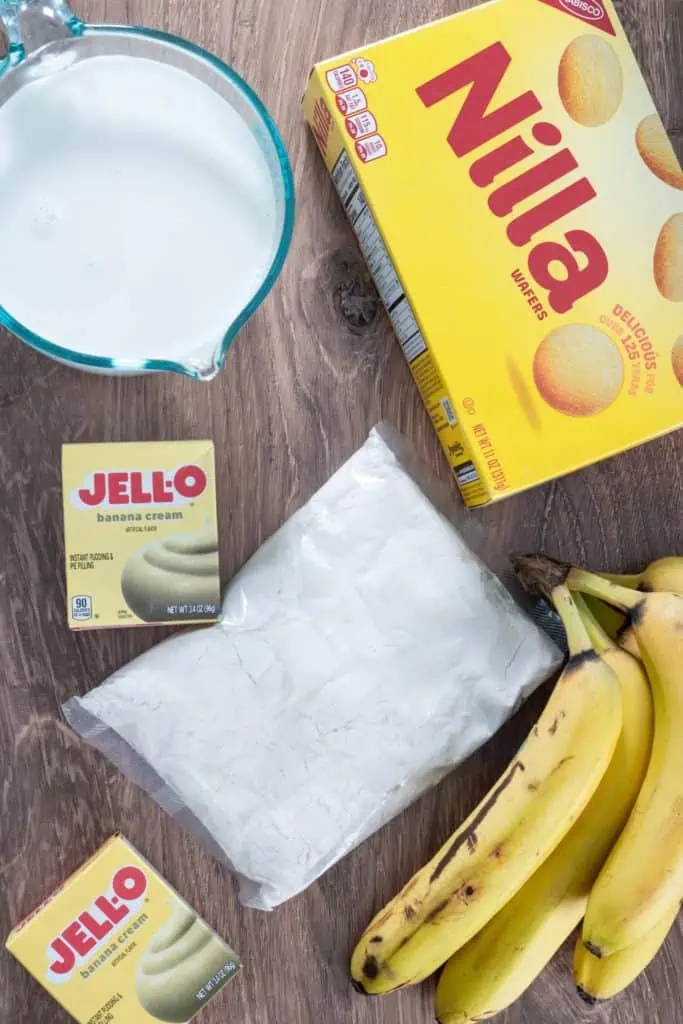
Ingredients
- 15.25 Ounce box yellow cake mix ingredients needed to make cake: eggs, oil and water (use the amounts given on the back of the box)
- 2 Boxes 3.4 ounce packages instant banana pudding
- 4 Cups cold milk I prefer whole or 2% milk – do not use skim
- 8 Ounce tub frozen whipped topping thawed (Cool Whip)
- 20 – 25 vanilla wafers crushed
Instructions
- Prepare the yellow cake mix according to directions on the box with ingredients needed to make cake listed on the box.
- Once cake comes out of the oven, allow it to cool for just a couple of minutes.
- Then, with a wooden spoon handle, begin poking holes in the cake. You want the holes to be big enough so that the pudding has plenty of room to get down in there. Also, make sure that you poke right down to the bottom of the cake.
- In a bowl, whisk together the 2 packages instant banana pudding with 4 cups cold milk. Stir quickly until all the lumps are gone but before the mixture starts getting too thick to pour.
- Pour pudding over cake. Be sure to pour the pudding right into the holes as much as possible.
- Spread it all out and using the back of the spoon, gently push pudding down into the holes.
- Put the cake into the refrigerator to set and cool (about 2 hours.)
- Once the cake has completely cooled, spread on 8 ounce tub frozen whipped topping, thawed.
- Sprinkle the crushed vanilla wafers onto the top of the cake before serving. Keep refrigerated.
Nutrition
Tried this recipe?
Let us know how it was!FAQ: Your Poke Cake Questions
Why is my cake soggy?
This usually happens if the cake was underbaked or if you used skim milk. Whole milk ensures the pudding has enough fat to stay “creamy” rather than “watery.”
Can I use cooked pudding instead of instant?
I don't recommend it for this method. Instant pudding sets with a specific “gel” structure that works best for filling holes. Cooked pudding can be too thin and may make the cake base turn to mush.
How long does this cake last?
It stays fresh in the fridge for up to 3 days. However, if you add fresh banana slices between the layers, you should serve it the same day, as the bananas will start to brown once they are sliced.
Can I freeze banana pudding poke cake?
I wouldn't recommend it. The texture of the pudding and whipped topping can change significantly when thawed, often becoming grainy or separated.