
Christmas Pinwheel Cookies
Christmas pinwheel cookies are the showstoppers of the holiday cookie tray! A buttery, vanilla sugar cookie dough is split into red, white, and green, stacked, rolled into a tight log, and coated in Christmas sprinkles, so every slice reveals a bright holiday spiral with a festive edge. They’re crisp at the rim, tender in the middle, and they look like they came from a bakery case.
They take some patience, mostly in the fridge, but none of it is hard. The cookie dough is a simple slice and bake sugar cookie, and the spiral forms on its own as you roll. Even better, the log can be made days or weeks ahead, which makes these a smart pick for holiday baking. Set them next to my Christmas meltaway cookies and your cookie tray is off to a great start!


Recipe Snapshot
Prep Time: 45 minutes
Cook Time: 10–12 minutes per batch
Chill Time: About 2 hours 30 minutes, plus brief chilling as needed
Total Time: About 3 hours 30 minutes, depending on the number of batches
Servings: Yield needs confirmation; source lists 24–30 cookies
Difficulty: Moderate, with simple steps and chilling breaks
Perfect For: Cookie exchanges, Christmas dessert trays, and homemade gifts
Main Ingredients: Butter, sugar, flour, egg, vanilla, gel food coloring, and Christmas sprinkles
Why You’ll Love This Recipe
Why This Recipe Works
Pinwheel dough has to do two things: stay firm enough to hold a crisp spiral, and stay soft enough to roll without cracking. Beating the butter and sugar only until smooth, not light and fluffy, keeps extra air out of the dough, so the cookies don’t puff up and blur the swirl in the oven.
The two chills matter just as much. The first one firms the log so the layers set and you can slice clean rounds. The second one, after the sprinkle coating, locks the sprinkles on and firms up the outside, which keeps the knife from squashing the spiral flat as you cut.
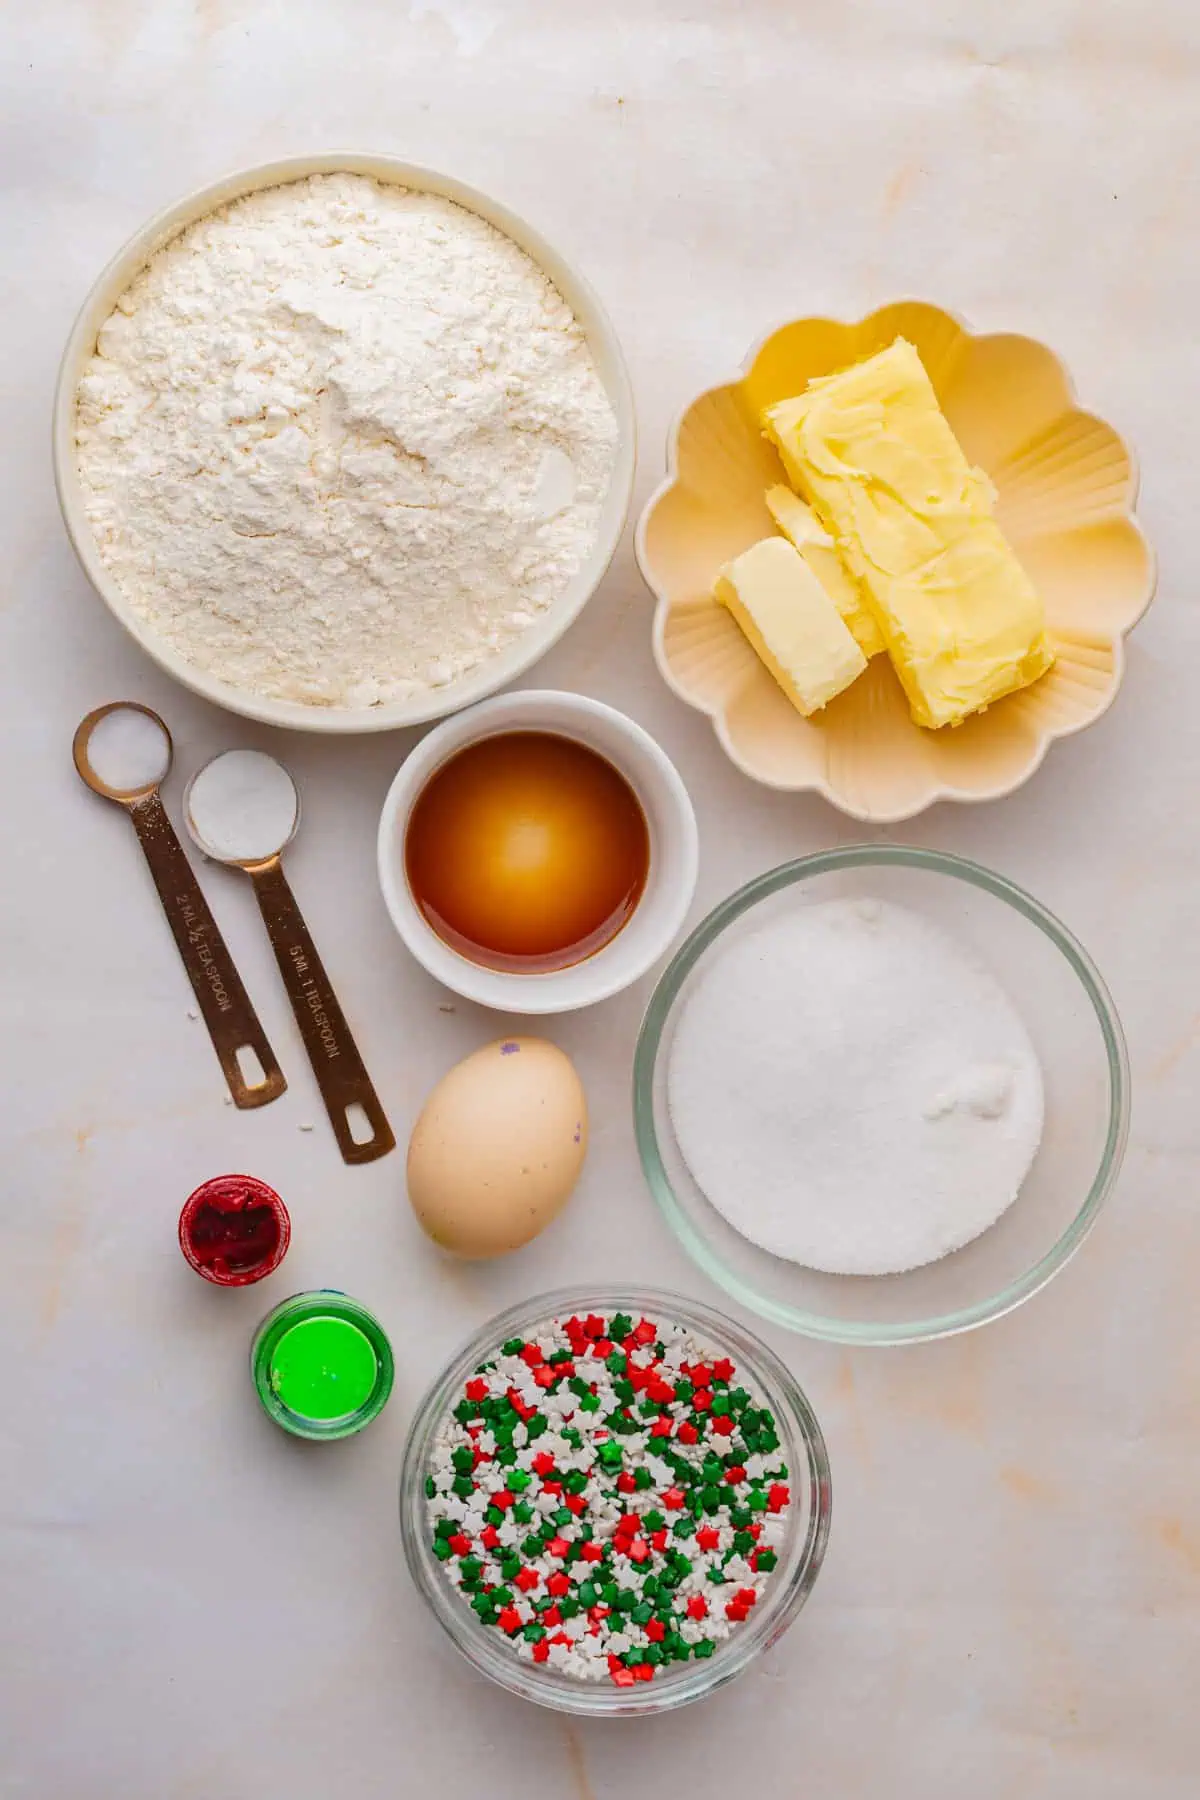
The Ingredient Breakdown
How to Make Christmas Pinwheel Cookies
Step 1: Make the Dough
In a medium bowl, whisk together the flour, baking powder, and salt. In a large bowl, beat the softened butter and sugar for 2 to 3 minutes, until smooth and creamy. Don’t keep beating past that point; you want a dense dough that holds its shape, not a fluffy one. Mix in the egg and vanilla, then add the dry ingredients gradually, mixing only until a soft dough forms.
Step 2: Divide and Color the Dough
Divide the dough into 3 equal portions. A kitchen scale makes this easy. Leave one portion plain. Add red gel coloring to the second and knead gently until the color is even with no streaks, then do the same with green on the third. Gloves keep your hands from turning red and green along with the dough. If the dough gets hard to knead, let it rest a few minutes instead of adding flour.
Step 3: Roll Each Color Into a Rectangle
Place each portion between two sheets of parchment paper and roll it into a 9 × 12-inch rectangle, about ⅛ inch thick. Try to make all three the same size and thickness, since even layers are what give you a clean, defined spiral. If the dough gets soft or sticky, slide the parchment-covered sheets onto a baking sheet and refrigerate them for 10 to 15 minutes. Firm sheets are much easier to stack without stretching or tearing.
Step 4: Stack the Layers
Peel the top parchment off each sheet. Place the white dough on a clean piece of parchment, flip the red dough directly on top and peel away its parchment, then finish with the green. Roll over the stack once or twice with a rolling pin, pressing gently, so the layers stick together. Trim the edges with a sharp knife to get a clean rectangle.
Step 5: Roll It Into a Log and Chill
This is the step that makes or breaks the spiral. Starting at one long edge, roll the dough up tightly into a log, using the parchment underneath to lift and guide it so you don’t stretch the dough. Roll slowly and firmly, pressing out any air pockets as you go. Gaps between the layers turn into gaps in your spiral.
Wrap the log tightly in plastic wrap or parchment and roll it back and forth on the counter a few times to round it out. Refrigerate for at least 1 hour and preferably 2, until very firm. Turn the log a quarter turn now and then while it chills so it doesn’t develop a flat side. Don’t freeze it solid; a frozen log cracks when you slice it.
Step 6: Coat in Sprinkles and Chill Again
Spread the sprinkles on a large piece of parchment or a rimmed tray. Unwrap the chilled log and roll it through the sprinkles, pressing gently so they stick to every side. Return the log to the refrigerator for 20 to 30 minutes.
Step 7: Slice
Preheat the oven to 350°F (175°C) and line baking sheets with parchment paper. Using a sharp knife and a gentle back-and-forth sawing motion, slice the log into rounds about ¼ inch thick. Turn the log every few cuts so it stays round, and wipe the knife clean as needed. Place the cookies on the baking sheets about 1 inch apart. If the slices get soft while you work, refrigerate them on the sheet for 10 minutes before baking. [DAVID: How many cookies did your log make? A 12-inch log sliced ¼ inch thick usually gives closer to 40 than 24 to 30.]
Step 8: Bake and Cool
Bake for 10 to 12 minutes, until the edges are just barely starting to turn golden. Pull them before they brown. Browning dulls the white layer and makes the red and green look muddy. Let the cookies cool on the baking sheet for 5 minutes, since they’re fragile when hot, then move them to a wire rack to cool completely. [DAVID: Was 10 or 12 minutes right in your oven?]
For the next batch, use a cool baking sheet. Cold dough on a hot pan starts melting before it reaches the oven, and the cookies spread.


David’s Tip
Before you roll, trace a 9 × 12-inch rectangle on the underside of each bottom sheet of parchment with a pencil and a ruler. Flip the parchment so the pencil side faces down, and you’ll be able to see the outline through the paper. Roll the dough out to the lines, and all three layers come out the same size without any guesswork.
Pinwheel Cookie Troubleshooting
- The log cracked when I sliced it: It was too cold, usually from too long in the freezer. Let it sit at room temperature for 5 to 10 minutes, until it’s firm but slightly pliable, then try again.
- There are gaps in the spiral: Air got trapped between the layers during rolling. Next time, roll more firmly and use the parchment to apply even pressure along the whole log.
- The colors look dull: The cookies baked too long. Pull them as soon as the edges turn barely golden. A light-colored baking sheet helps too, since dark pans brown the bottoms faster.
- The sprinkles fell off: They weren’t pressed in firmly enough. Lightly dampen your hands and press sprinkles onto any bare spots, using only enough moisture to help them stick.
- The cookies spread: The dough was too warm, or the butter and sugar were creamed too long. Chill the sliced cookies on the baking sheet for up to 30 minutes before baking.
- The cookies aren’t round: The log flattened on one side while chilling or slicing. Rotate it during the chill and every few cuts as you slice.
Storage and Make-Ahead Tips
Room Temperature: Store completely cooled cookies in an airtight container for about 4–5 days. Place parchment between layers to protect the sprinkle edges.
Refrigerated Dough: Keep the log tightly wrapped so the surface doesn’t dry out. If it’s too firm to slice cleanly, let it sit briefly at room temperature before cutting.
Frozen Dough: Wrap the prepared log tightly and freeze for up to 2 months. Thaw in the refrigerator until firm but sliceable. Don’t try to cut a fully frozen log.
Frozen Cookies: Freeze cooled cookies in an airtight, freezer-safe container with parchment between layers for 2–3 months. Thaw in the container before serving.

Pinwheel Cookie Questions, Answered
More Christmas Treats to Try
Round out your cookie tray with a few different flavors and textures:
- Chocolate Peppermint Cookies: A chocolate-and-mint addition to the holiday assortment.
- Gingerbread Latte Sandwich Cookies: A festive sandwich cookie for the gingerbread fans.
- Snowman Truffles: Another decorated treat for your Christmas dessert table.
- Christmas peanut butter fudge: When you need a quick, no-fuss holiday treat to round out the tray.
If you make these Christmas pinwheel cookies, leave a rating and tell me how your swirls turned out. A slightly wonky spiral still belongs on the cookie tray, and it certainly still belongs with a cup of coffee.


Christmas Pinwheel Cookies
Ingredients
- 2¾ cups all-purpose flour 345 grams
- ½ teaspoon baking powder
- ¼ teaspoon salt
- 1 cup unsalted butter softened, 226 grams
- ¾ cup granulated sugar 150 grams
- 1 large egg
- 2 teaspoons vanilla extract
- Red gel food coloring as needed
- Green gel food coloring as needed
- ¾ –1 cup Christmas sprinkles 120–160 grams
Equipment
- Mixing bowls
- Electric mixer
- Rolling Pin
- Parchment Paper
- Plastic wrap
- Sharp knife
- Baking sheets
- Wire cooling rack
- Kitchen scale, recommended
Instructions
- Whisk together the flour, baking powder, and salt.
- In a separate bowl, beat the butter and sugar for 2–3 minutes until smooth and creamy without excessively whipping the mixture. Mix in the egg and vanilla.
- Gradually add the dry ingredients, mixing just until the dough comes together.
- Divide the dough into three equal portions. Leave one plain, tint one red, and tint one green, gently kneading until evenly colored.
- Roll each portion between parchment sheets into an approximately 9 × 12-inch rectangle, about ⅛ inch thick. Refrigerate for 10–15 minutes if too soft to handle.
- Stack the dough with plain on the bottom, red in the middle, and green on top, removing parchment between layers. Gently roll over the stack to adhere the layers and trim ragged edges.
- Starting at a long edge, roll into a snug log, using the parchment to guide the dough and peeling it away as you roll. Avoid trapping air between layers.
- Wrap tightly, gently round the log, and refrigerate for about 2 hours, until very firm.
- Unwrap and roll the log in sprinkles, pressing gently to attach them. Refrigerate for another 20–30 minutes.
- Preheat the oven to 350°F. Line baking sheets with parchment.
- Slice the log into ¼-inch rounds with a sharp knife, rotating it occasionally to maintain its shape. Arrange about 1 inch apart. If softened, refrigerate the slices for about 10 minutes, or until firm, before baking.
- Bake for 10–12 minutes per batch, until the edges are barely beginning to turn golden. Keep unbaked dough chilled between batches.
- Cool on the baking sheet for 5 minutes, then transfer carefully to a wire rack to cool completely.
- Notes
Nutrition
Notes
Coloring: Gel coloring adds strong color without excess moisture.
Slicing: The log should be firm but not frozen solid. Let an overly hard log soften briefly before cutting.
Baking: Use a cool baking sheet for each batch and avoid significant browning.
Storage: Store cooled cookies airtight at room temperature for 4–5 days.
Freezing: Freeze wrapped dough for up to 2 months or baked cookies for 2–3 months.
