Instant Pot Nutella Cheesecake With a Rich Chocolate Ganache
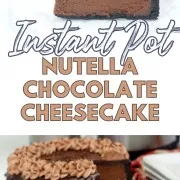
Instant Pot Nutella Cheesecake is a rich chocolate dessert that'll turn heads and make mouths water!
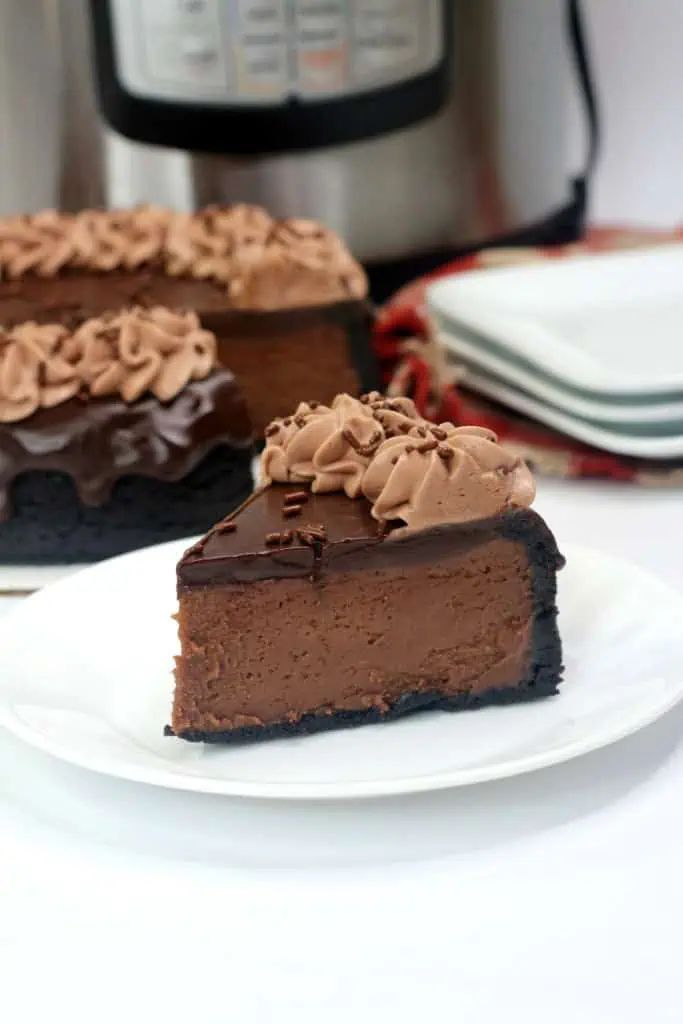
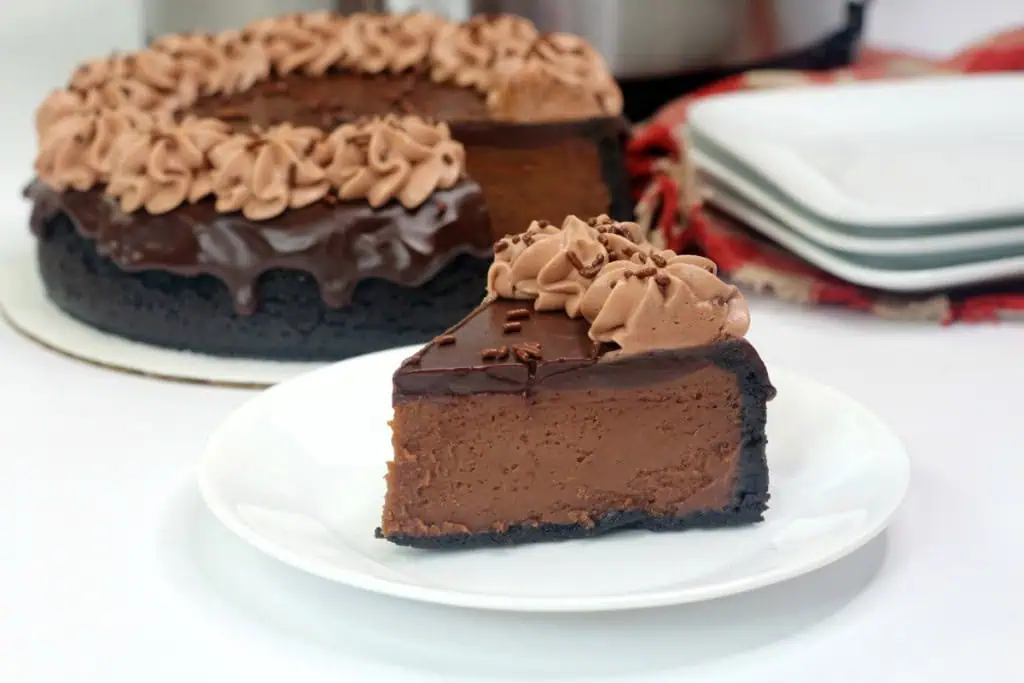
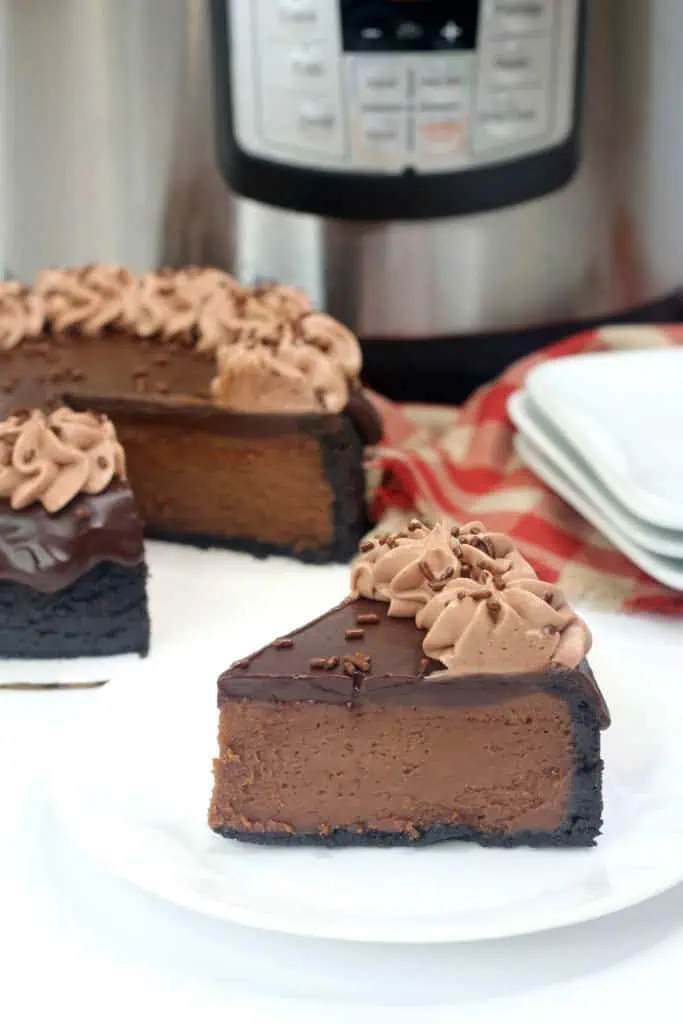
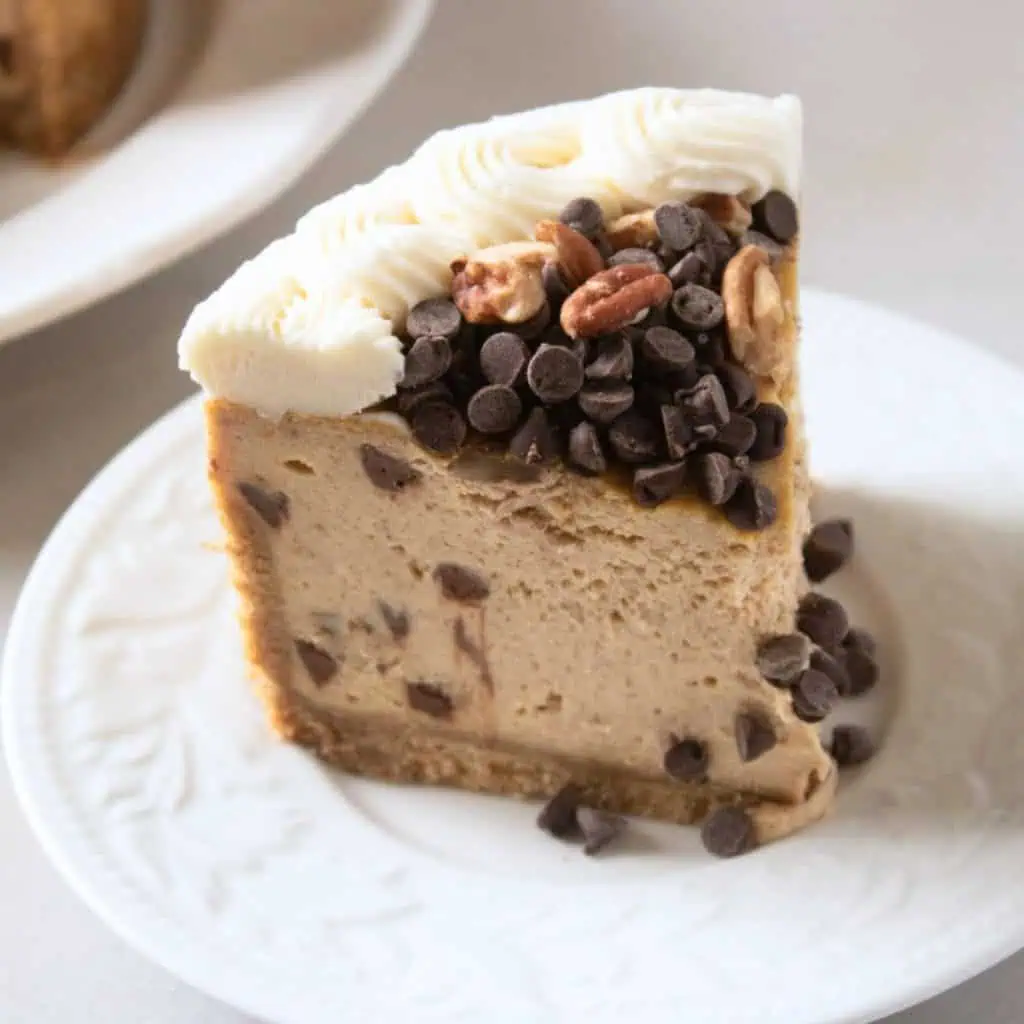
The decadent layers of this cake consist of Oreo cookie crust, sweet chocolate hazelnut cheesecake filling, chocolate ganache topping, and chocolate whipped cream that's piped onto the cheesecake with a light dusting of chocolate sprinkles just before serving!
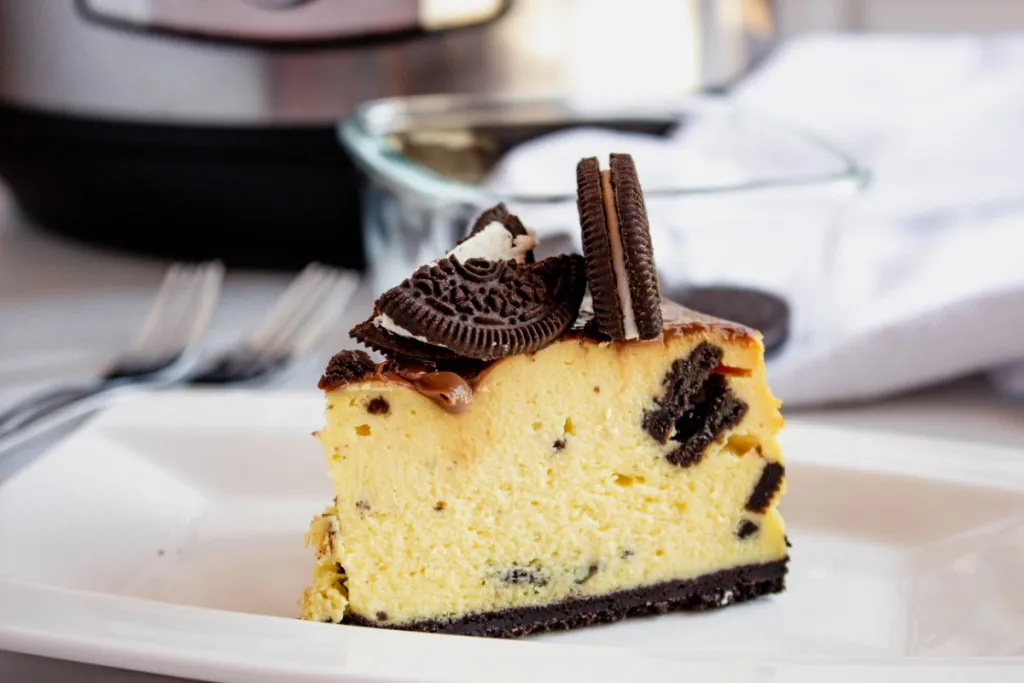
This Nutella cheesecake combines my love for classic Chocolate Cheesecake and Oreo Cheesecake in one dessert!
New to Pressure Cooking?
Start with the Instant Pot Playbook—basics, FAQs, and 40+ Recipes to get you started
And what do these recipes all have in common? They're all made in the Instant Pot! That's right – since I learnt how to make my first Instant Pot cheesecake, there's hardly been a day that I ever wanted to revert back to the traditional method of oven-baked cheesecake. The entire process is so easy, convenient, and yields consistent results every time!
WHY THIS INSTANT POT NUTELLA CHEESECAKE
- An easy make-ahead dessert since it has to chill in the fridge overnight anyway!
- The use of Oreo cookie crumbs in the crust and rich hazelnut Nutella spread in the cheesecake filling instantly turns a regular chocolate cheesecake into something truly mouth-watering!
- Cooking cheesecake in the Instant Pot often yields more consistent results than the conventional oven-baked method.
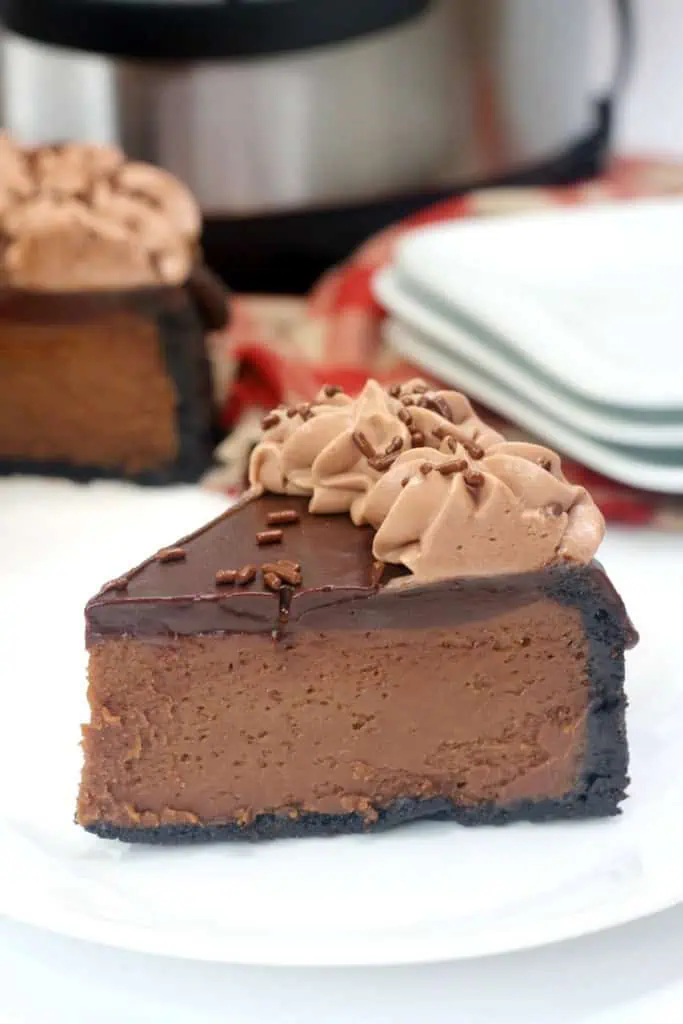
Once your Nutella cheesecake has set in the fridge, don't forget to top it with rich chocolate ganache, freshly whipped chocolate cream, and chocolate sprinkles! This showstopper cheesecake is perfect for any special occasion, holiday, or when you feel like something incredibly indulgent.
INGREDIENT NOTES
- Cookies – I've used original Oreo cookies, crushed into crumbs, for the rich and decadent cheesecake crust, but you can you any other chocolate cookie instead.
- Butter – Always use unsalted butter in your baking. It makes it easier to control the sodium level and flavor.
- Cream cheese – Softened for easy mixing and lump-free consistency.
- Sugar – Granulated sugar is best, but you can get away with using light brown sugar, if you like.
- Nutella – The key ingredient and what gives this cheesecake its rich chocolate-y flavor!
- Heavy cream – To thicken the cheesecake filling and add to the velvet texture.
- Vanilla extract – The Vanilla helps to add a richer and deeper flavor.
- Flour – The flour helps to stabilize the cheesecake filling so that it sets properly and also helps to prevent cracking in the cheesecake.
- Eggs – Bring to room temperature before combining with the rest of the cheesecake filling mixture.
- Egg yolk – Allow this yolk to also reach room temperature. The additional egg yolk acts as a binding agent.
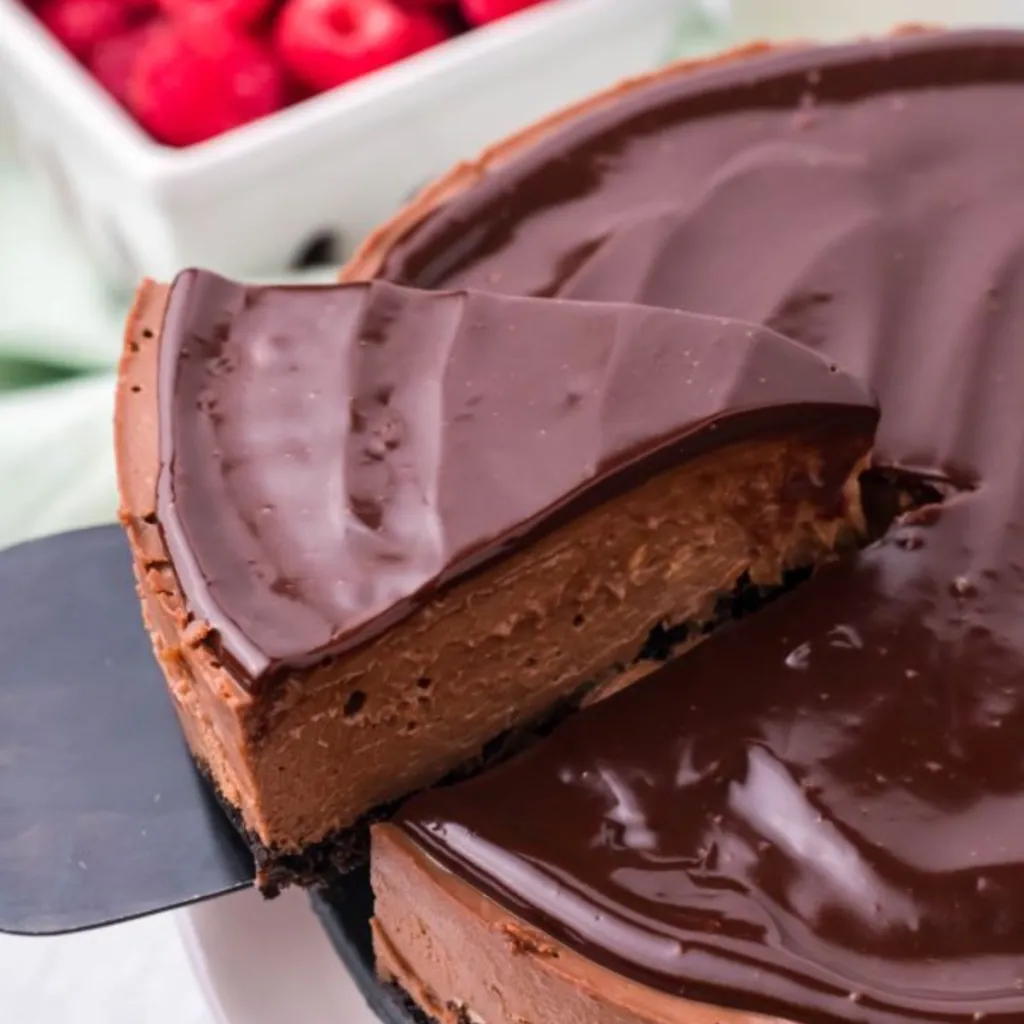
- Chocolate ganache – Make this simple chocolate ganache by combining semi-sweet chocolate chips with heavy whipping cream. Feel free to use milk chocolate chips or dark chocolate chips instead.
- Chocolate whipped cream – A combination of heavy whipping cream, Hershey cocoa powder, powdered sugar, and vanilla extract. Pipe it on top of the cooled cheesecake just before serving for lovely decoration.
- Chocolate Sprinkles – Sprinkle on top of the freshly piped chocolate whipped cream so that they stick. This is an optional extra, but definitely adds to the final look!
CHEESECAKE PAN OPTIONS
While most cheesecake recipes call for the use of springform pans, other recipes also mention push pans. Of course, there's also always the other option of using a regular baking dish that is similar in size to fit your Instant Pot.
So, which is the best type of pan you ask?! This really depends on what you have on hand and what you're comfortable using when making cheesecakes. I really appreciate the convenience of a springform pan, but everyone's different, so let's take a closer look at the options available:
Springform Pan
A springform pan is probably one of the best pieces of equipment to have when making cheesecake. The metal clasp on the side of the pan can expand outwards to allow the pan to separate from the cheesecake in a very clean and no-fuss way, leaving you with beautifully smooth edges around the set cheesecake and allowing you to slice the cheesecake in free form.
Push Pan
A push pan is exactly what it sounds like. It's a cake pan that has a removable bottom that you can push up to remove the cheesecake with ease. It also has a silicone ring at the bottom which helps stop any cake filling to leak out.
Both of these types of pan are great for making cheesecake, allowing the pan to separate from the cheesecake in a very clean and no-fuss way, leaving you with beautifully smooth edges around the set cheesecake and enabling you to slice the cheesecake in free form.
Regular Baking Dish
If you don't have a springform pan or a push pan, use a regular baking dish of the same shape and size. Keep in mind that you will have to slice the cheesecake while it is in the pan which can be more cumbersome and definitely not my favorite method.
IT'S ALL ABOUT THE ‘JIGGLE'
Ever wonder how to really know when your cheesecake is done? It's easier than you think – just give your cheesecake a little jiggle! If the cheesecake is done cooking, it should give a little wiggle in the center with sturdy edges all around.
If the cheesecake appears to be wiggly in the center and around the edges of the cake then you will need to cook the cheesecake for a few minutes extra.
STORAGE INSTRUCTIONS
- Refrigeration: Store leftover Instant Pot Nutella cheesecake in an airtight container, tightly wrapped with plastic wrap, for up to 5-7 days.
- Freezer: Freeze individual slices of this cheesecake for up to 3 months. Wrap each slice tightly a few times with plastic wrap. Thaw the frozen slices of Nutella cheesecake in the fridge overnight.
MORE INSTANT POT CHEESECAKE RECIPES
Instant Pot Nutella Cheesecake

Ingredients
For the Cheesecake
- 1 cup of crushed Oreo cookie crumbs about 12 cookies
- 2 tablespoons of unsalted butter melted
- 2 – 8 ounces of cream cheese softened
- 1/2 cup of sugar
- 1/2 cup of Nutella
- ¼ cup of heavy cream
- 1 teaspoons of vanilla extract
- 1 tablespoon of flour
- 2 large eggs
- 1 large egg yolk room temperature
Chocolate Whipped Cream
- 1 cup of heavy whipping cream
- ¼ cup of Hershey cocoa powder
- ½ cup of powdered sugar
- 1 teaspoon of vanilla extract
Chocolate Ganache
- 1 ¼ cups of semi sweet chocolate chips
- ¾ cup of heavy whipping cream
Decoration
- Chocolate sprinkles
Instructions
For the Cheesecake
- Line the bottom of a 7-inch springform pan with parchment paper and spray the sides with pam baking spray.
- Using a food processor, grind up the Oreos into sand like crumbs.
- Mix in the melted butter.
- Spread the crust mixture into the springform pan and up the sides.
- Place into the freezer while you make the cheesecake mixture.
- Using a standing mixer, beat together the cream cheese and sugar until combined and smooth.
- Beat in the Nutella, heavy cream, vanilla and flour until combined.
- Beat in the eggs one at a time until combined.
- Pour cheesecake mixture into crust.
- Pour 1 cup of water into the IP cooking pot.
- Place a trivet inside.
- Cover the cheesecake springform pan with foil and carefully place the cheesecake into the IP.
- Lock the lid in place. Select to high pressure and set the timer for 50 minutes.
- When the beep goes off, allow for a natural release.
- Turn off and allow to cool for 1 hour.
- Carefully remove the lid from the pot.
- Place onto the counter and allow to cool completely.
- Place into the fridge overnight.
For the Chocolate Ganache
- Using a medium pot and heat safe bowl, heat the heavy whipping cream up in the pot until hot.
- Pour the chocolate chips into the bowl and pour hot heavy cream over the chocolate chips.
- Allow the ingredients to sit for 2 minutes before whisking until smooth.
- Pour ganache over the top of the cake and spread evenly.
For the Chocolate Whipped Cream
- Using a medium bowl and hand mixer, beat until stiff peaks form all the ingredients except the sprinkles.
- Scoop into the piping bag.
- Pipe along the edges of the cheesecake.
- Sprinkle chocolate sprinkles all over.
- Serve and enjoy!
FREQUENTLY ASKED QUESTIONS
No! Give yourself enough time so that you can chill the cheesecake for at least 2 hours, but preferably overnight. This chilling time helps to set the cheesecake so that it retains its shape and is easier to slice.
Nutella is a chocolate spread that is a sweet, rich blend of chocolate and hazelnut. Adding Nutella to the cheesecake filling instantly gives this cheesecake a more decadent, sweet, and rich flavor.
Covering the top of the springform pan with foil helps to prevent condensation collecting on the top of the cheesecake, which can affect the outcome. You can also cover this cheesecake with a paper towel.
Love this recipe? Please leave a 5-star 🌟 rating in the recipe card below and/or a review in the comments section further down the page.
Be sure to check out my FREE Meal Planner and Kitchen Organizer!