Easy New York Style Instant Pot Chocolate Chip Cheesecake


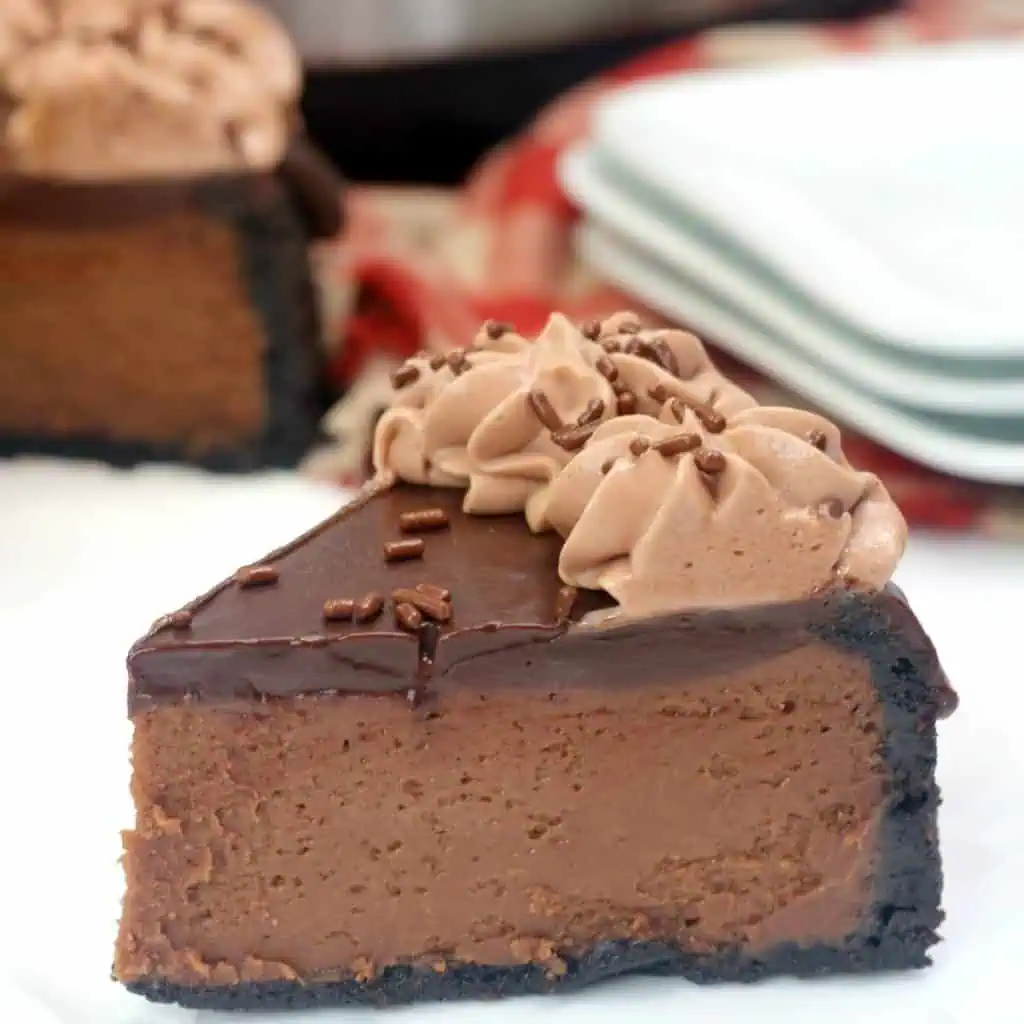
Instant Pot Chocolate Chip Cheesecake is a rich and decadent dessert, made with a buttery Ritz cracker crust and loaded with chocolate chips! Get fancy and top it with chocolate chip buttercream frosting and chocolate sprinkles!

I recently made my Thanksgiving-inspired Instant Pot Pumpkin Chocolate Chip Cheesecake which was a massive hit with my friends, family, and readers! Today, I want to show you how less can sometimes be more with this easy chocolate chip cheesecake recipe.
While it may not be as decadent as my Instant Pot Nutella Cheesecake, it's still got enough chocolatey goodness to satisfy your sweet tooth.
New to Pressure Cooking?
Start with the Instant Pot Playbook—basics, FAQs, and 40+ Recipes to get you started
Why You'll Love My Instant Pot Chocolate Chip Cheesecake
- A scrumptious homemade cheesecake to serve your friends and family at special occasions, such as birthdays or holiday parties.
- Make ahead of time since the cooked cheesecake needs to be chilled in the fridge for at least 12 hours prior to being served.
- The use of buttery Ritz crackers and simple addition of chocolate chips gives regular cheesecake an instant boost of decadence!

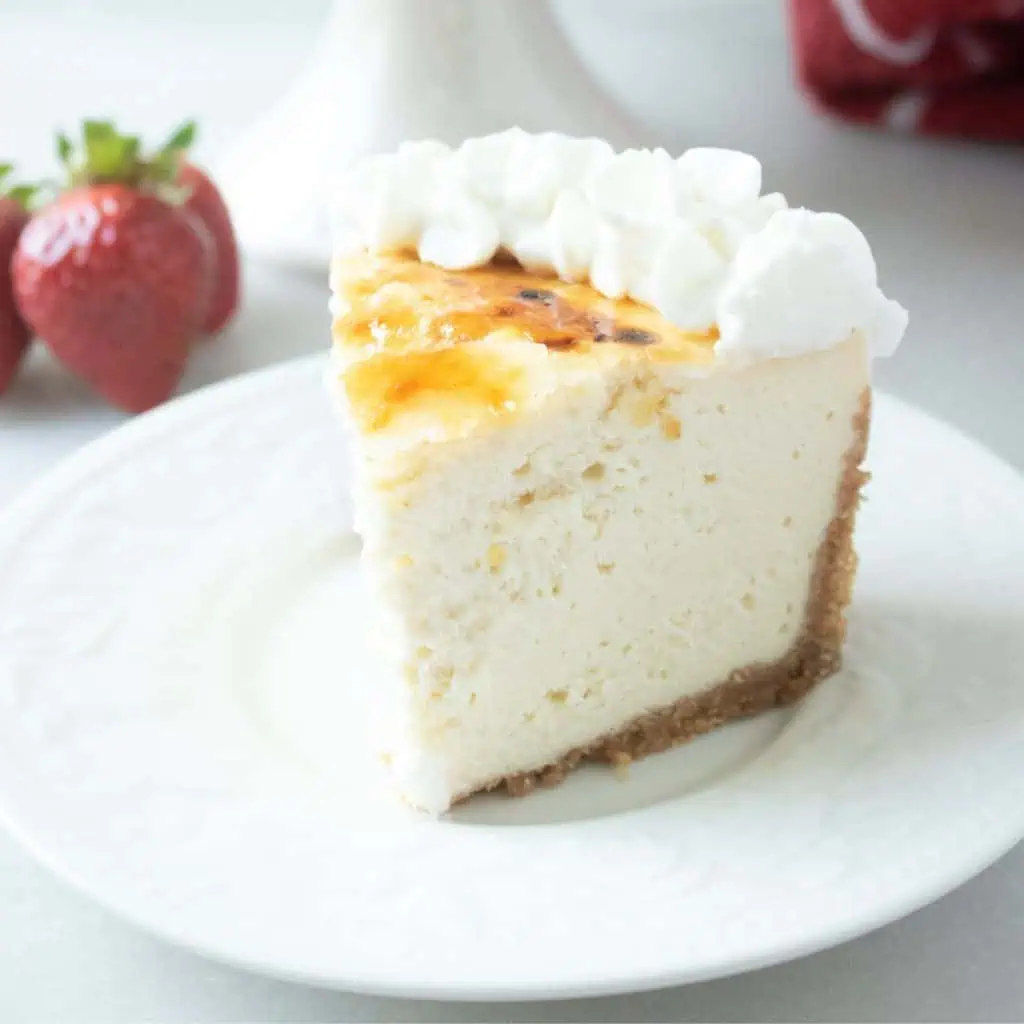
The buttery Ritz crackers sets this cheesecake apart from the majority of cheesecakes I have made before with traditional Graham cracker crumbs. This delightful variation provides a slightly more salty taste which tends to emphasize the rich cocoa powder in the crust as well as the chocolate chips scattered throughout the creamy cheesecake filling.
Enjoy each slice as a standalone dessert or serve it with ice cream, whipped cream, or a mug of your favorite hot beverage.
Ingredients & Substitutions
For the Crust
- Ritz cracker crumbs – These buttery and slightly salty crackers balance the sweetness in this cheesecake. You could use Graham cracker crumbs instead, if you prefer.
- Sugar – Granulated sugar is my preferred type of sugar, but you could use light brown sugar instead.
- Butter – I always prefer to use unsalted butter in baking. You will need to melt it for easy mixing when making the crust.
- Cocoa powder – Instantly adds rich chocolate flavor to the cheesecake crust. This can be omitted, if you prefer a plain cheesecake crust.
For the Filling
- Cream cheese – Softened at room temperature for easy mixing and a smooth consistency.
- Sugar – I've used granulated sugar for sweetness.
- Eggs – First brought to room temperature.
- Flour – All-purpose flour is a great option as a sturdy flour. Gluten-free all-purpose flour is an option too.
- Cocoa powder – For rich chocolate flavor. Leave this out if you want a lighter cheesecake filling.
- Sour cream – Adds rich tangy flavor and great moisture which helps to prevent the filling from cracking.
- Vanilla extract – I always add a small amount of extract in baking to add depth of flavor.
- Chocolate chips – You can use regular chocolate chips, mini chocolate chips, dark chocolate chips, milk chocolate chips, or semi-sweet chocolate chips.
Tips For Making an Instant Pot Cheesecake
Want to make sure that you get a smooth cheesecake every time? These tips are easy to implement and will save you from the disappointment of cracked cheesecake after having poured your heart and soul into your baking:
Here are my top tips to ensure you get crackless cheesecake time and time again:
- Grease the push pan well with non-stick cooking spray or butter. If any part of the cheesecake filling sticks to the sides of the pan, it will cause the center to pull away and crack.
- Once the push pan has been filled with the cheesecake filling, give the pan a few gentle taps on the countertop. This will help prevent any bubbles in the filling which could otherwise cause the cheesecake to crack.
- Water added to the Instant Pot will help prevent the cheesecake from drying out and cracking. The sour cream added to the cheesecake filling also adds extra moisture which will also help to reduce any drying of the filling.
- Allow the cheesecake to cool on a wire rack for a minimum of 1 hour before transferring it to the fridge to chill for 12 hours or overnight. This will prevent exposure to sudden changes in temperature, which can cause the cheesecake to crack.

Can I Use a Springform Pan Instead of a Push Pan?
Yes! If you don't have a push pan, a springform pan will work just as well.
I've used a push pan for this Instant Pot chocolate chip cheesecake, and it's exactly what it sounds like. Essentially, it's a cake pan that has a removable bottom that you can push up to remove the cheesecake with ease. It also has a silicone ring at the bottom which helps stop any cake filling from leaking out.
Both of these types of pans are great for making cheesecake, allowing the pan to separate from the cheesecake in a very clean and no-fuss way, leaving you with beautifully smooth edges around the set cheesecake and enabling you to slice the cheesecake in free form.
Storage & Freezer Tips
- Refrigeration: Store leftover Instant Pot Chocolate Chip Cheesecake in an airtight container, tightly wrapped with plastic wrap, for up to 5-7 days.
- Freezer: Freeze individual slices of this cheesecake for up to 3 months. Wrap each slice tightly a few times with plastic wrap. Thaw the frozen slices of cheesecake in the fridge overnight.

More Instant Pot Cheesecake Recipes


Instant Pot Chocolate Chip Cheesecake

Ingredients
Crust
- 1 cup Ritz cracker crumbs
- 1 tablespoon granulated sugar
- ¼ cup unsalted butter melted
- 1 tablespoon cocoa powder
Filling
- 2 8-ounce packages cream cheese, softened
- ½ cup granulated sugar
- 2 large eggs room temperature
- 3 tablespoons all-purpose flour
- 1 tablespoon cocoa powder
- ¼ sour cream
- 1 teaspoon vanilla extract
- ½ cup chocolate chips
Instructions
- Grease the sides and bottoms of a 6-inch push pan and line the pan with a parchment round. Alternatively, you can also line the sides of the pan with parchment paper.
- In a food processor, combine graham cracker crumbs, sugar and melted butter and pulse to mix ingredients. Then, press crust out on the bottom of the pan and ½ way up the sides. You can use the bottom of a glass to press down the crust.
- Place pan in the freezer while making the filling. Freezing will help hold the crust together.
- Mix the cream cheese and granulated sugar until nice and smooth, and then add in one egg at a time while mixing in between adding the eggs.
- Add in the flour, cocoa powder, sour cream and vanilla and mix to incorporate.
- Stir in chocolate chips.
- Pour the filling into the push pan and tap the pan several times on the counter to remove air bubbles. You can also run a fork or knife through the cheesecake filling to remove air bubbles.
- Cover the cheesecake with aluminum foil and/or a paper towel to prevent condensation from accumulating on the top of the cheesecake.
- Add 1 ½ cups of water to the inner pot of the Instant Pot.
- Using a sling (you can buy a sling for the Instant Pot or make one out of foil), lower the pan into the inner pot.
- Close lid and set for a manual high-pressure cooking time of 30 minutes. Allow for a natural pressure release when the cooking time has finished.
- Remove the cheesecake from the Instant Pot. Take the foil off of the top and gently soak up any condensation that has formed on the top of the cheesecake with a paper towel or flour sack towel.
- Let the cheesecake cool on a wire rack for at least an hour before refrigerating for 12 hours or overnight.
- After 12 hours, remove the cheesecake from the refrigerator and set the pan on top of a large can. Push the sides of the cake pan down, slowly.
- Remove the cheesecake from the pan bottom, and set on a cake plate or serving tray.
Notes
David's Cooking Tips
- Cracker swap: graham or chocolate wafers work if Ritz aren’t your jam.
- Chip choices: try mini chips, white chocolate, or peanut butter chips.
- No push pan? A 6-inch springform fits the Instant Pot, too—just foil the base well.
- Topping idea: drizzle with ganache (½ cup chips + ¼ cup hot cream).
- Avoid over-mixing: it traps air → puffy tops. Stop as soon as ingredients combine.
Recipe FAQs
Can I bake this cheesecake without an Instant Pot?
Yes—bake in a water bath at 325 °F for 55–65 min, then cool & chill as directed.
Why cover the cheesecake with paper towel and foil?
The paper towel absorbs steam drips so the top stays smooth; foil keeps it in place.
How do I keep my cheesecake from cracking?
Don’t over-mix, ensure a full natural pressure release, and cool gradually before chilling.
How do I know if my cheesecake is done cooking?
If the cheesecake is done cooking, it should give a little wiggle in the center with sturdy edges all around.
If the cheesecake appears to be wiggly in the center AND around the edges of the cake then you will need to cook the cheesecake for a few minutes extra.
Love this recipe? Please leave a 5-star 🌟 rating in the recipe card below and/or a review in the comments section further down the page.
Be sure to check out my FREE Meal Planner and Kitchen Organizer!