Preheat the oven to 350°F and line a baking sheet with parchment paper. Evenly spread the cake mix onto the prepared baking sheet and bake for 5 minutes. Remove the baking sheet from the oven and allow it to cool completely on a wire rack.
As the cake mix cools, place the softened cream cheese in a medium mixing bowl and beat with a hand mixer on medium-high speed until smooth and creamy.
Add the cooled cake mix and beat on medium speed just until it is well blended. It will still be a soft dough like consistency at this stage.
Divide it into 6 equal portions and separate them into their own bowls.
Place one piece back into the mixing bowl and add a few drops of one color of gel food coloring. Beat it on medium speed until the color fully incorporates. Add more food coloring if needed until you get the desired color and mix it in. Place the colored dough back into a smaller bowl.
Rinse and dry out the mixing bowl before doing the next portion of dough in the next color of the rainbow. That way the colors do not get mixed together.
Repeat the steps with the rest of the portioned out doughs and the remaining colors, making sure to rinse and dry the bowl each time. Then place each back into their individual bowls, cover with plastic wrap, and place in the refrigerator to chill for 1 hour.
Prepare a baking sheet with parchment paper. Once the dough has chilled, remove the first color, red, and pull apart small 1-1 ¼ inch sized pieces and lightly flatten them out with your fingers. Place them on the lined baking sheet 1-2 inches apart. Do this until you have used up all of the red dough.
Remove the next colored dough from the refrigerator, orange, and pull apart small 1-1 ¼ inch sized pieces, lightly flatten it out, and stack it on top of the red pieces. Do this until you have used up all of the orange dough.
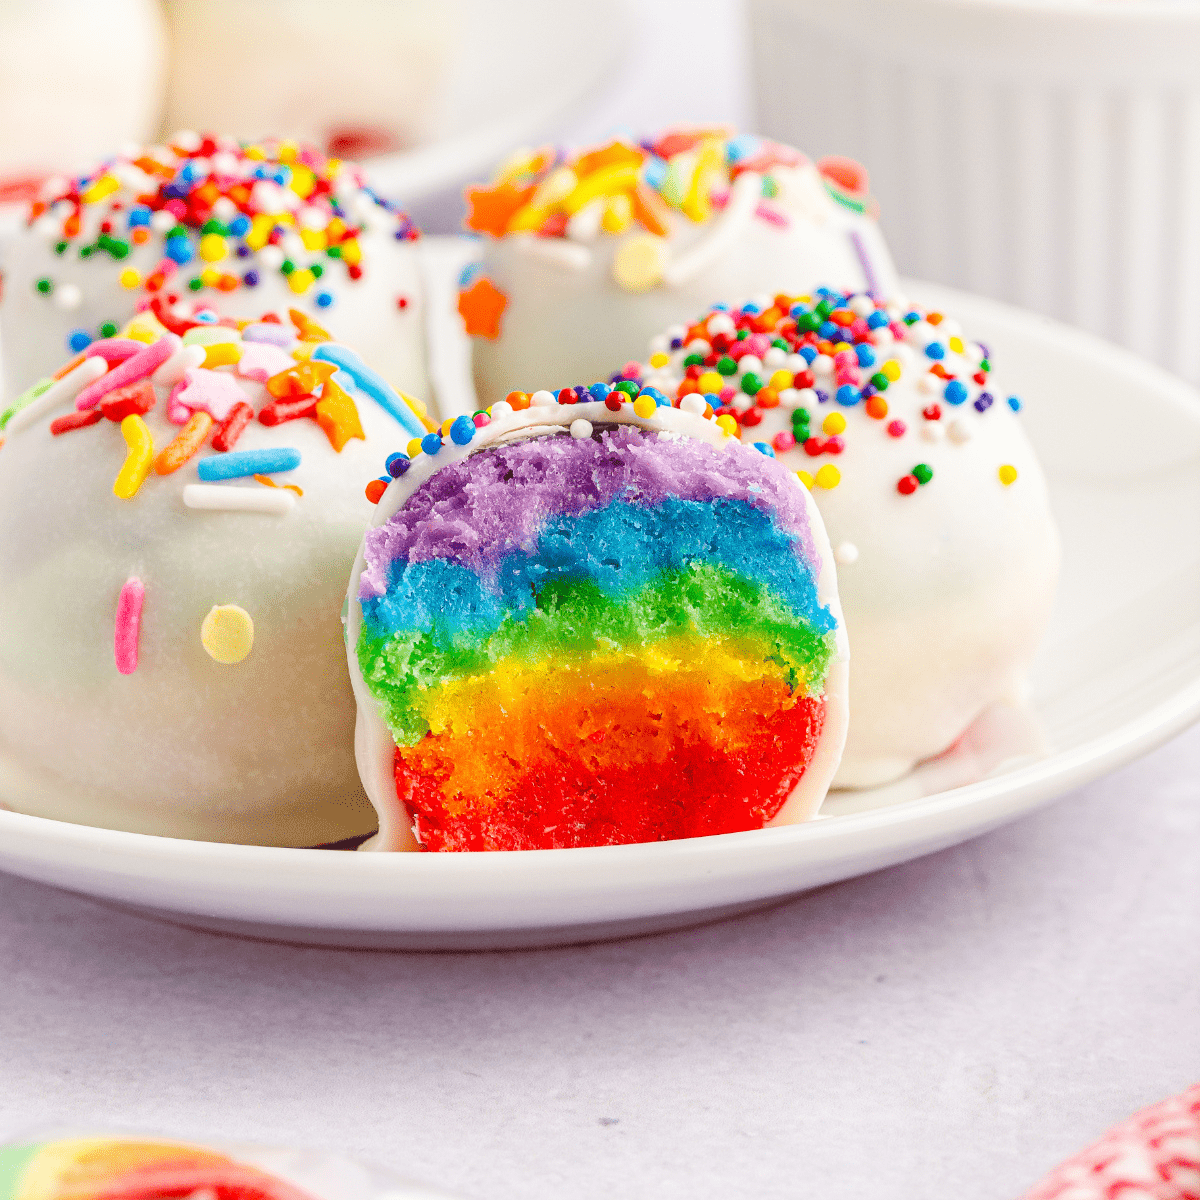
Repeat with the remaining colors of dough. Break apart small pieces, lightly flatten them out, and stack them on top of the previous color until you have stacks of rainbows in the order of red, orange, yellow, green, blue, and purple.
Once all of the colors are stacked, grab one stack at a time and gently roll and form into balls with your hands.
Place the rainbow ball back onto the lined baking sheet and repeat with the rest of the stacks, forming each into balls with your hands.
Once all the balls are rolled and on the baking sheet, place them back in the refrigerator to chill for another hour. Chilling will help the balls keep its shape and hold together when dipping into the warmed melts.
Prepare another baking sheet with parchment paper and set aside.
After the balls have chilled, melt the melting wafers until smooth. You can heat it using a double boiler on a low heat, stirring often, until fully melted and smooth. Or you can place the melts in a microwave safe bowl and melt it in the microwave on a low or defrost setting in 30 second increments, stirring between each interval, until fully melted and smooth. Make sure to melt it on a low setting and stir often otherwise the coating may seize and thicken.
Remove the rainbow balls from the refrigerator. Place one ball onto a fork and dip it completely into the melted wafers. Lift the fork up and tap it on the side of the double boiler or bowl to remove any excess coating. Place it onto the new lined baking sheet and immediately add sprinkles on top. Repeat with the remaining balls.
Allow the rainbow balls to set completely for about 5-10 minutes before serving. You can place them in the refrigerator to speed up the process. Keep the balls refrigerated until ready to serve.