Rainbow Cake Balls

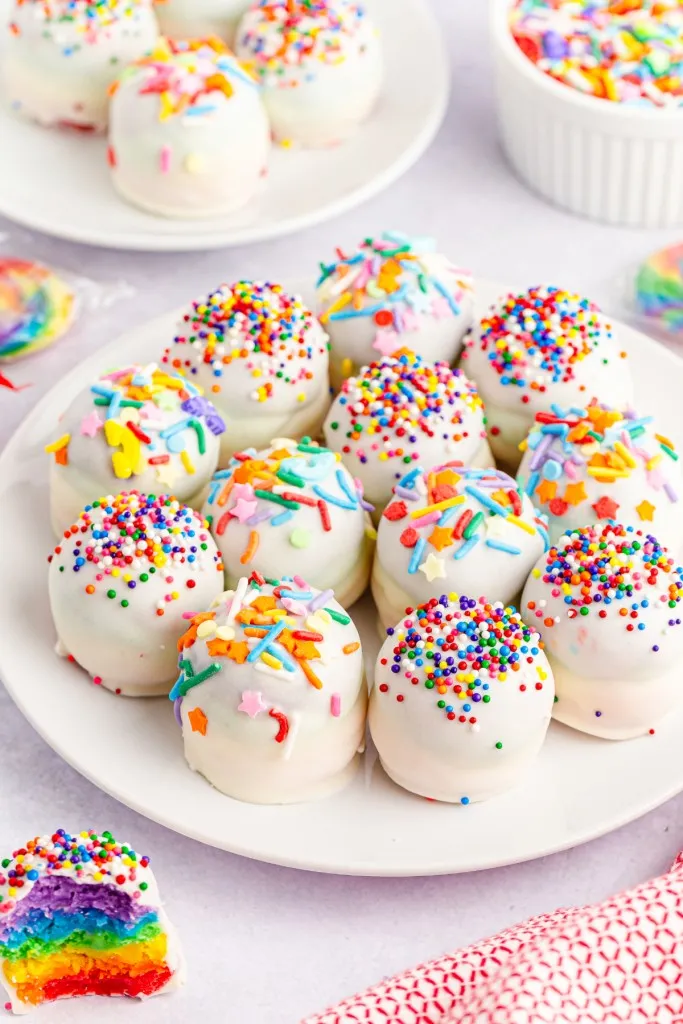
Make these adorable Rainbow Cake Mix Cake Balls with just a few ingredients! The cake-like dough balls consist of heat-treated cake mix that’s combined with softened tangy cream cheese and colored red, orange, yellow, green, blue, and purple.
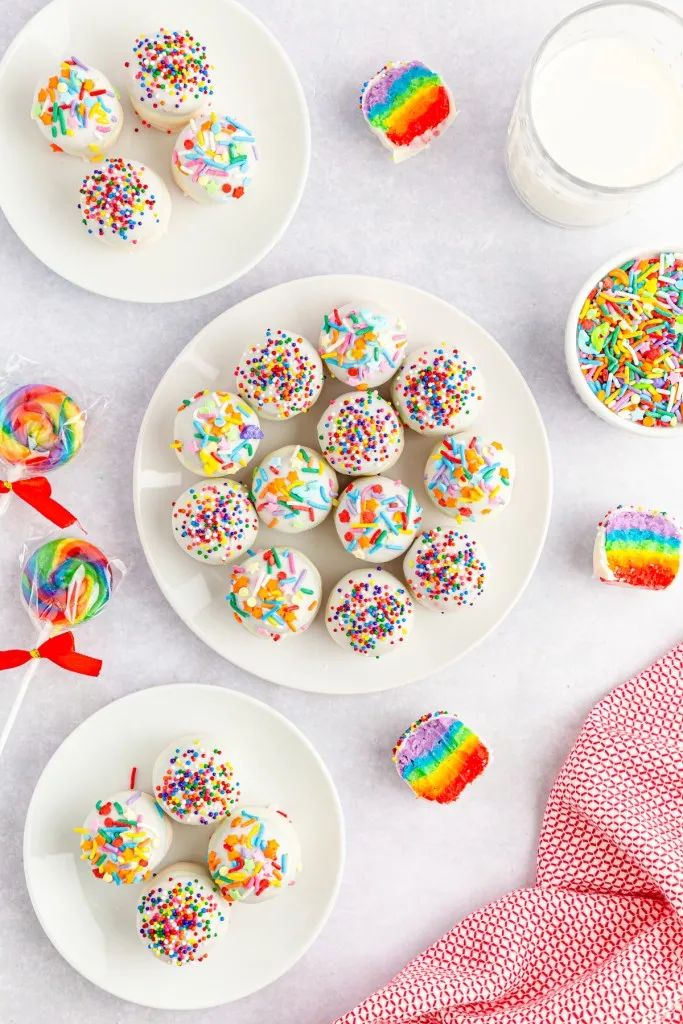
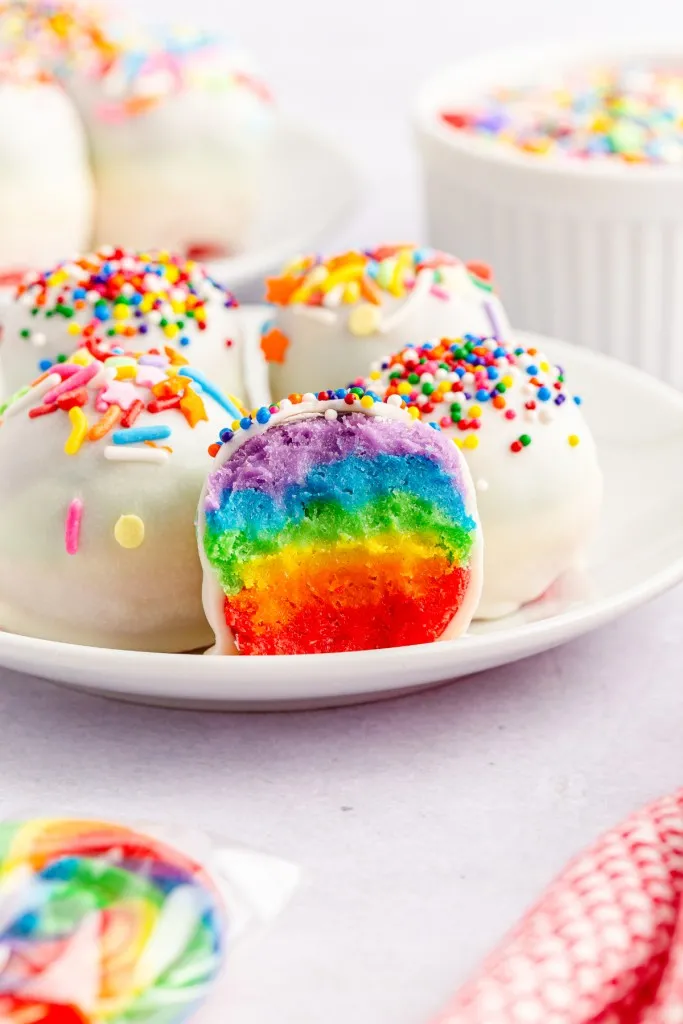
Once assembled, the cake balls are hardened in the refrigerator, coated in melted wafers, and decorated with an assortment of colorful sprinkles!
WHAT YOU SHOULD KNOW ABOUT RAINBOW CAKE MIX CAKE BALLS
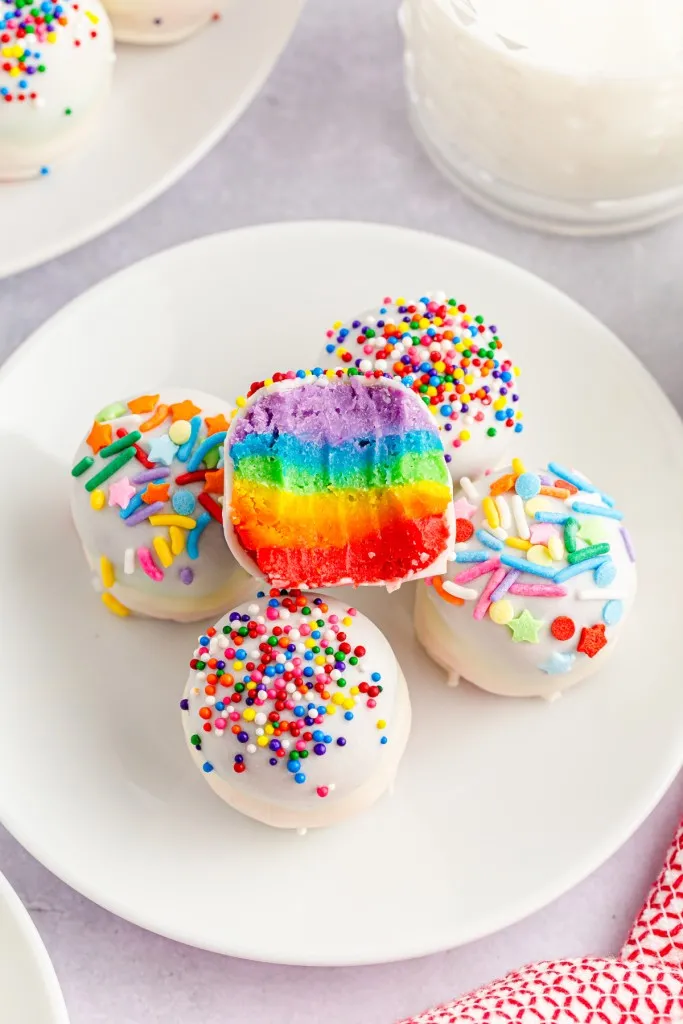
These rainbow cake mix cake ball treats get their name from using cake mix in the recipe. But instead of making cake batter with the cake mix to bake as a cake-like filling for these cake balls, the cake mix is heat treated in the oven and then combined with softened cream cheese.
The dough-like mixture is then divided into 6 portions, each colored separately, before assembling the cake mix ball dough centers to chill and then coated in melted chocolate with multi-colored sprinkles.
HOW SHOULD I STORE RAINBOW CAKE MIX CAKE BALLS?
These rainbow cake mix cake balls can be stored in an airtight container in the fridge for up to 5 days. I like to line the bottom of the container with parchment paper to prevent the chocolate coated cake balls from sticking.
You should also add a layer of wax or parchment paper between stacked cake mix cake balls in storage.
WHY IS IT IMPORTANT TO HEAT TREAT THE CAKE MIX?
Cake mix and flour can contain bacteria which is why it’s important to first heat treat it in the oven at a high temperature before combining with other ingredients. This is a no-bake recipe so heat treating the cake mix is a great way to eliminate any possible bacteria.
CAN I FREEZE THESE TREATS?
Absolutely! I recommend flash freezing the cake mix cake balls on a parchment paper-lined baking sheet for 1-2 hours so that they harden and then transfer them to an airtight container or a Ziploc bag.
Thaw the frozen cake mix cake balls in the fridge for a few hours before serving.
Keep in mind that any length of storage of these decorated cake mix cake balls can lead to the sprinkles bleeding.
HOW CAN I ADAPT THESE RAINBOW CAKE MIX CAKE BALLS?
- Add vanilla extract or almond extract for an added depth of flavor in these cake mix cake balls.
- Make these cake mix cake balls gluten-free by using gluten-free cake mix.
- Change the food coloring to suit a specific party or holiday theme. The same can be done with the choice of sprinkles used.
TIPS FOR MAKING RAINBOW CAKE MIX CAKE BALLS
- Chilling the cake balls will help keep the balls firm so that they hold their shape better and don’t fall apart when dipped into the melting wafers.
- Keep the assembled rainbow cake mix cake balls refrigerated until you’re ready to serve them. If the balls sit out at room temperature for an extended time, the chocolate coating will start to crack.
- This recipe can easily be doubled or even tripled – great for serving a larger crowd!
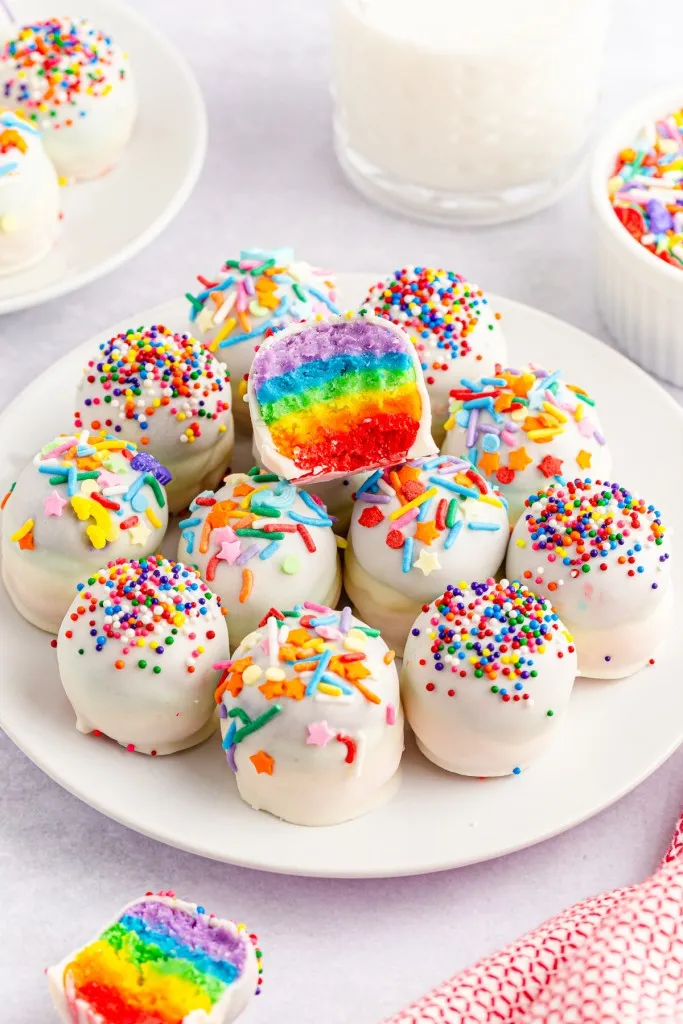
- Serve these rainbow cake mix cake balls on a dessert platter with more of your favorite bite-size sweet treats or enjoy them with a bowl of vanilla ice cream.
More Delicious Sweet Treats to Enjoy
- Lucky Charms Treats Bars
- Lucky Charms Marshmallow only Bark
- Easy Instant Pot Salted Caramel
- The Best Snickerdoodle Cookies Ever
- Adorable Mini Cheesecakes Recipe

Rainbow Cake Balls
Ingredients
- 8 ounce block cream cheese softened to room temperature
- 15.25 ounce box white or vanilla cake mix I used Betty Crocker
- Gel food coloring in red orange, yellow, green, blue, and purple
- 2 – 10 oz bags Ghirardelli vanilla melting wafers
- Sprinkles
Instructions
- Preheat the oven to 350°F and line a baking sheet with parchment paper. Evenly spread the cake mix onto the prepared baking sheet and bake for 5 minutes. Remove the baking sheet from the oven and allow it to cool completely on a wire rack.
- As the cake mix cools, place the softened cream cheese in a medium mixing bowl and beat with a hand mixer on medium-high speed until smooth and creamy.
- Add the cooled cake mix and beat on medium speed just until it is well blended. It will still be a soft dough like consistency at this stage.
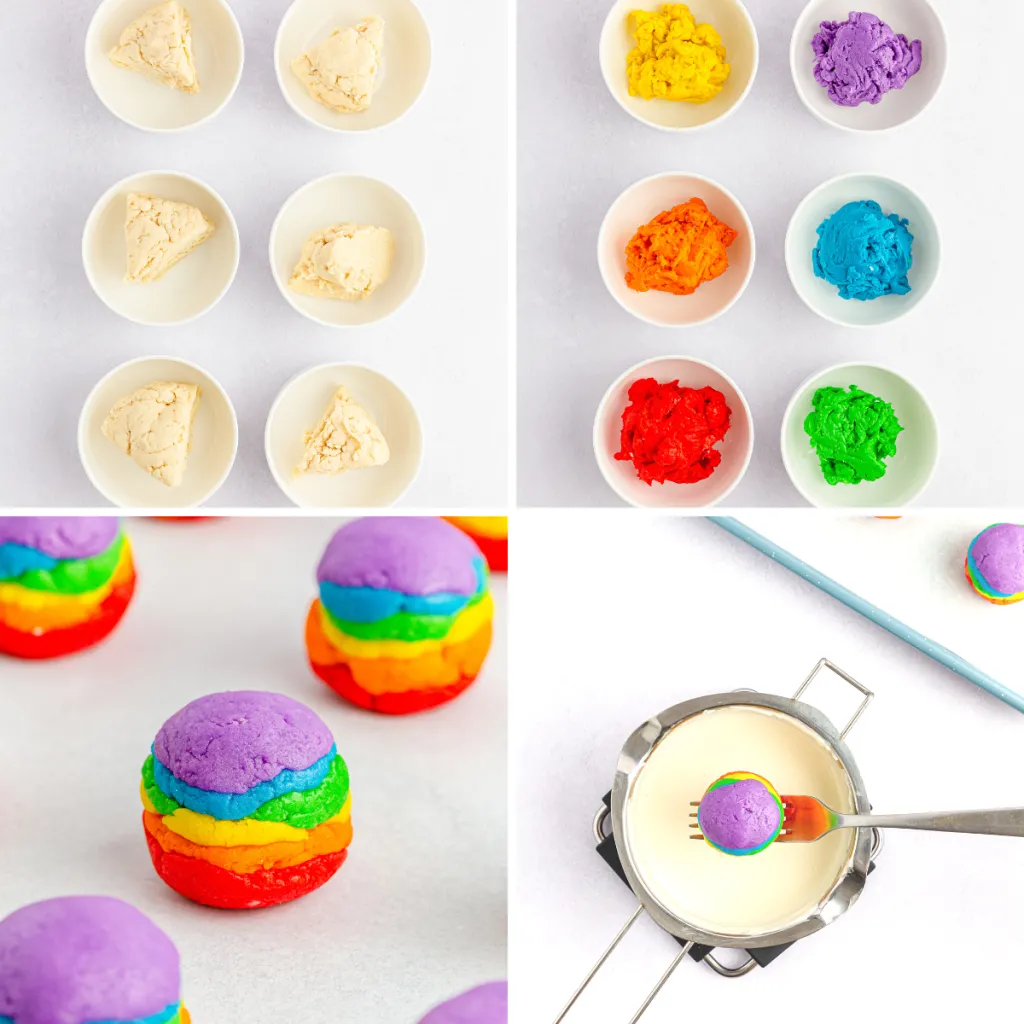
- Divide it into 6 equal portions and separate them into their own bowls.
- Place one piece back into the mixing bowl and add a few drops of one color of gel food coloring. Beat it on medium speed until the color fully incorporates. Add more food coloring if needed until you get the desired color and mix it in. Place the colored dough back into a smaller bowl.
- Rinse and dry out the mixing bowl before doing the next portion of dough in the next color of the rainbow. That way the colors do not get mixed together.
- Repeat the steps with the rest of the portioned out doughs and the remaining colors, making sure to rinse and dry the bowl each time. Then place each back into their individual bowls, cover with plastic wrap, and place in the refrigerator to chill for 1 hour.
- Prepare a baking sheet with parchment paper. Once the dough has chilled, remove the first color, red, and pull apart small 1-1 ¼ inch sized pieces and lightly flatten them out with your fingers. Place them on the lined baking sheet 1-2 inches apart. Do this until you have used up all of the red dough.
- Remove the next colored dough from the refrigerator, orange, and pull apart small 1-1 ¼ inch sized pieces, lightly flatten it out, and stack it on top of the red pieces. Do this until you have used up all of the orange dough.
- Repeat with the remaining colors of dough. Break apart small pieces, lightly flatten them out, and stack them on top of the previous color until you have stacks of rainbows in the order of red, orange, yellow, green, blue, and purple.
- Once all of the colors are stacked, grab one stack at a time and gently roll and form into balls with your hands.
- Place the rainbow ball back onto the lined baking sheet and repeat with the rest of the stacks, forming each into balls with your hands.
- Once all the balls are rolled and on the baking sheet, place them back in the refrigerator to chill for another hour. Chilling will help the balls keep its shape and hold together when dipping into the warmed melts.
- Prepare another baking sheet with parchment paper and set aside.
- After the balls have chilled, melt the melting wafers until smooth. You can heat it using a double boiler on a low heat, stirring often, until fully melted and smooth. Or you can place the melts in a microwave safe bowl and melt it in the microwave on a low or defrost setting in 30 second increments, stirring between each interval, until fully melted and smooth. Make sure to melt it on a low setting and stir often otherwise the coating may seize and thicken.
- Remove the rainbow balls from the refrigerator. Place one ball onto a fork and dip it completely into the melted wafers. Lift the fork up and tap it on the side of the double boiler or bowl to remove any excess coating. Place it onto the new lined baking sheet and immediately add sprinkles on top. Repeat with the remaining balls.
- Allow the rainbow balls to set completely for about 5-10 minutes before serving. You can place them in the refrigerator to speed up the process. Keep the balls refrigerated until ready to serve.
Notes
- Add 1 teaspoon of your favorite extract when mixing the dough to make these balls even more delicious and flavorful.
- Do not skip the chilling process as it will help to keep the balls firm. If the balls are chilled, it will hold its shape better making it less likely that little bits will fall apart into the melting wafers when dipping. That will cause the white coating to have clumps in it or change color.
- Keep the balls refrigerated until ready to serve. If the balls sit out at room temperature for long periods of time, the dough will begin to expand and the coating may start to crack.
- Easily double or triple this recipe and make for a larger crowd.
- Store in an airtight container in the refrigerator for up to 5 days.